Quick Links
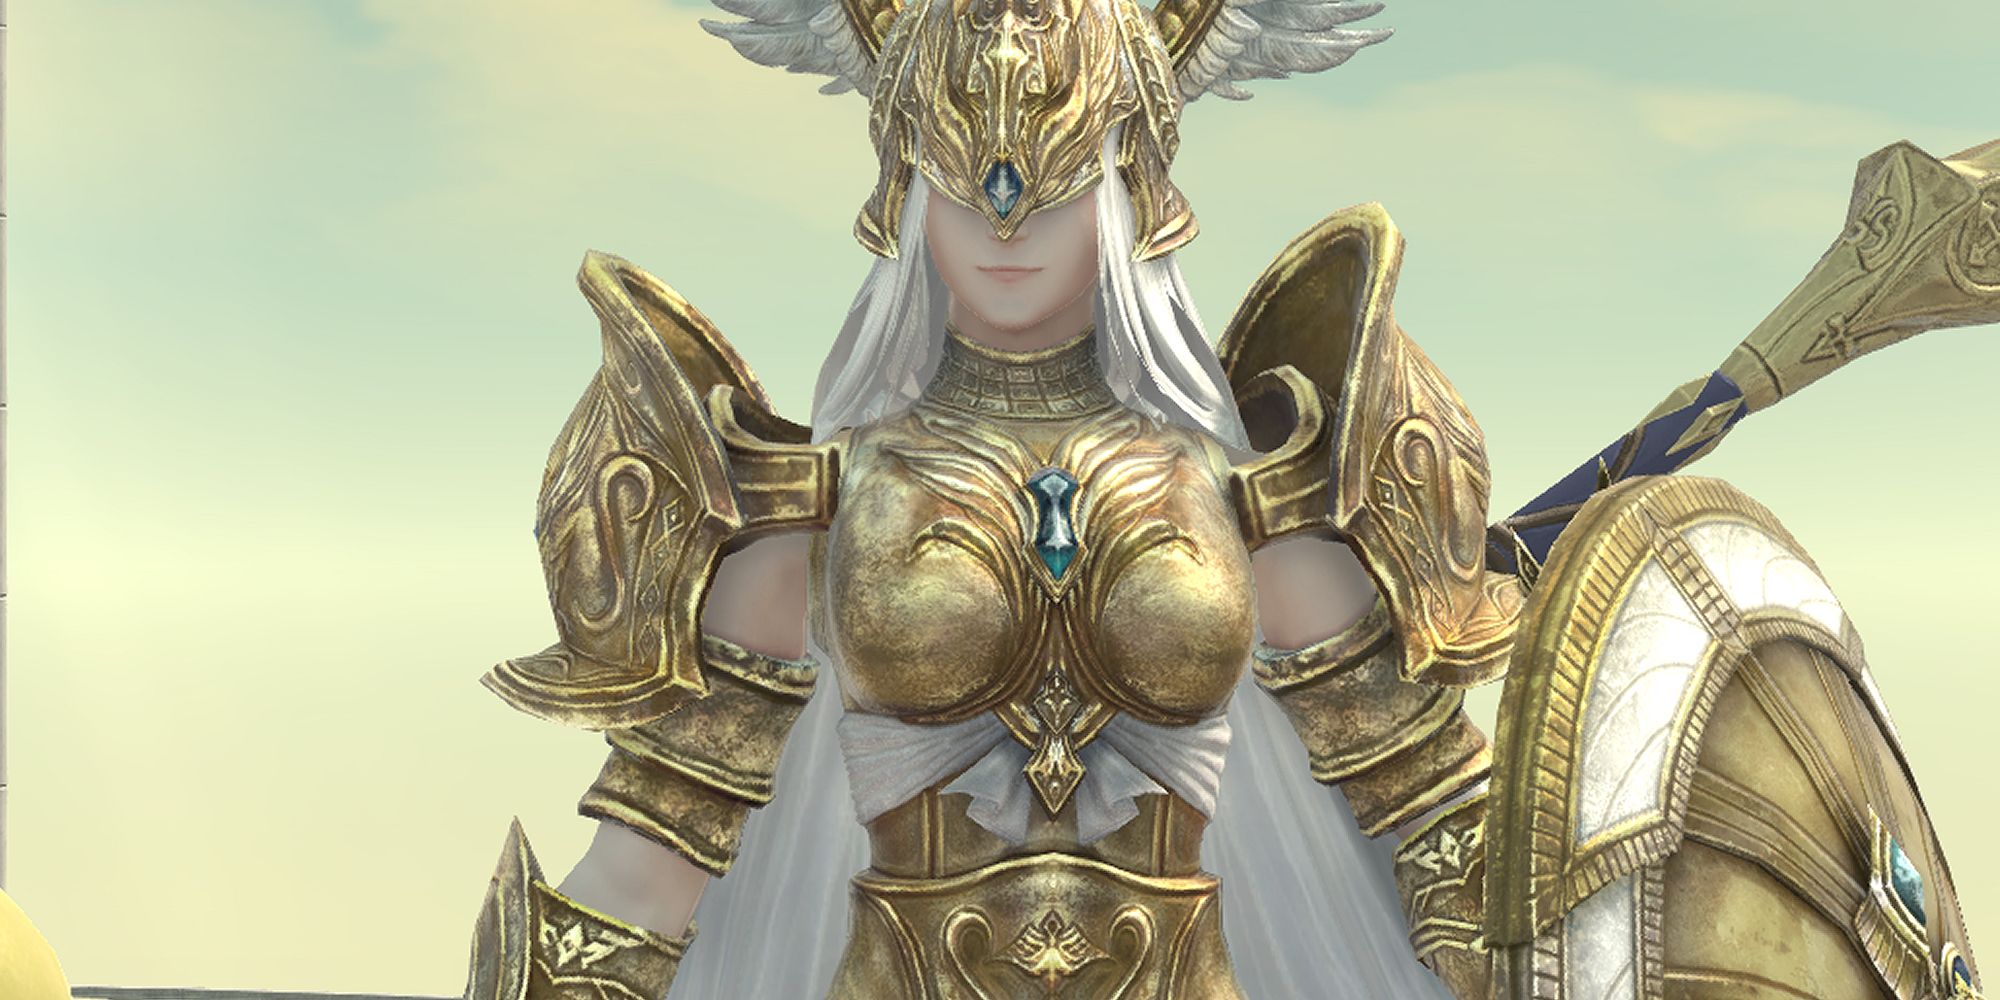
Euphrosyne is the second Alliance Raid featured in Final Fantasy 14’s expansion, Endwalker. It is a 24-man, level 90 duty, and it is part of the “Myths of the Realm” alliance raid series.
Released in patch 6.3, this gauntlet against the gods is a vibrant battle that will test the mettle of you and your fellow warriors of light. It’s also a great way to gear up, dropping item level 620 Hypostatic gear and a Euphrosyne Coin that can be used to purchase upgrade items for certain pieces of equipment.
Unlocking Euphrosyne And Requirements
As the second Alliance Raid in the series, Euphrosyne has a few requirements to meet before you can enter. The requirements are as follows:
- You must have completed the Main Scenario Quest, “Endwalker”.
- You must have completed the Quest “The Face of an Explorer”, which forms part of the “Myths of the Realm” questline, picked up from the Fresh-faced Student in Old Sharlayan (X: 9, Y: 11.4).
- To queue for the duty, you must be on a combat job of level 90 with an item level of at least 595.
Once you’re prepared to dance with the divine, you can pick up the unlock quest “Return to the Phantom Realm” from Deryk in Mor Dhona (X:24, Y:9.1). It’s worth completing the follow-up quests after finishing Euphrosyne, as they will be required for the final alliance raid in the “Myths of the Realm” series.
First Boss: Nophica Battle Strategy
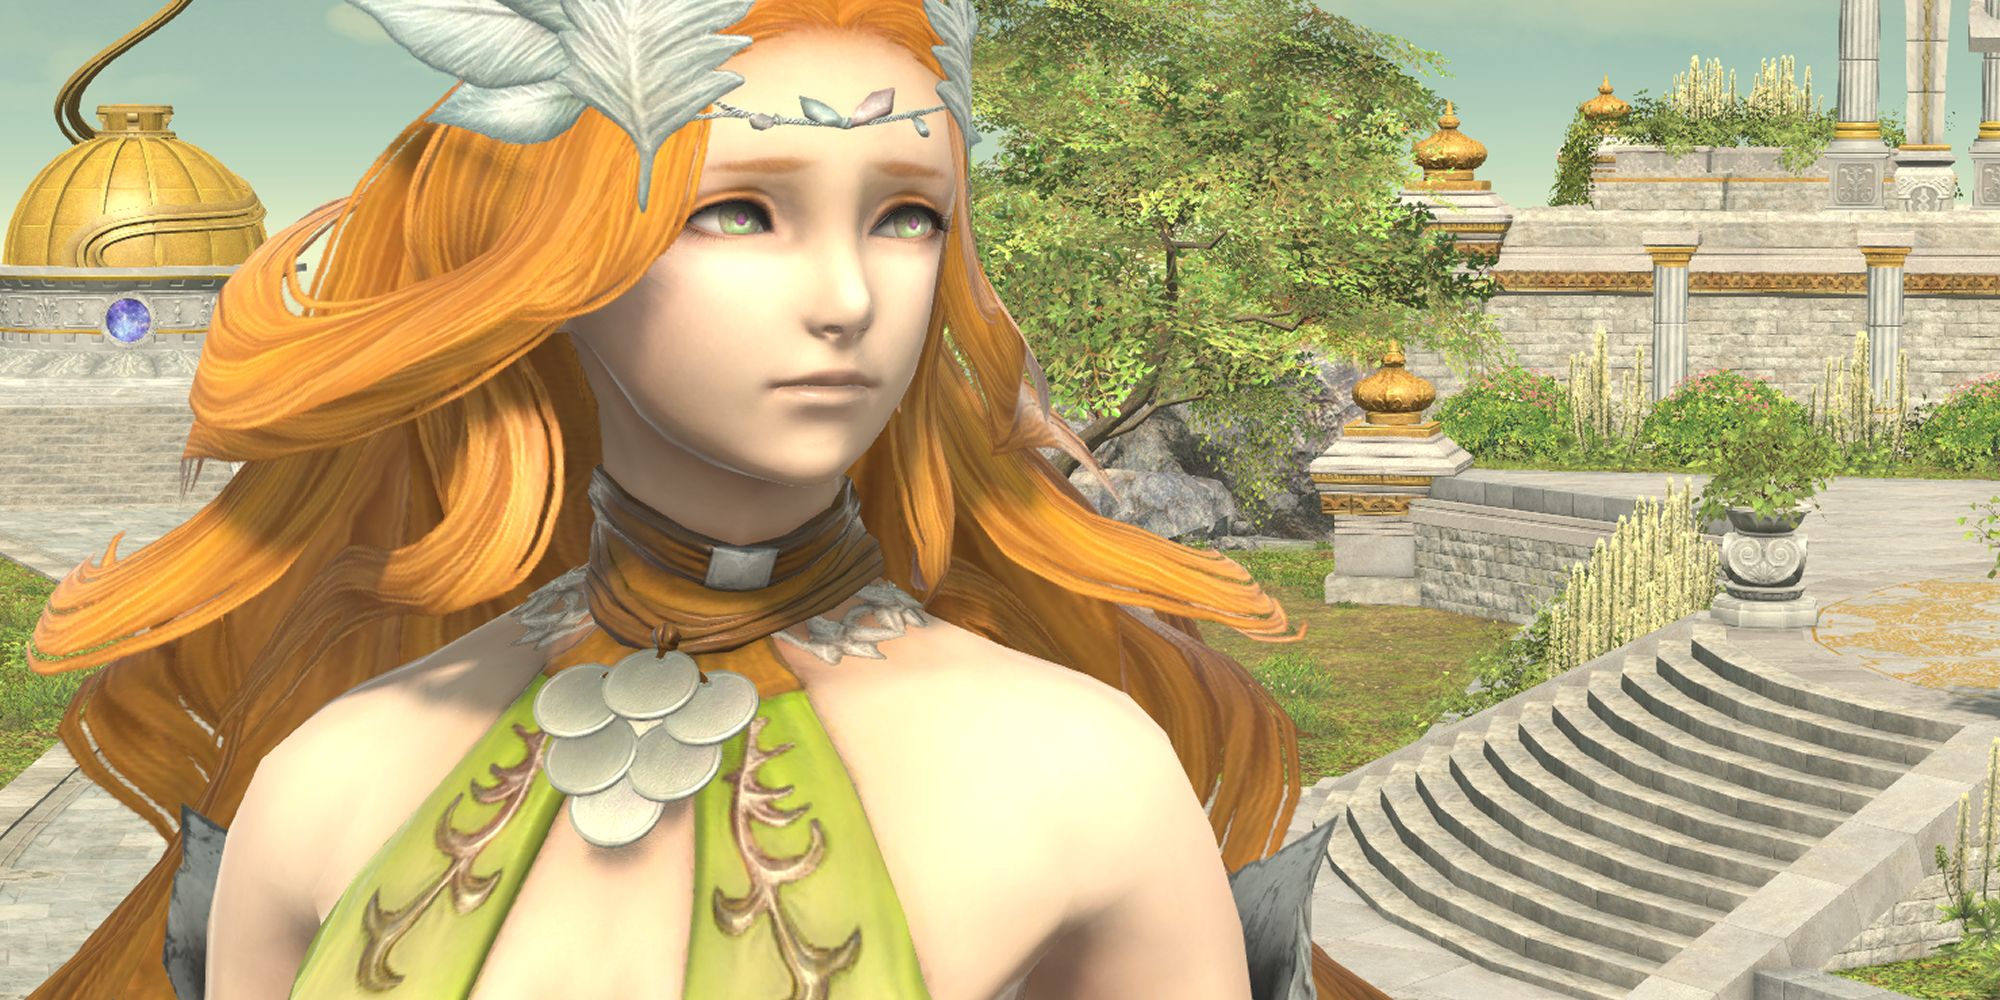
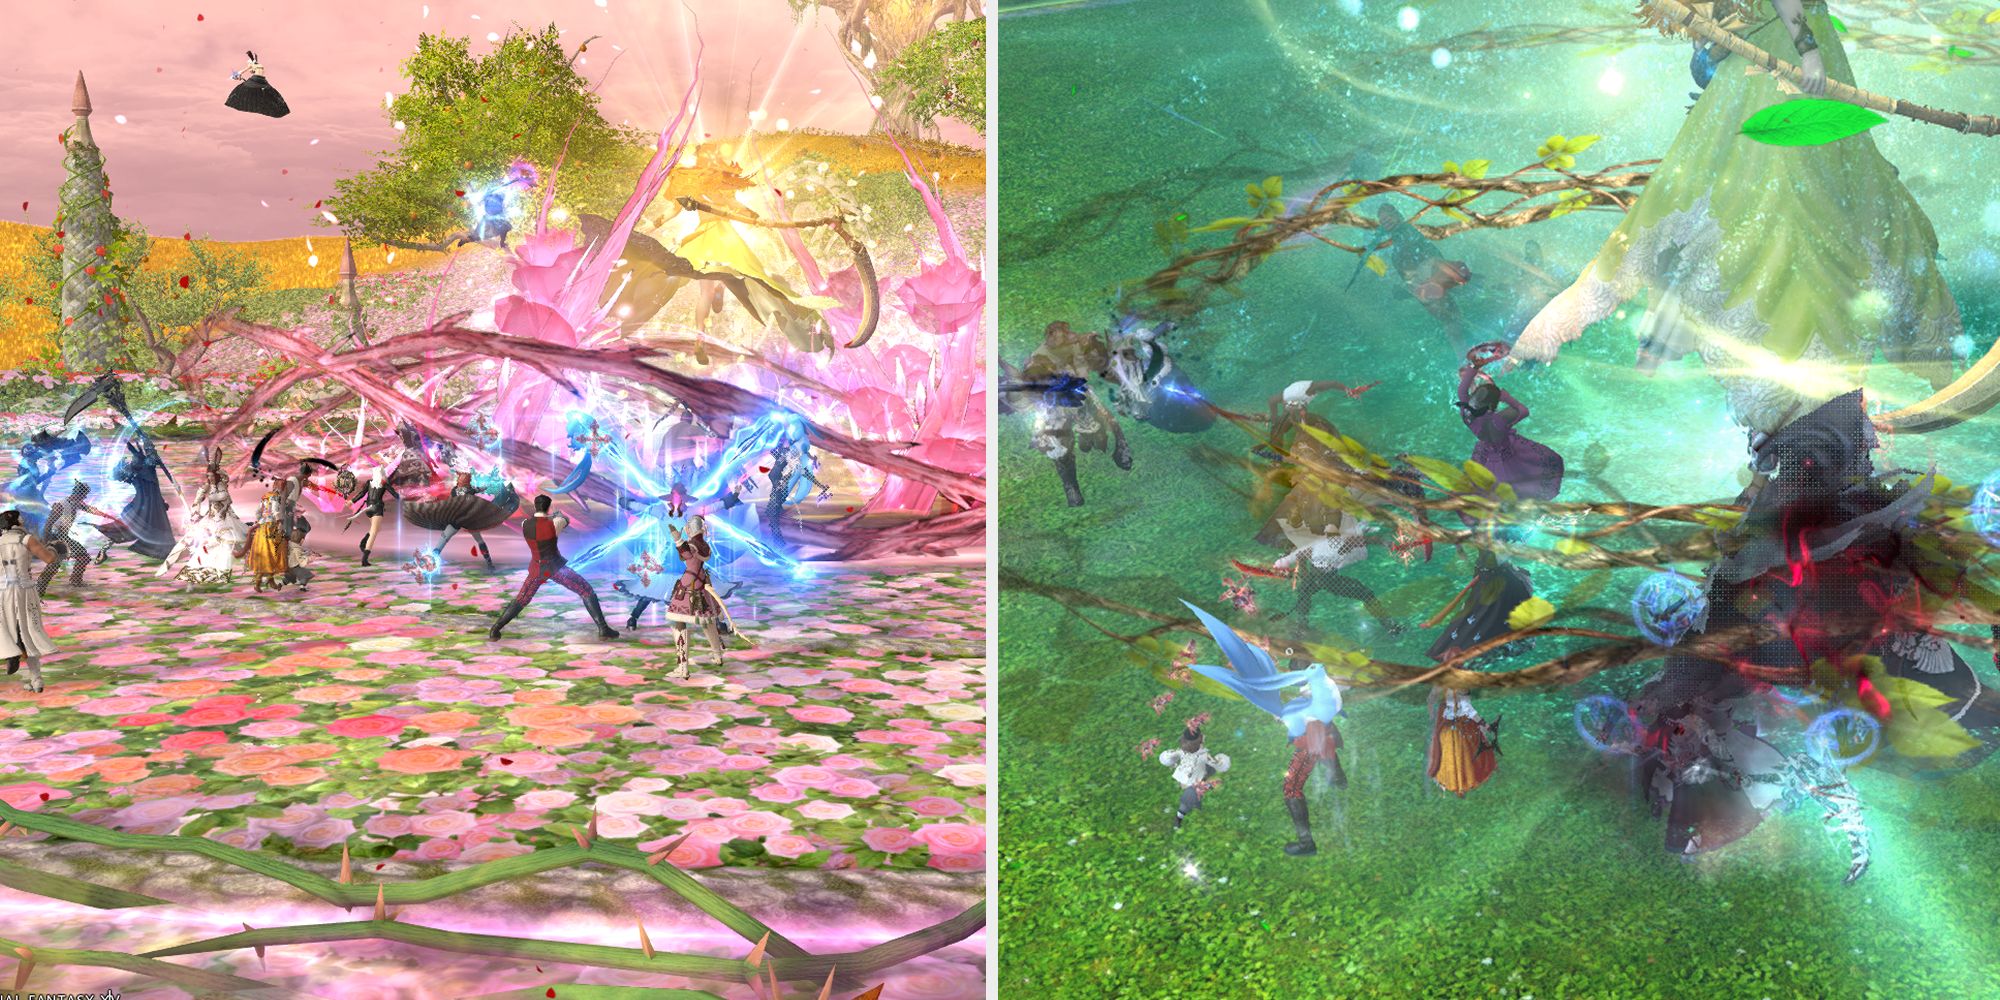
Euphrosyne has an explosive start, immediately bringing you face to face with Nophica, the Matron. The arena offers you plenty of space to move, though when Nophica uses “Matron’s Plenty,” the floor will bloom with flowers, and a ring of thorns will surround the outer edge.
Phase One: Plenty And Harvest
In this phase, Nophica will alternate the state of the Arena with Matron’s Plenty and Matron’s Harvest, while firing tricky Area of Effect abilities such as The Giving Land and Reaper’s Gale. To complicate things, she’ll use a “forced march” ability called Floral Haze. Here’s a full rundown of each ability and what to look out for:
Abundance | Nophica will open with a powerful raid-wide move. Make use of personal and raid-wide mitigation to help soften the blow. |
|---|---|
Matron’s Plenty | Nophica fills the field with flowers and creates a ring of thorns around the outer edge. |
The Giving Land | Nophica will either be surrounded by flower petals or a ring of brambles. If the animation has flower petals, she will do a point-blank Area of Effect blast. If the animation has brambles, she will do a “donut” Area of Effect. You must move away when you see petals, and move in close when you see brambles. |
Matron’s Harvest | A reversal of Matron’s Plenty, returning the arena to its original state. This will also deal heavy raid-wide damage, so mitigate and heal through it as needed. |
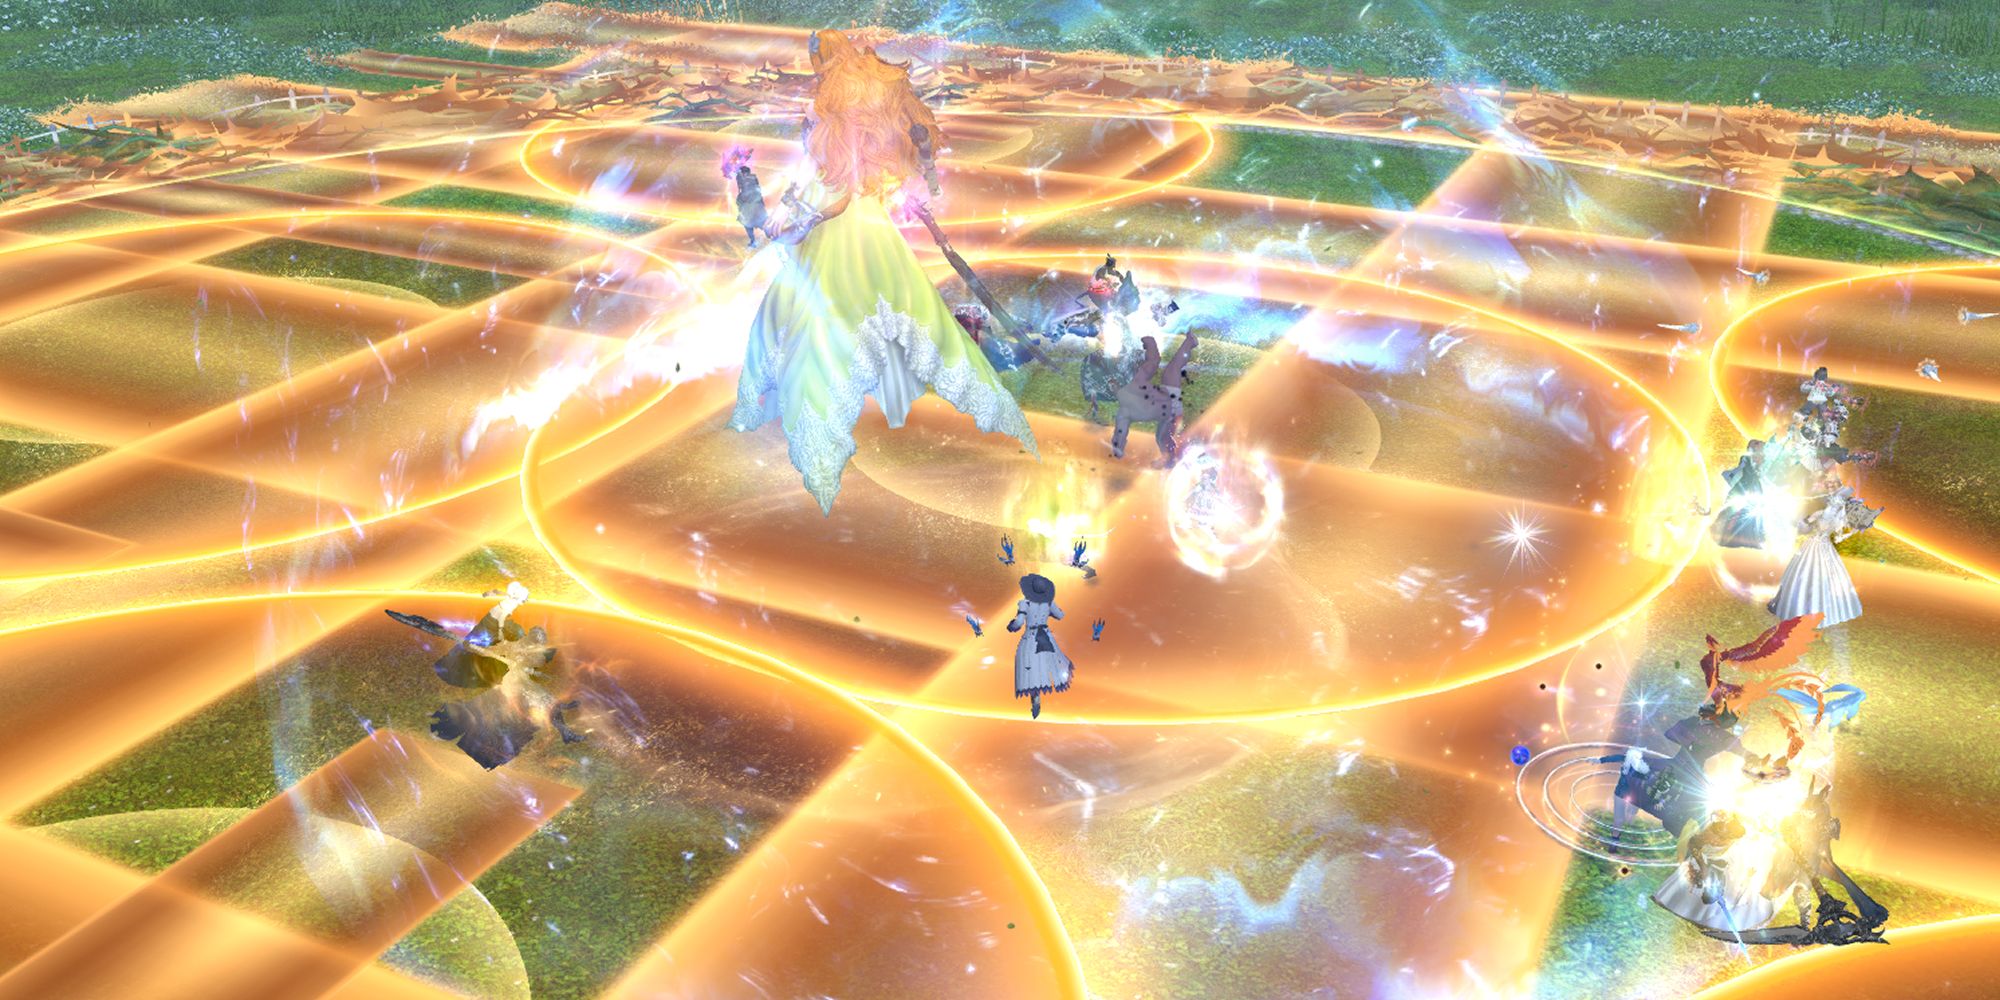
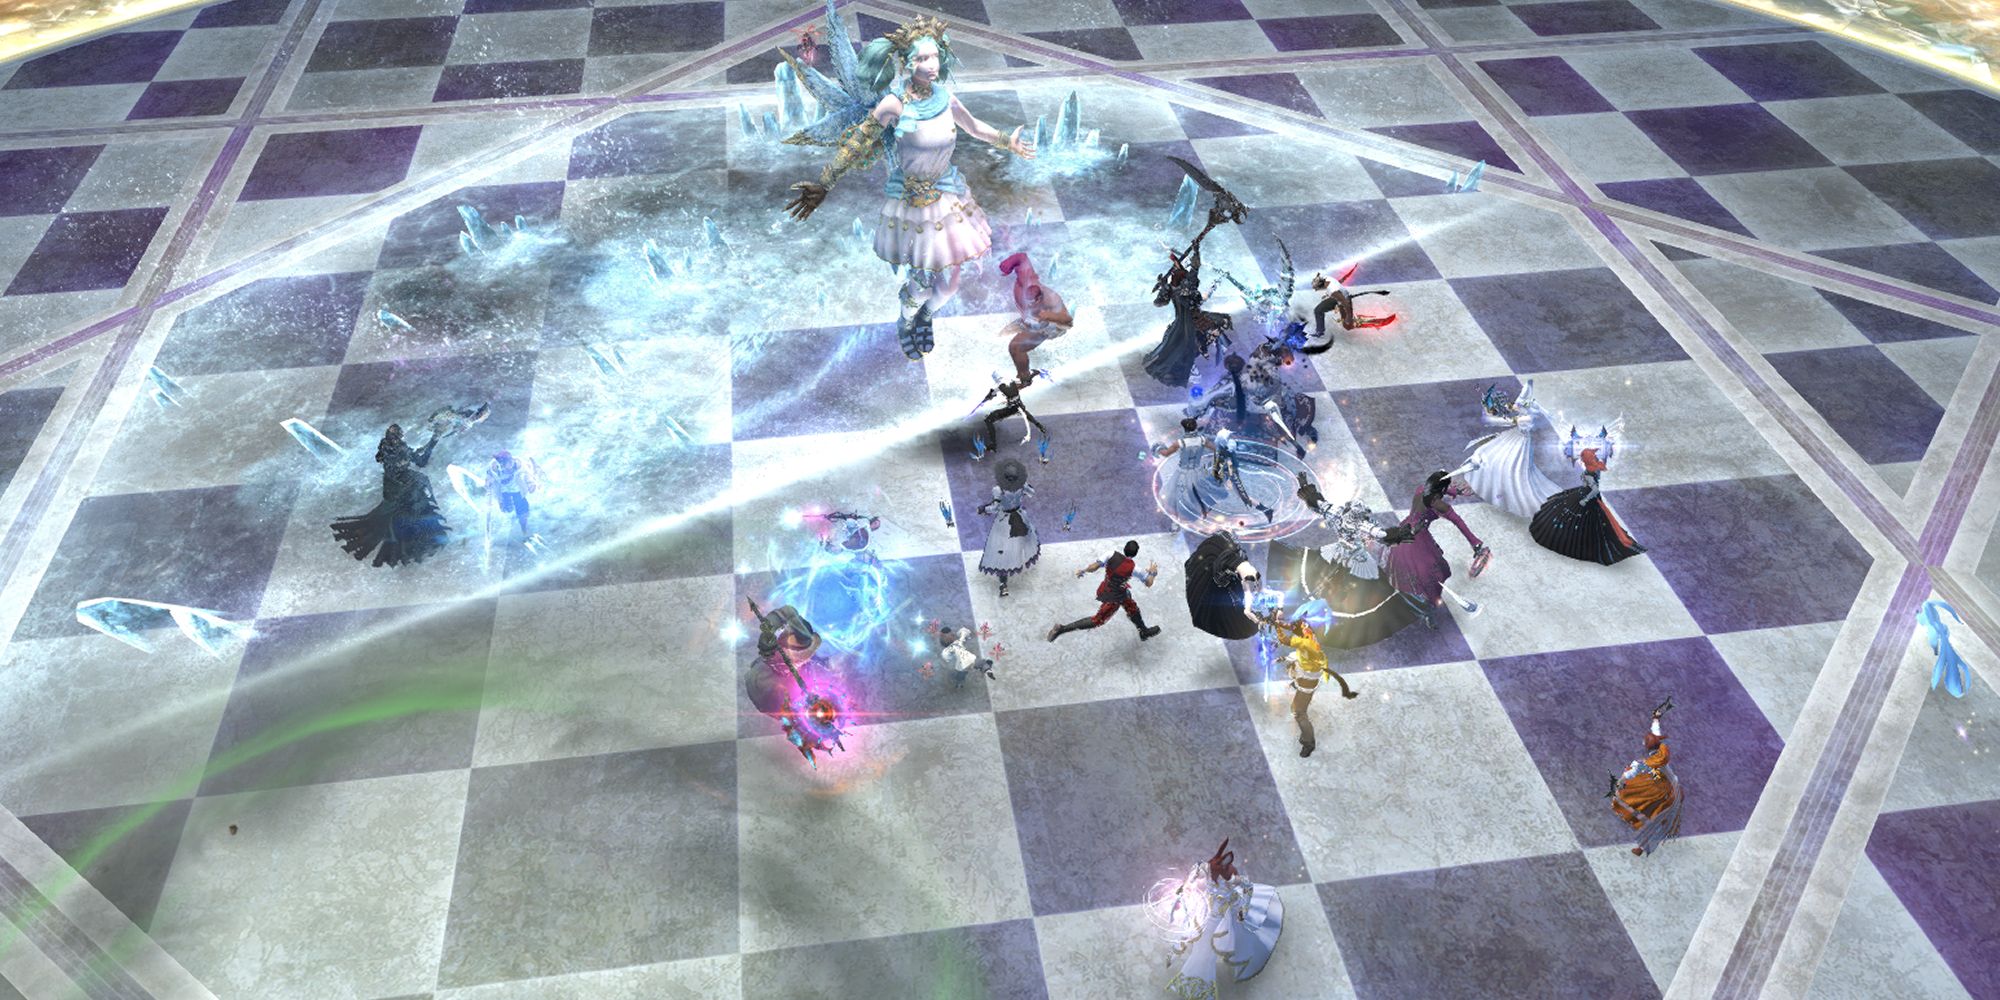
Reaper’s Gale | Nophica creates two chessboard-shaped Area of Effect zones that cover the entire arena. They will detonate in the order they appear. Move to the first safe spot, then cross into the new safe spot after the first blast. |
Floral Haze | Nophica affects the entire raid with a “forced march” debuff. When the debuff expires, your character will move in a random direction, shown to you by the debuff icon and name. For example, “Right Face” moves you right. This will be used alongside other mechanics such as The Giving Land, so make sure to pay attention to where your debuff is moving you. |
Phase Two: Matron’s Breath
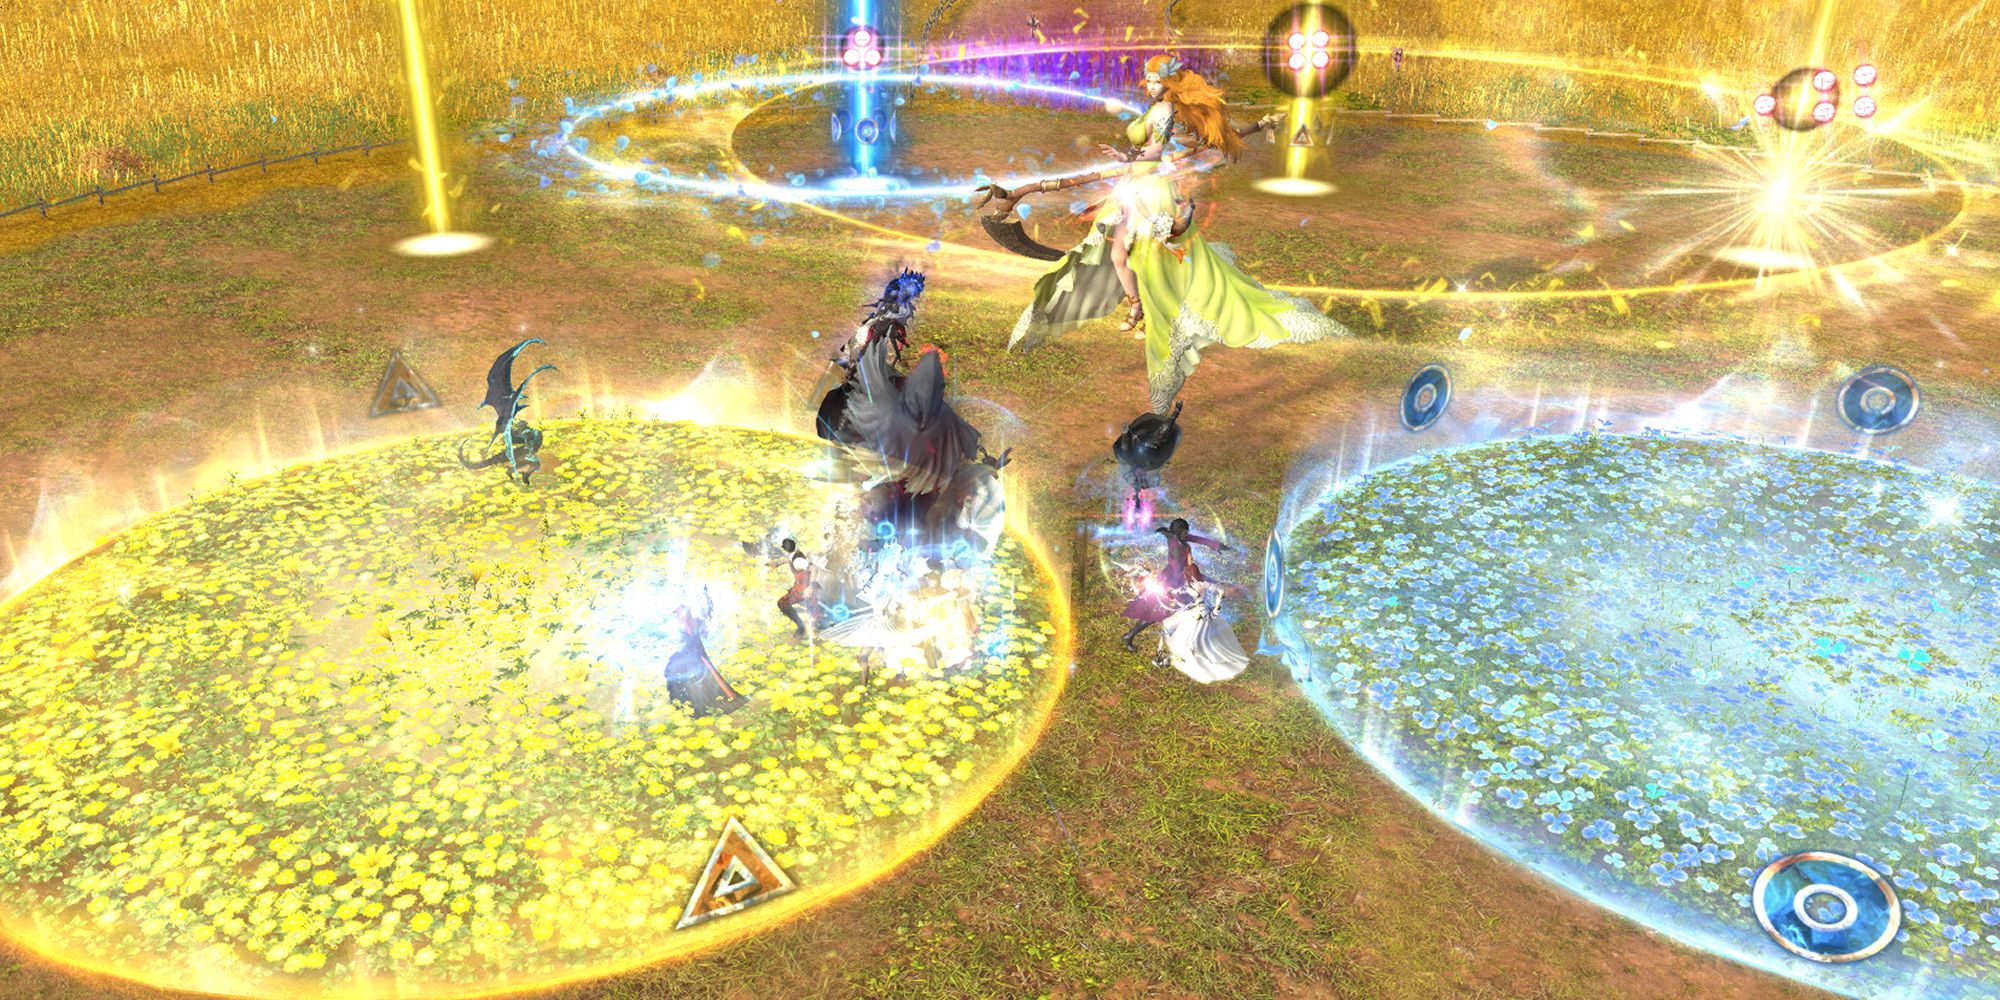
Nophica will create two fields of flowers – one blue and one yellow – as well as exploding beams with the same colours. Both the fields and the beams have corresponding symbols: circles for blue, and triangles for yellow.
The beams will explode in the order they appear, and you can also tell which is about to explode by paying attention to the pips above their animations or by looking at the ring closing around them.
To survive this mechanic, simply stand in a field that corresponds to the next exploding beam; so if blue (circles) is about to explode, stand in the blue (circles) field.
Phase Three: Plenty And Harvest Plus
This phase proceeds similarly to phase one, with a few additional mechanics.
Landwalker | Large circles that explode with Area of Effect damage, used in conjunction with Reaper’s Gale. |
|---|---|
Sowing Circle | Two sets of moving Area of Effect blasts will be telegraphed around Nophica, then travel in the order they appear. Wait for the first to travel past you, then move before the second wave hits. |
Phase Four: Furrow And Heaven’s Earth
After phase three, Nophica will introduce a couple of final mechanics to keep you on your toes. Otherwise, she will repeat the mechanics from the other phases.
Furrow | A stack marker will land on one player, and you must group together to reduce damage. |
|---|---|
Heaven’s Earth | A triple tank-buster, tanks should move away from the group when targeted. |
Adds: Beasts And Behemoths Battle Strategy
The following monsters are simple enough to clear out for any experienced warrior of light. Here’s what to look out for with each group:
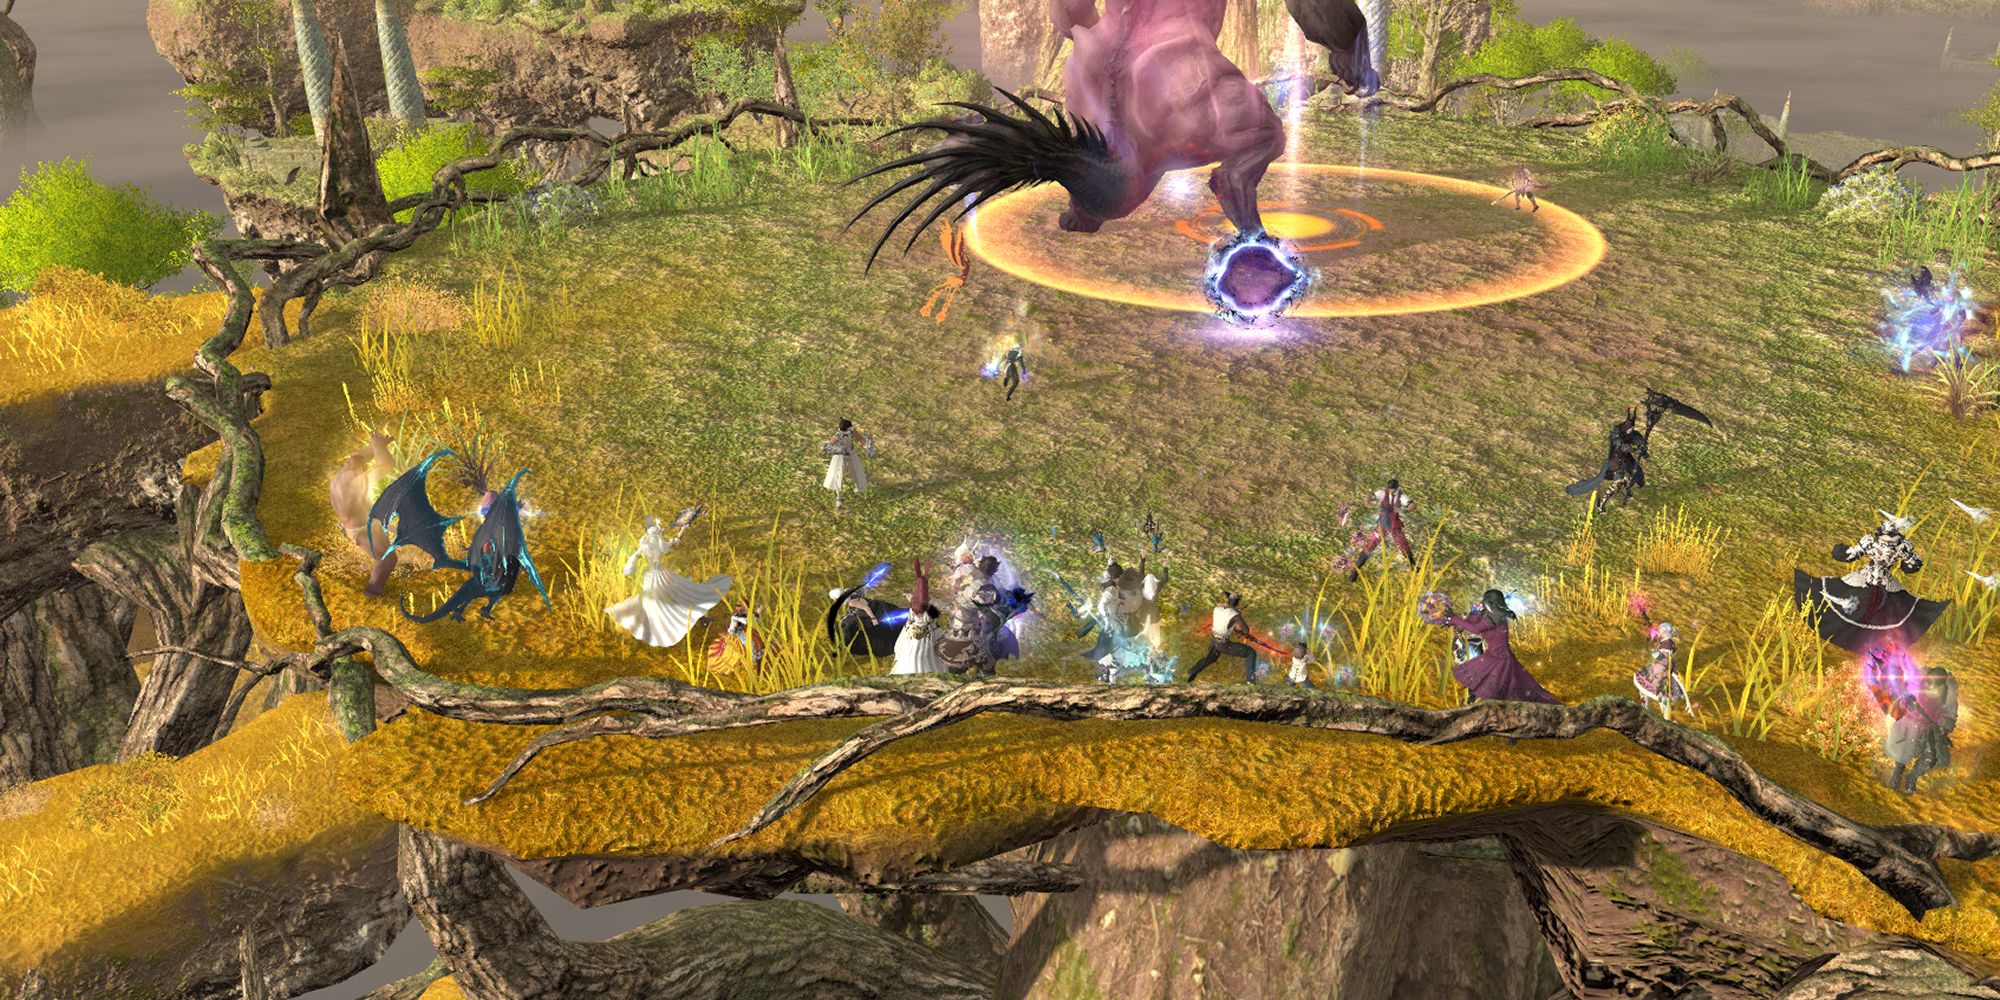
Beasts | Two hordes of creatures with varying Area of Effect attacks, don’t stand in the danger zones while using your own Area of Effect damage to deal with them. There are also tank busters to be wary of - move away from the group and mitigate as needed. |
|---|---|
The Behemoth | A familiar face from the Labyrinth of the Ancients, this add has a shared tank buster named Localised Maelstrom which the tanks will need to group up for. It will cast a proximity Area of Effect named Ecliptic Comet, then follow up with Trounce, which deals Area of Effect damage in a wide cone. Move far away from Ecliptic Comet, then move behind the Behemoth while it’s casting Trounce. |
Second Boss: Althyk And Nymeia Battle Strategy
A two-for-one battle, this encounter sees you pitted against Althyk, the Keeper, and Nymeia, the Spinner. These bosses have an “Enrage Timer” in the form of an eight-minute buff, “Arcane Triumph.” If this buff expires, everyone dies, so keep laying on the damage.
Both bosses must be tanked separately from each other. Otherwise, they will receive a buff named “Sibling Revelry,” increasing both their damage and defence. When one boss’s health drops too low, the other sacrifices a portion of their health to them, so you can defeat them in any order.
Spinner’s Wheel
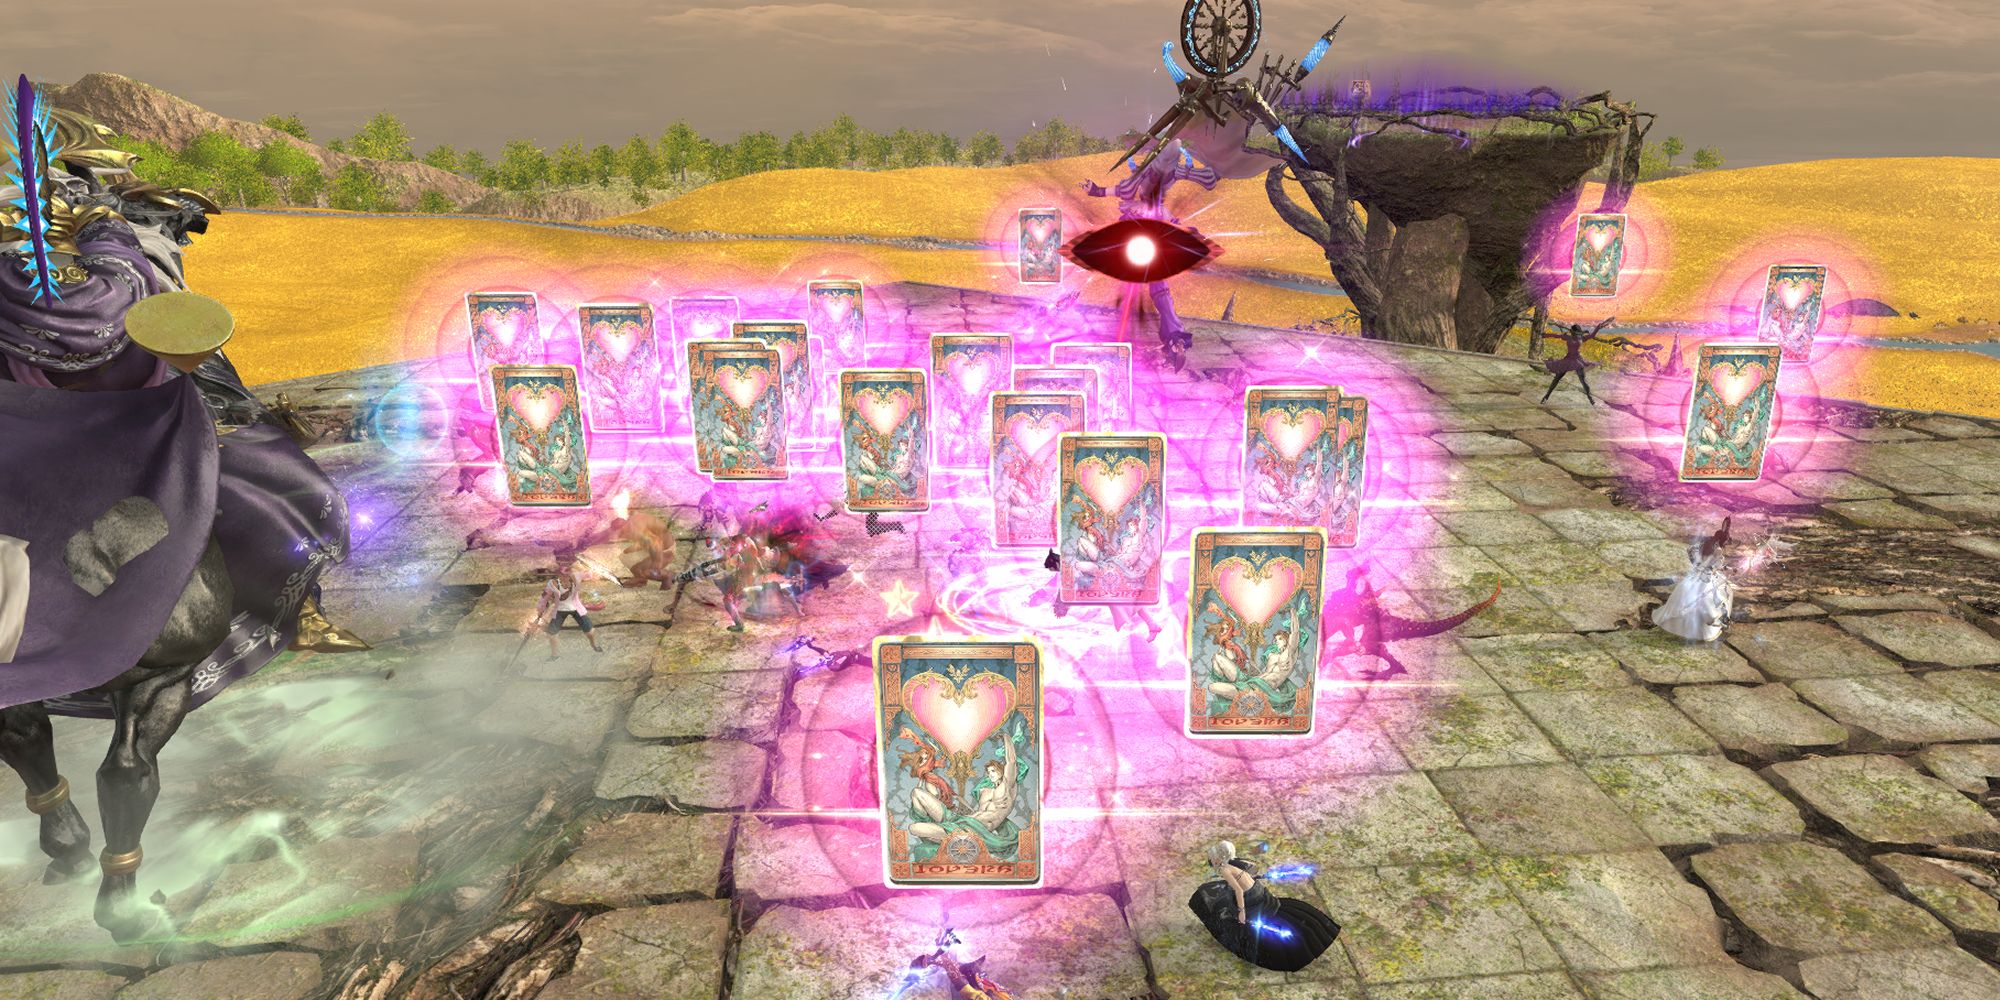
The most complex mechanic at play here is Nymeia’s “Spinner’s Wheel”. Nymeia will target the raid with one of four card-based mechanics. There are two cards, and two inverted versions of those cards.
Attraction | Designated by a card with a heart above players’ heads. When the debuff timer expires, characters must be looking away from Nymeia or become Seduced. If the card is reversed, they must be looking at her instead. |
|---|---|
Fever | Designated by a card with a blazing sun. When the debuff timer expires, players will be debuffed with Pyretic, which deals damage if the player moves or uses any actions. If the card is reversed, they will instead receive Freezing Up, which will damage and stun players who aren’t moving. In summary: un-target the boss and stand still when the debuff expires for Fever, or keep moving and attacking if the card is reversed. |
Miscellaneous Mechanics
These mechanics will be used in a variety of combinations throughout the fight with Althyk and Nymeia.
Mythril Greataxe | Althyk will create a large Area of Effect in a cone. Dodge accordingly. |
|---|---|
Axioma | A strong raid-wide damage blast that changes the arena, creating dark lines that will apply Heavy and Magic Vulnerability Up debuffs to anyone inside them. Avoid unless you're dodging Inexorable Pull or moving away from deadlier mechanics. |
Hydroptosis | Point-blank Area of Effect damage. Spread out to avoid damage, while avoiding the lines from Axioma. |
Inexorable Pull | Althyk will attempt to fling the entire raid into the air for heavy damage. Stand in the dark zones created by Axioma to receive the Heavy debuff and avoid being launched. |
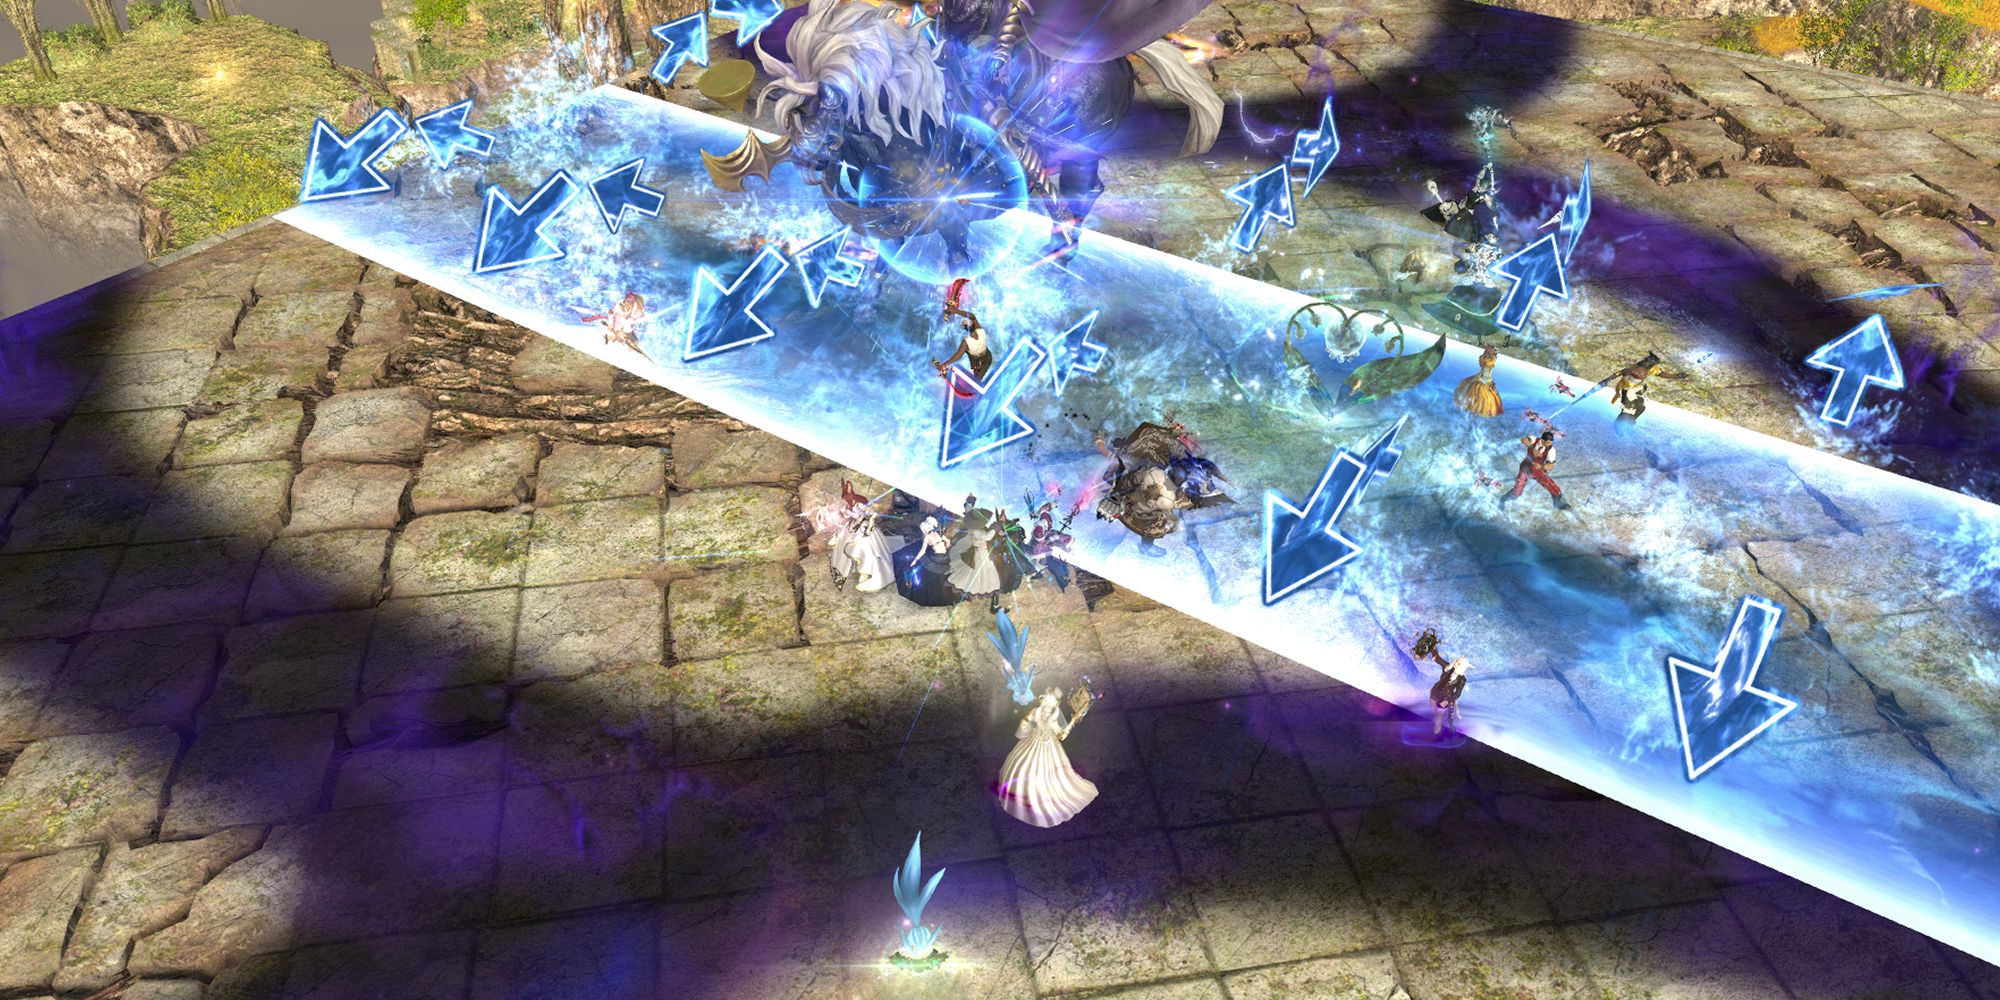
Hydrorythmos | A line will spawn in the centre of the battlefield, creating waves that leap in the direction of the arrows displayed. Stand next to the initial line, then move into the safe space created after it begins to move. You can move as soon as the waves vanish. |
Petra | A shared tank-buster. The tanks will need to group up and use mitigation as needed. |
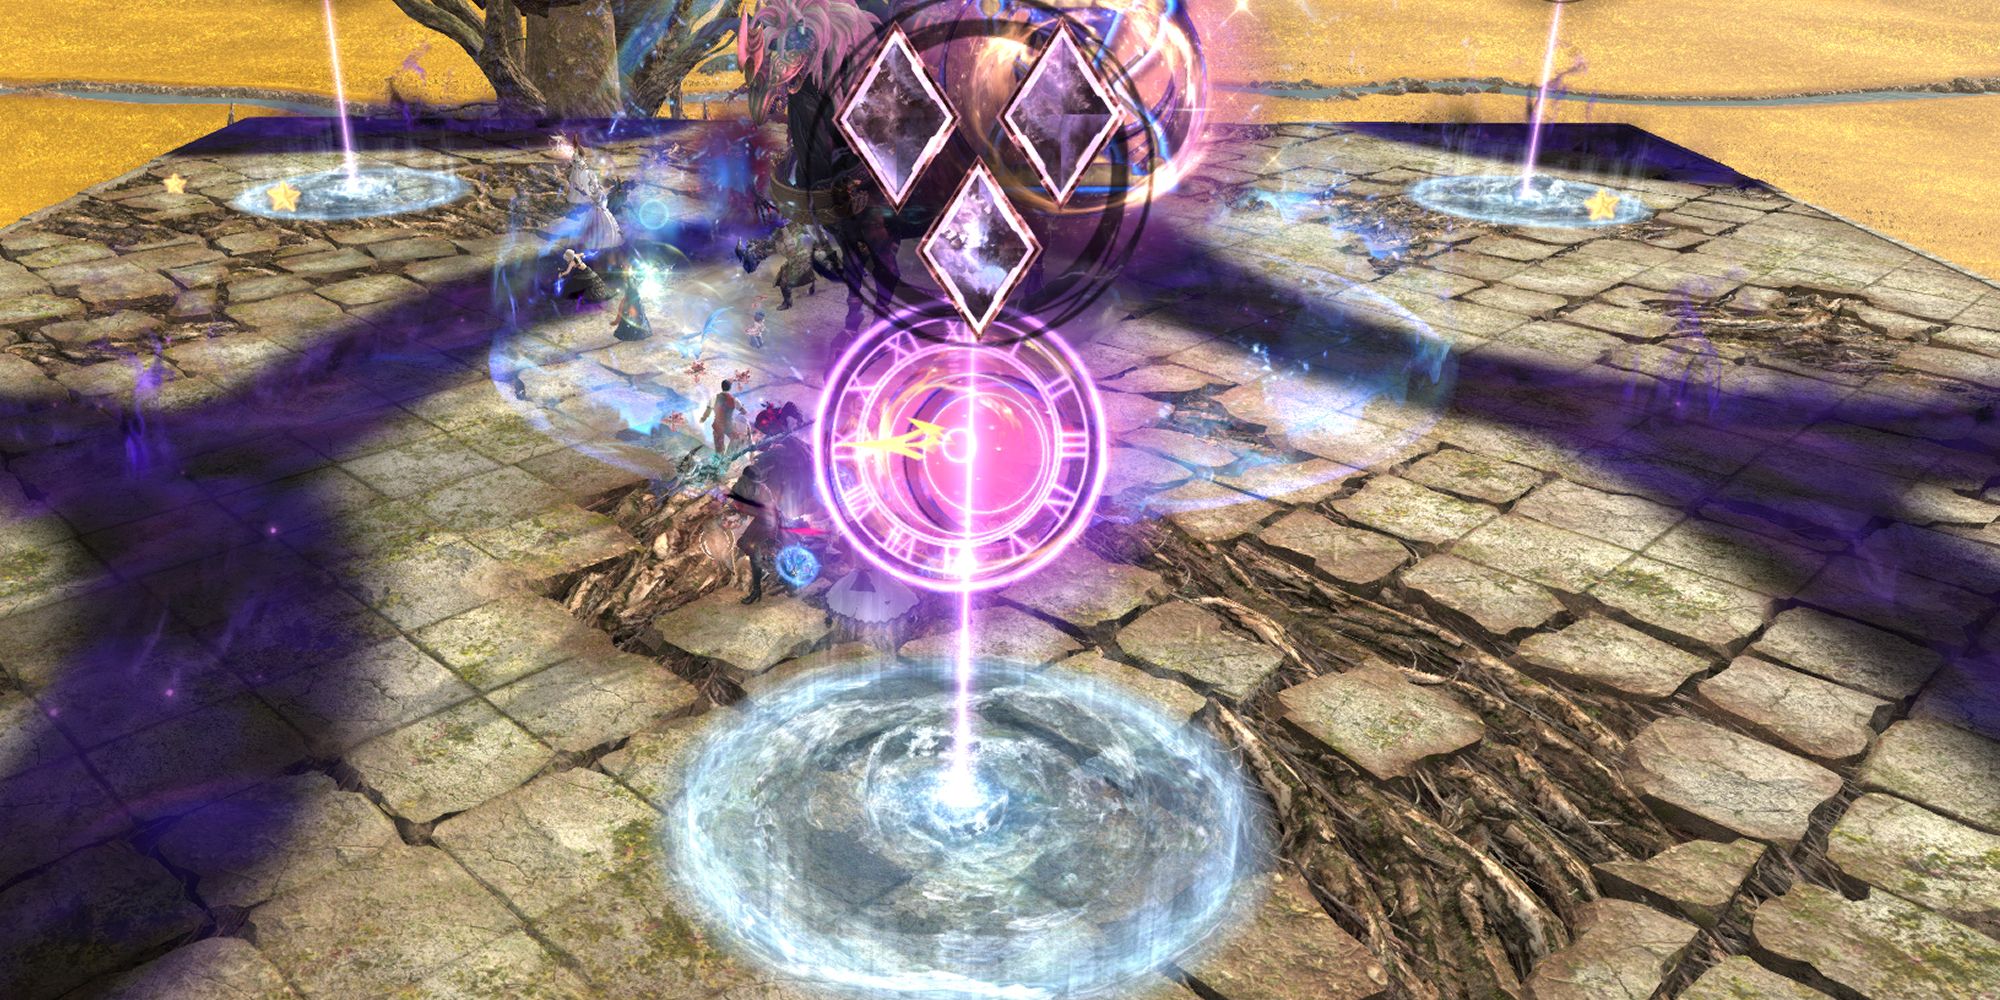
Hydrostasis | Nymeia will teleport to the south of the platform and summon three towers. Each will explode in order from one to three, indicated by diamond symbols, knocking players back. Position yourself so you’ll be knocked toward the next tower that’s exploding. |
Time And Tide
Time and Tide is Althyk’s primary mechanic, which interacts with Hydrostasis and Spinner’s Wheel. Althyk will target either mechanic with tethers, “speeding up” the rate at which the mechanics trigger.
Time and Tide > Spinner’s Wheel | Any players with cards from Spinner’s Wheel will have their debuffs triggered early when Time and Tide expires, indicated by the countdown timer that will appear in the middle of their screen. |
|---|---|
Time and Tide > Hydrostasis | Althyk will target one of the knockback towers with Time and Tide. That tower will explode first, regardless of the number of diamonds above it. The rest will explode in their normal sequence. |
Adds: Dhruva And Colossi Battle Strategy
Simpler than the Behemoth you faced before, these creatures will carpet the arena with Area of Effect attacks and occasionally fire off a tank-buster. Dodge, mitigate, and DPS as needed to reach the third boss.
Third Boss: Halone, The Fury Battle Strategy
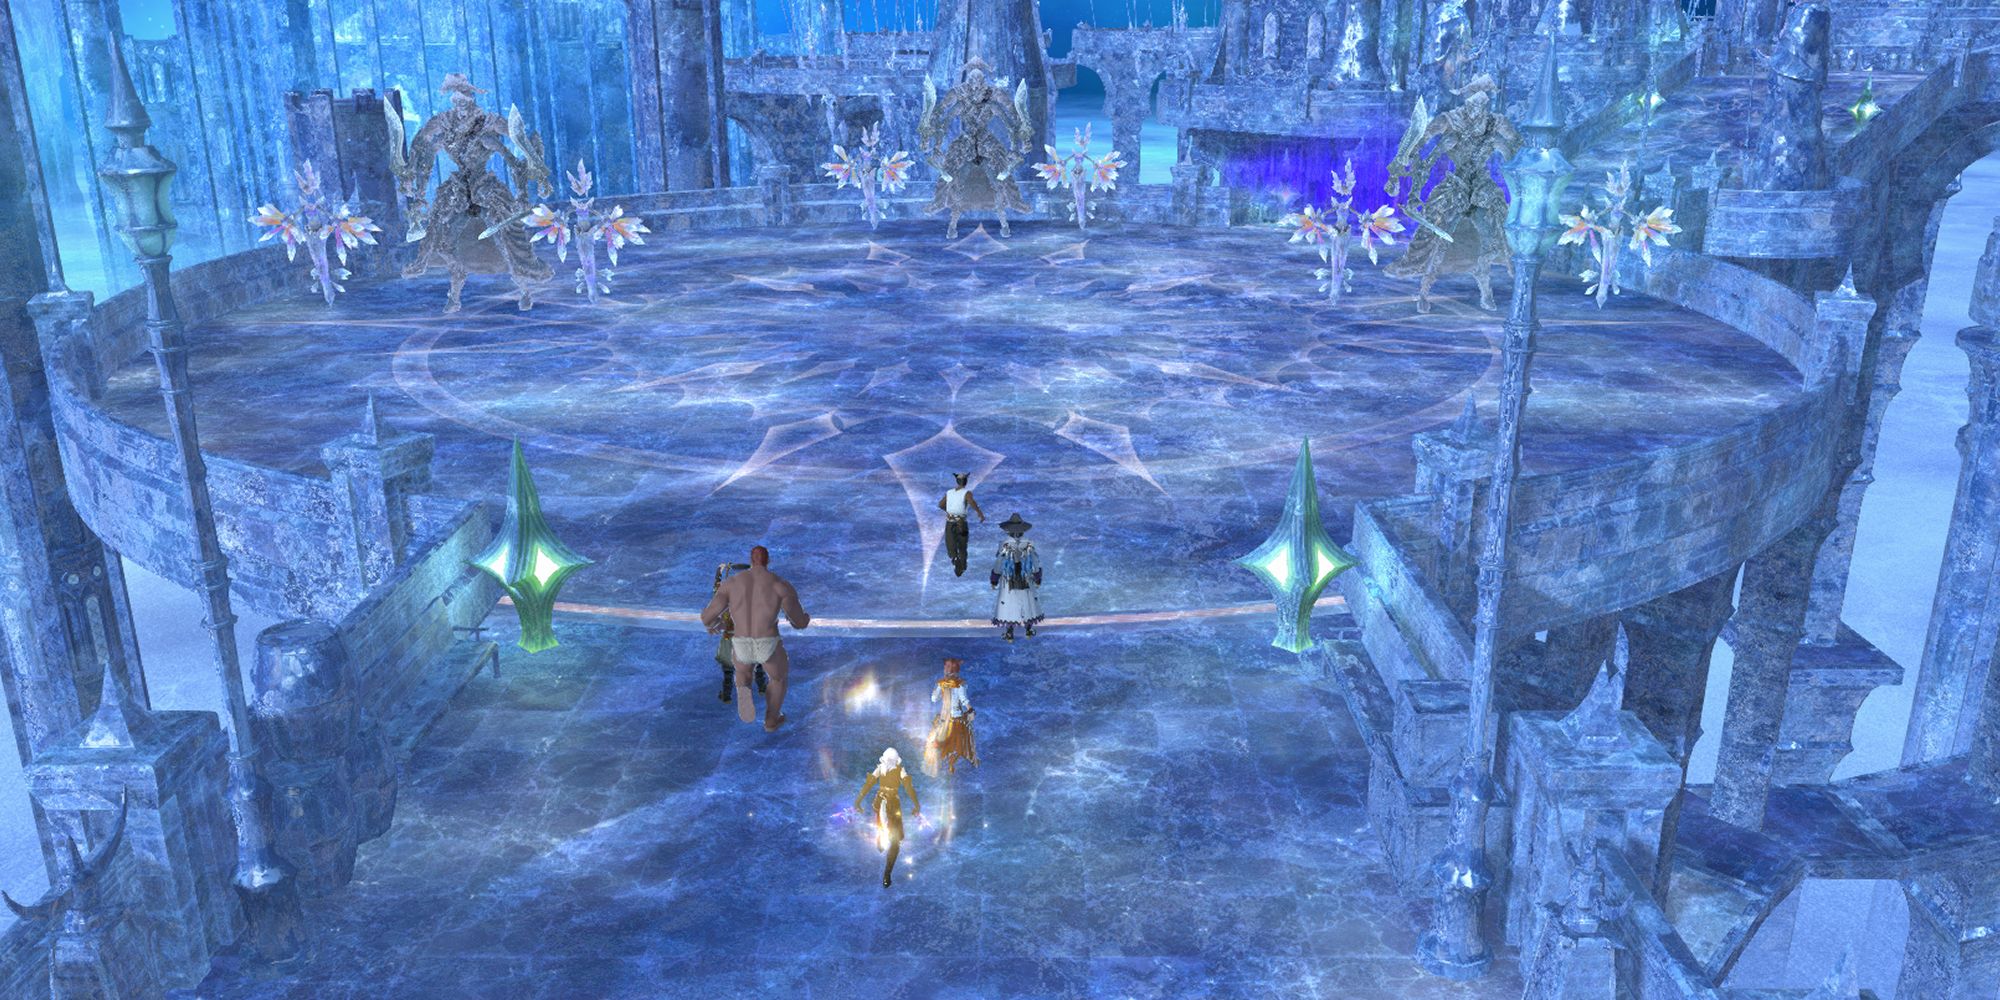
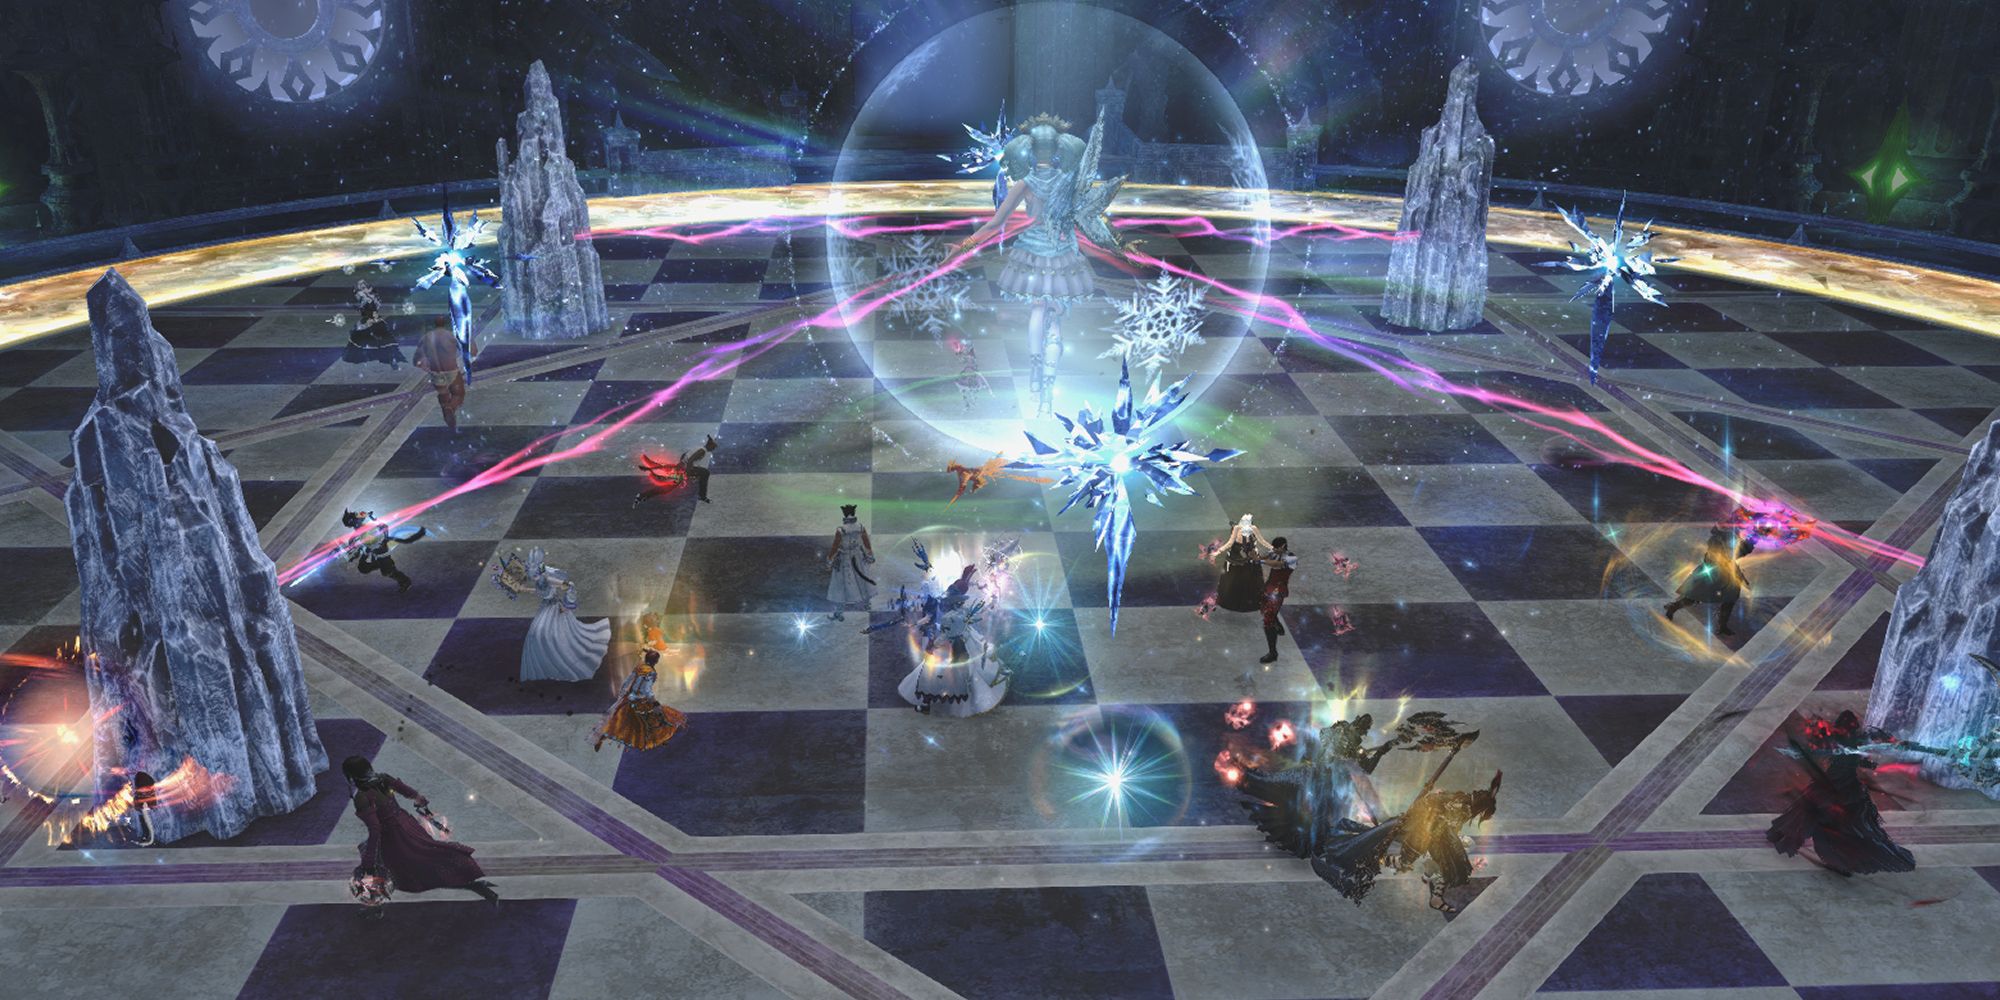
Known as the Fury to the faithful of Ishgard, Halone certainly lives up to her name as a goddess of war. Similar to Nophica, Halone has several specific mechanics which combine later in the fight, as well as a handful of unique phases to contend with.
Phase One: Spears, Towers, And Tetrapagos
The main mechanics of the fight are as follows.
Rain of Spears | A raid-wide Area of Effect attack. Mitigate and heal as necessary, and keep in mind that it strikes multiple times. |
|---|---|
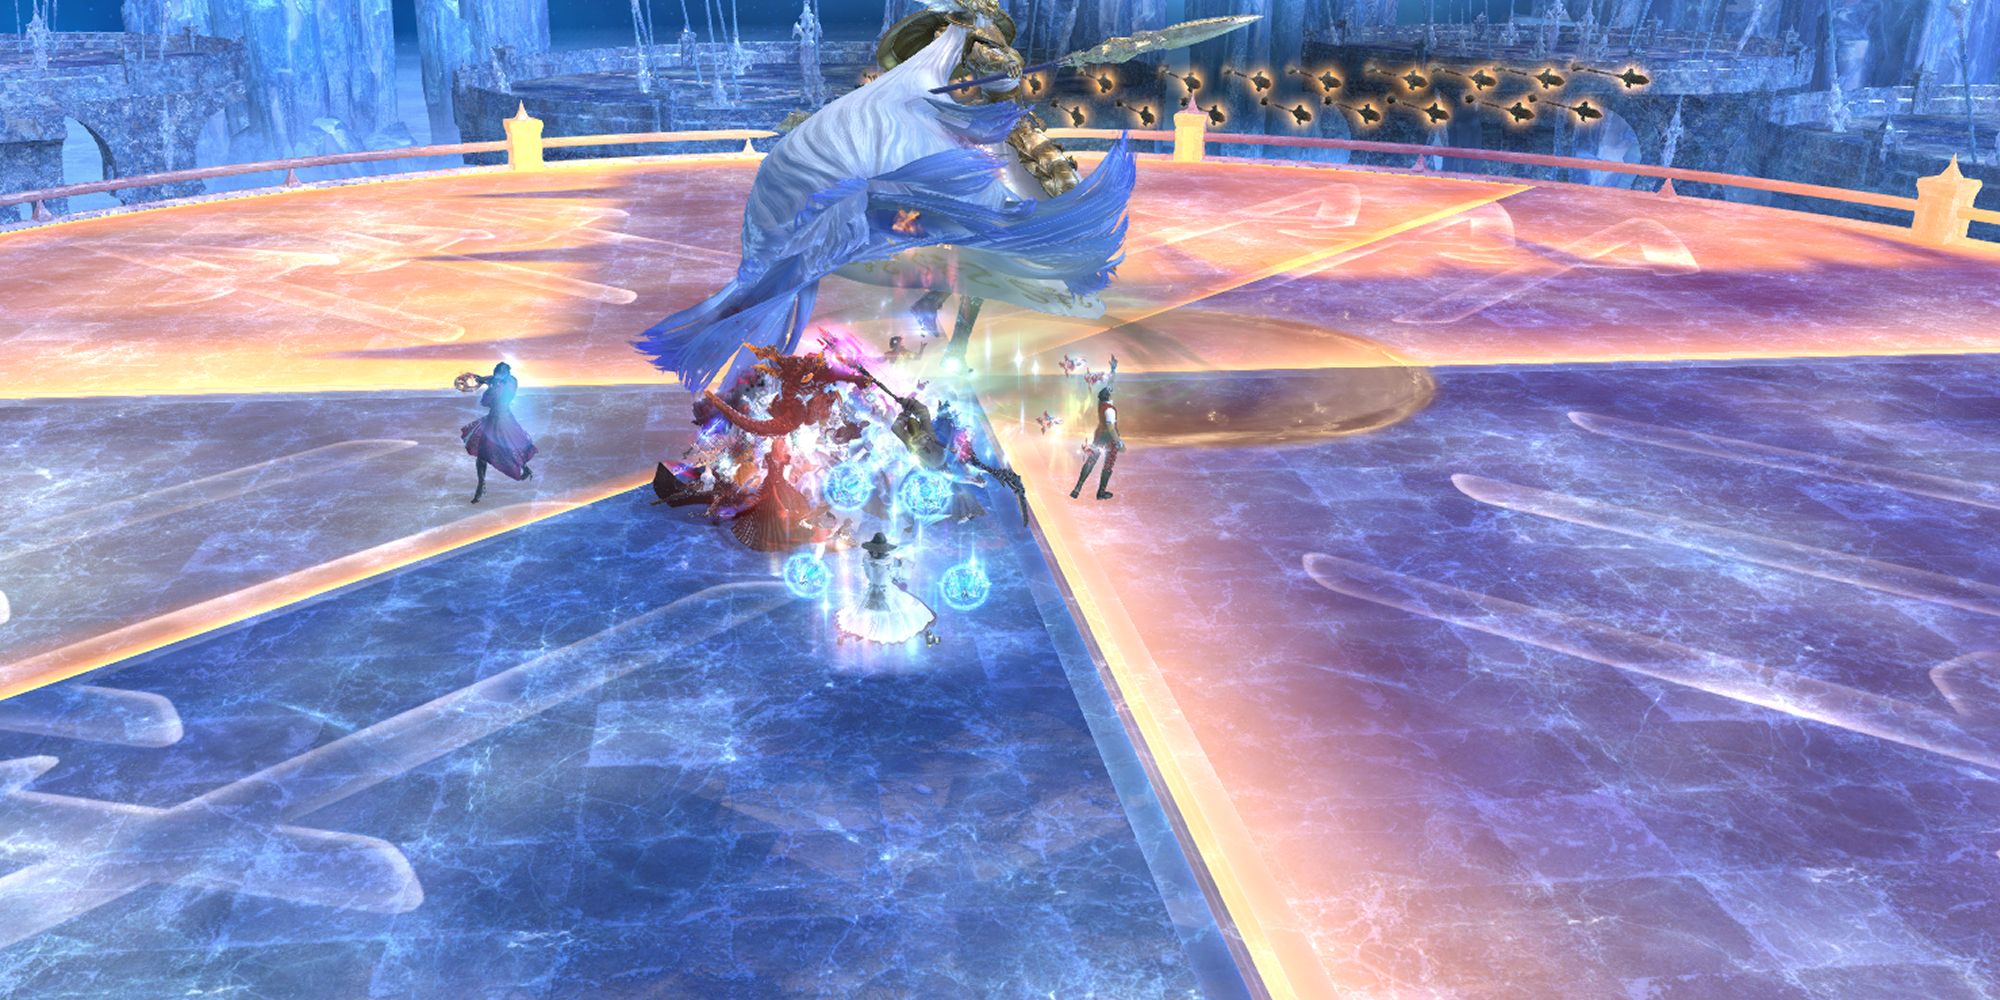
Tetrapagos | Used several times throughout the fight, Tetrapagos starts with Halone leaping into the centre of the arena. She will then telegraph four icy attacks in any order; a circle around her, a left cleave, a right cleave, and a “donut” Area of Effect, all indicated by a flash of ice across the floor. These danger zones will then deal damage in the order they appear, so memorise the pattern and dodge accordingly. |
Doom Spear | Three towers will appear around the room with stack markers. Spread out between these towers evenly; this is usually done with Alliance A taking the northwest tower, B taking the south tower, and C taking the northeast tower. |
Spears Three | A telegraphed triple tank-buster, tanks will need to spread out and mitigate as needed. |
Thousandfold Thrust | Halone will surround herself with orange circles, which then rotate to a single point. She will then do a continuous Area of Effect attack to that half of the arena, so you must watch the animation and get on her safe side. |
Lochos | Two walls of spears will spawn at the edge of the arena, then fire heavy Area of Effect attacks after a delay in a wide line from their position, leaving a quarter of the arena safe. |
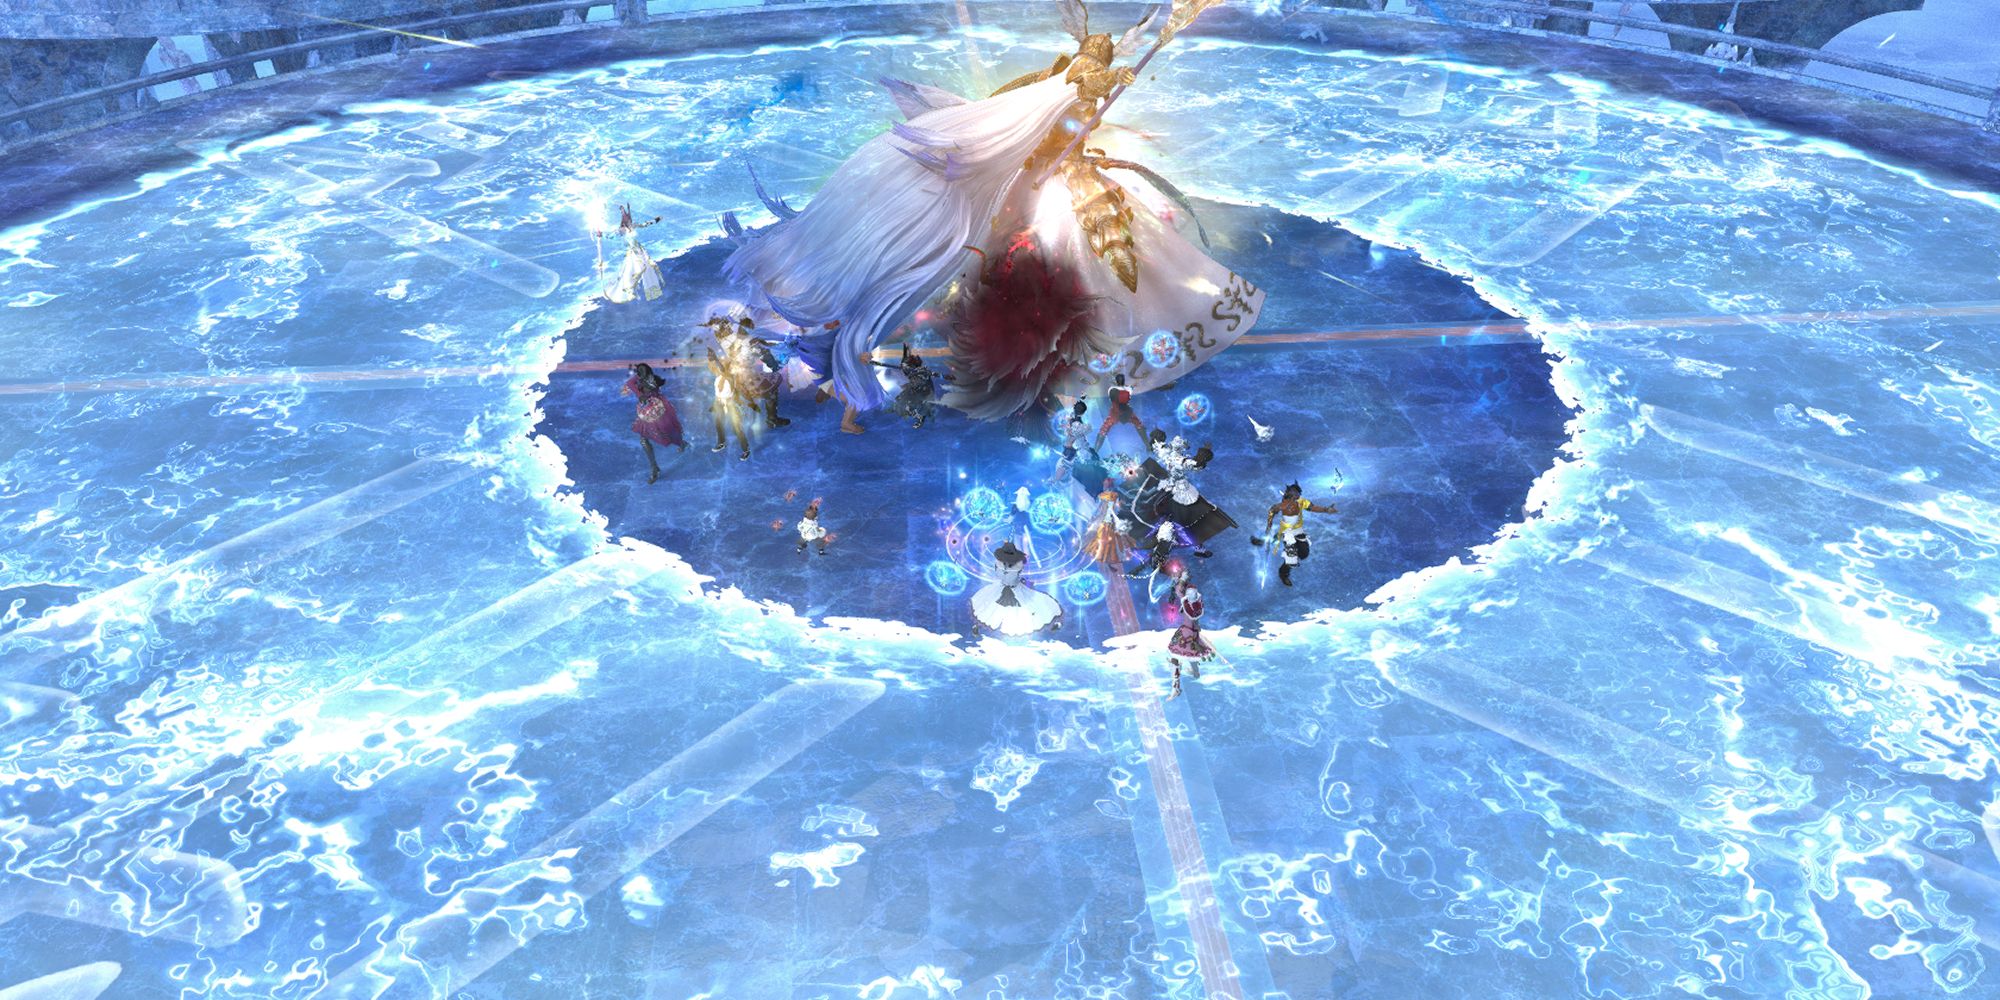
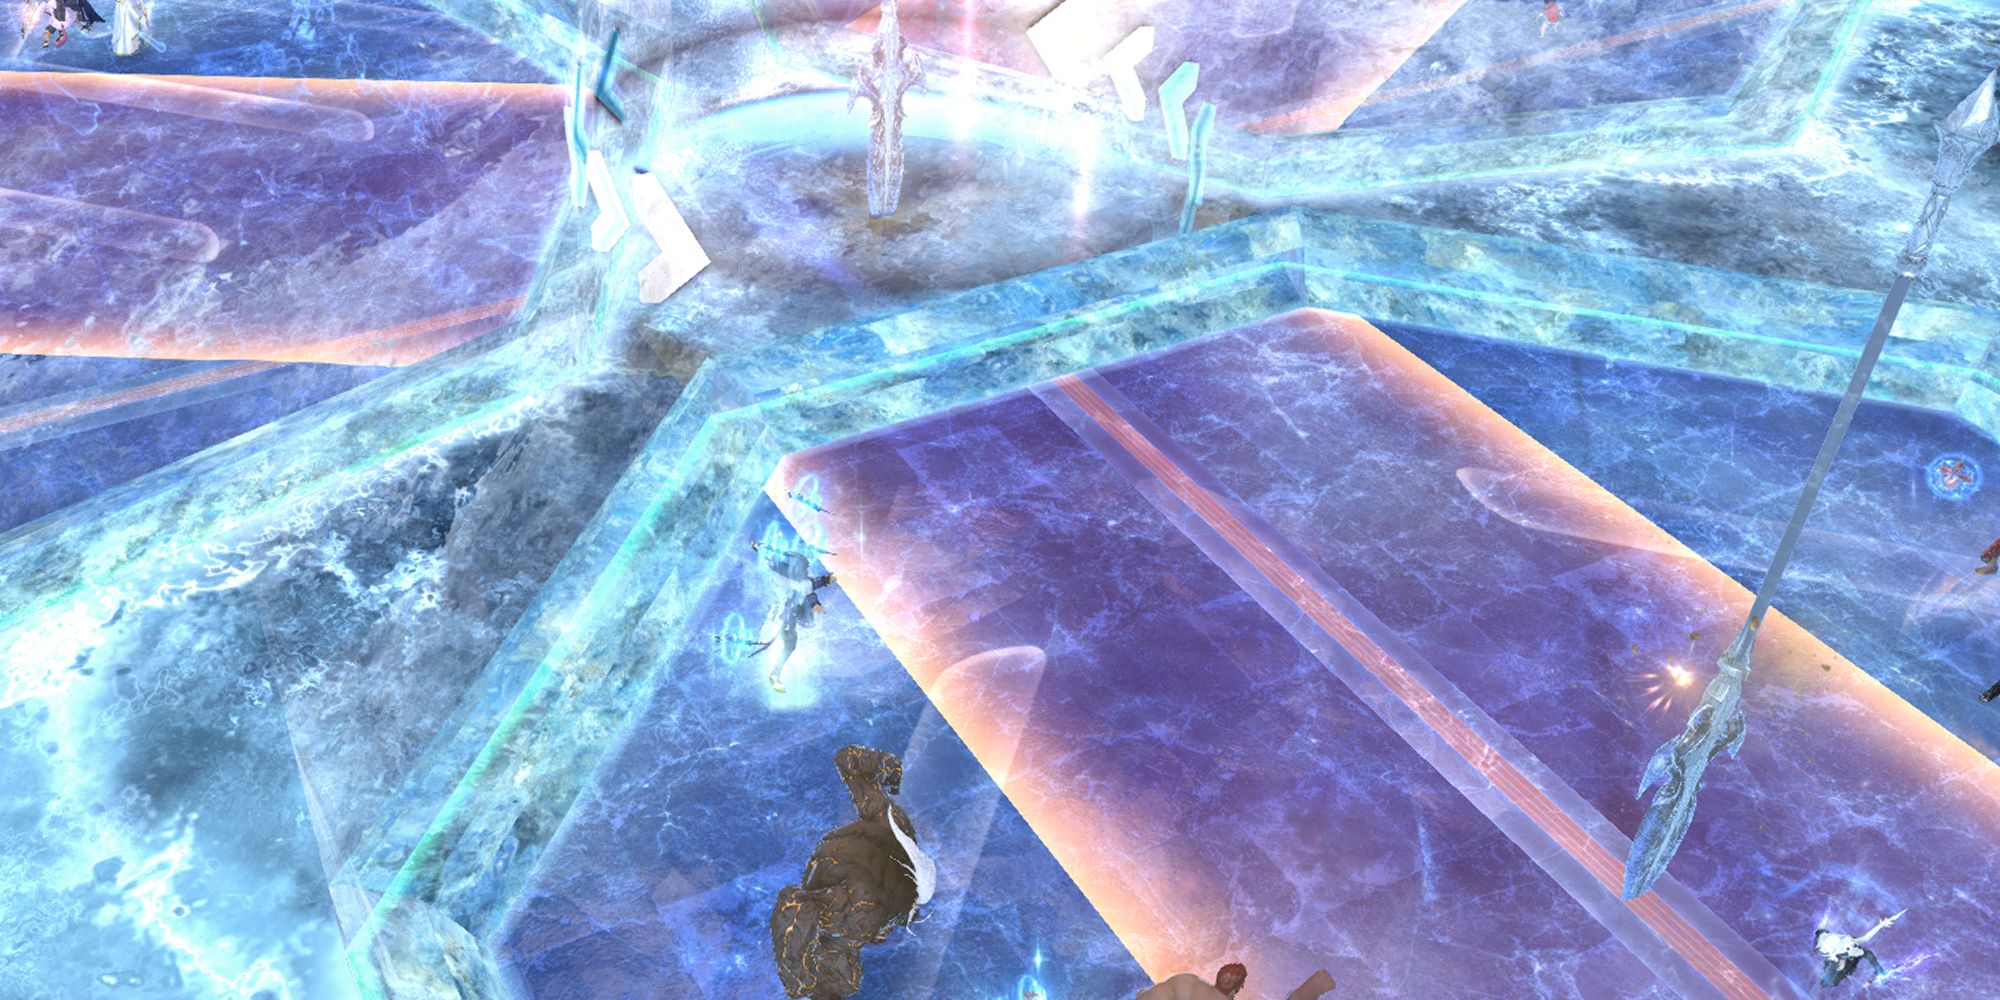
Wrath of Halone | Halone leaps into the middle of the arena, telegraphing a massive proximity Area of Effect attack. At the same time, an icy ring closes towards the centre of the arena, freezing anyone it hits. To dodge this attack, position yourself near the closing ring and then immediately move into its space once it explodes. The goal is to get as far away from the Wrath of Halone while avoiding the ring of ice. |
|---|
Phase Two: Glacial Spears
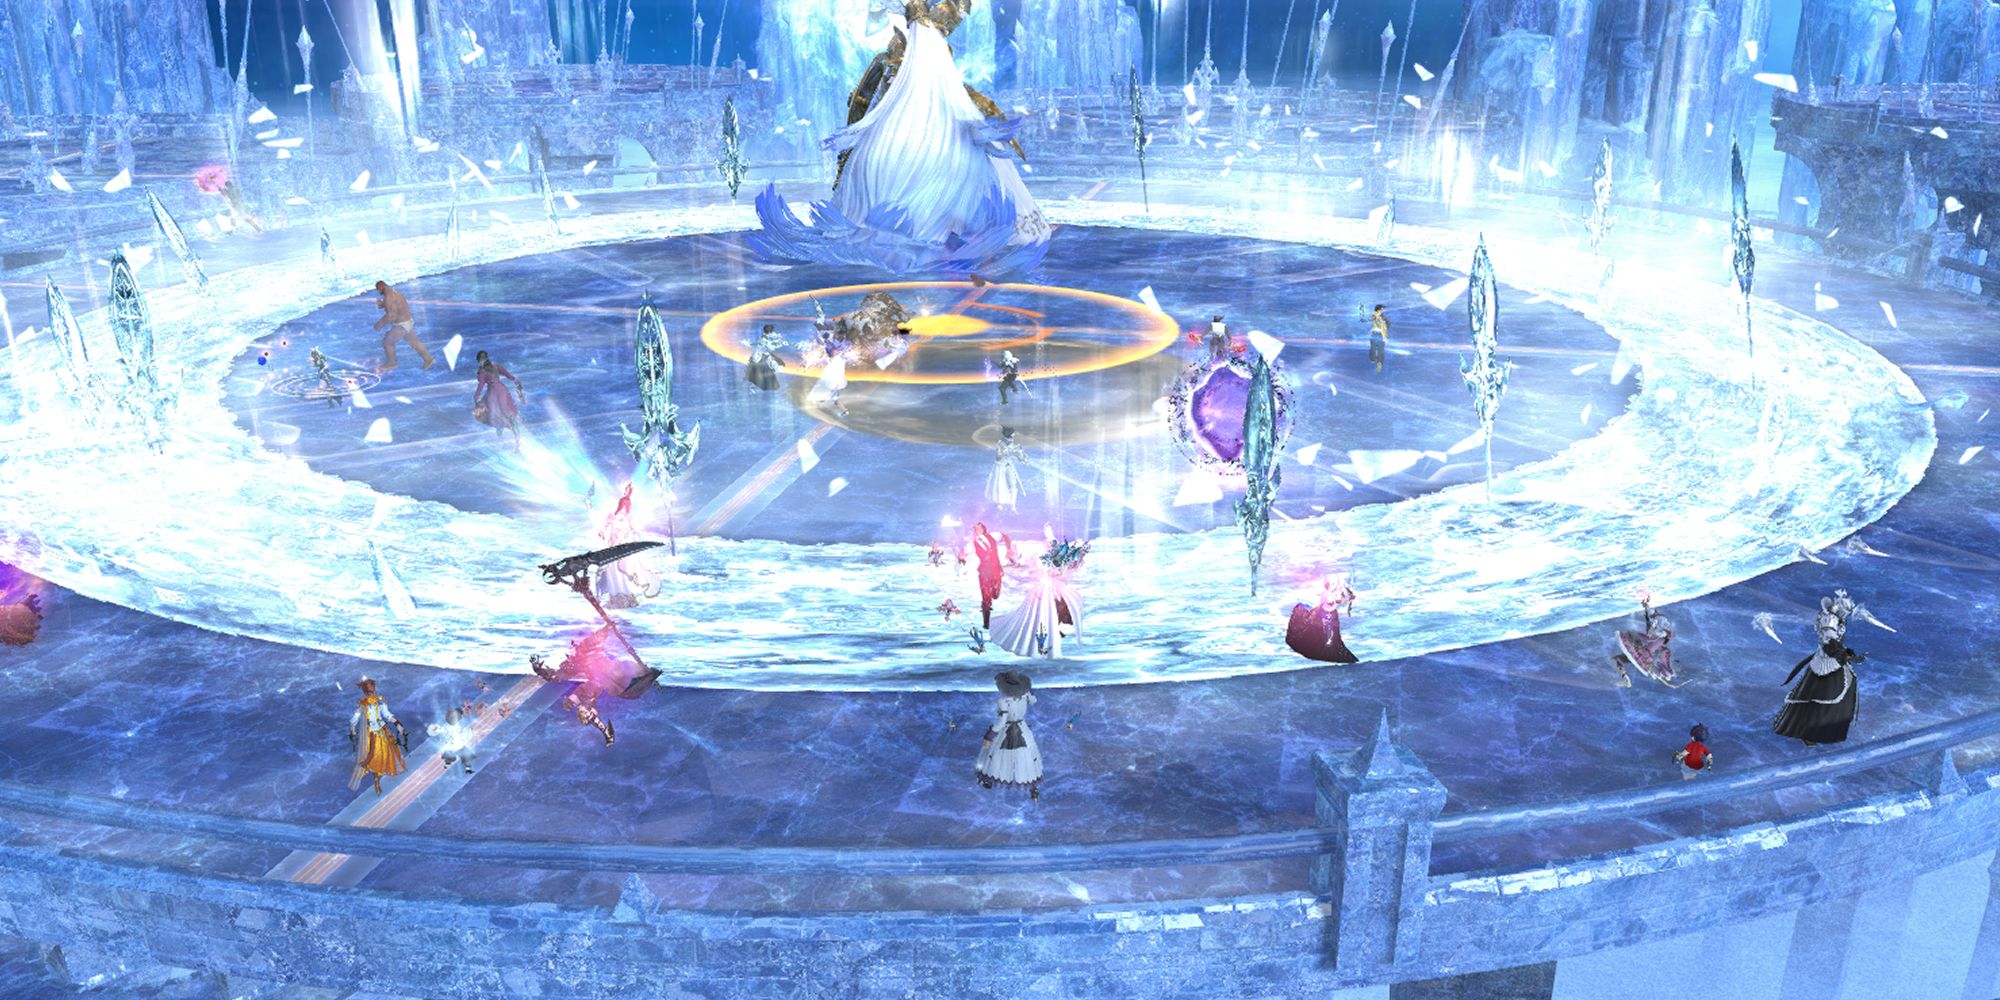
Glacial Spears is a mini-enrage timer. Halone leaps to the north of the arena. Three spears then appear in a similar configuration to Doom Spear, so you can keep the same alliance raid groups from that mechanic.
A prison will then form around the spears, trapping players inside. Dodge the Area of Effect blasts that Halone flings at you while damaging the spear, then deal with the fourth and final spear in the centre of the arena to survive the mechanic.
While imprisoned, Halone will also fire a rotating beam from the centre of the arena. Its rotation direction is indicated by the arrows around the central spear, so make sure you are on the side of the line rotating away from you.
All spears need to die before Halone’s “The Fury’s Frost” gauge fills, or the raid will wipe. Halone will then summon a giant blade of frost, crushing the raid for heavy Area of Effect damage, which will require mitigation and healing as needed.
Phase Three: Spears, Towers, And Tetrapagos Plus
Halone will repeat her abilities from phase one, but she will overlap them. One particularly nasty combination to look out for is a mix-up of both Lochos and Thousandfold Thrust, which will leave only one-eighth of the arena free as opposed to the quadrant from phase one.
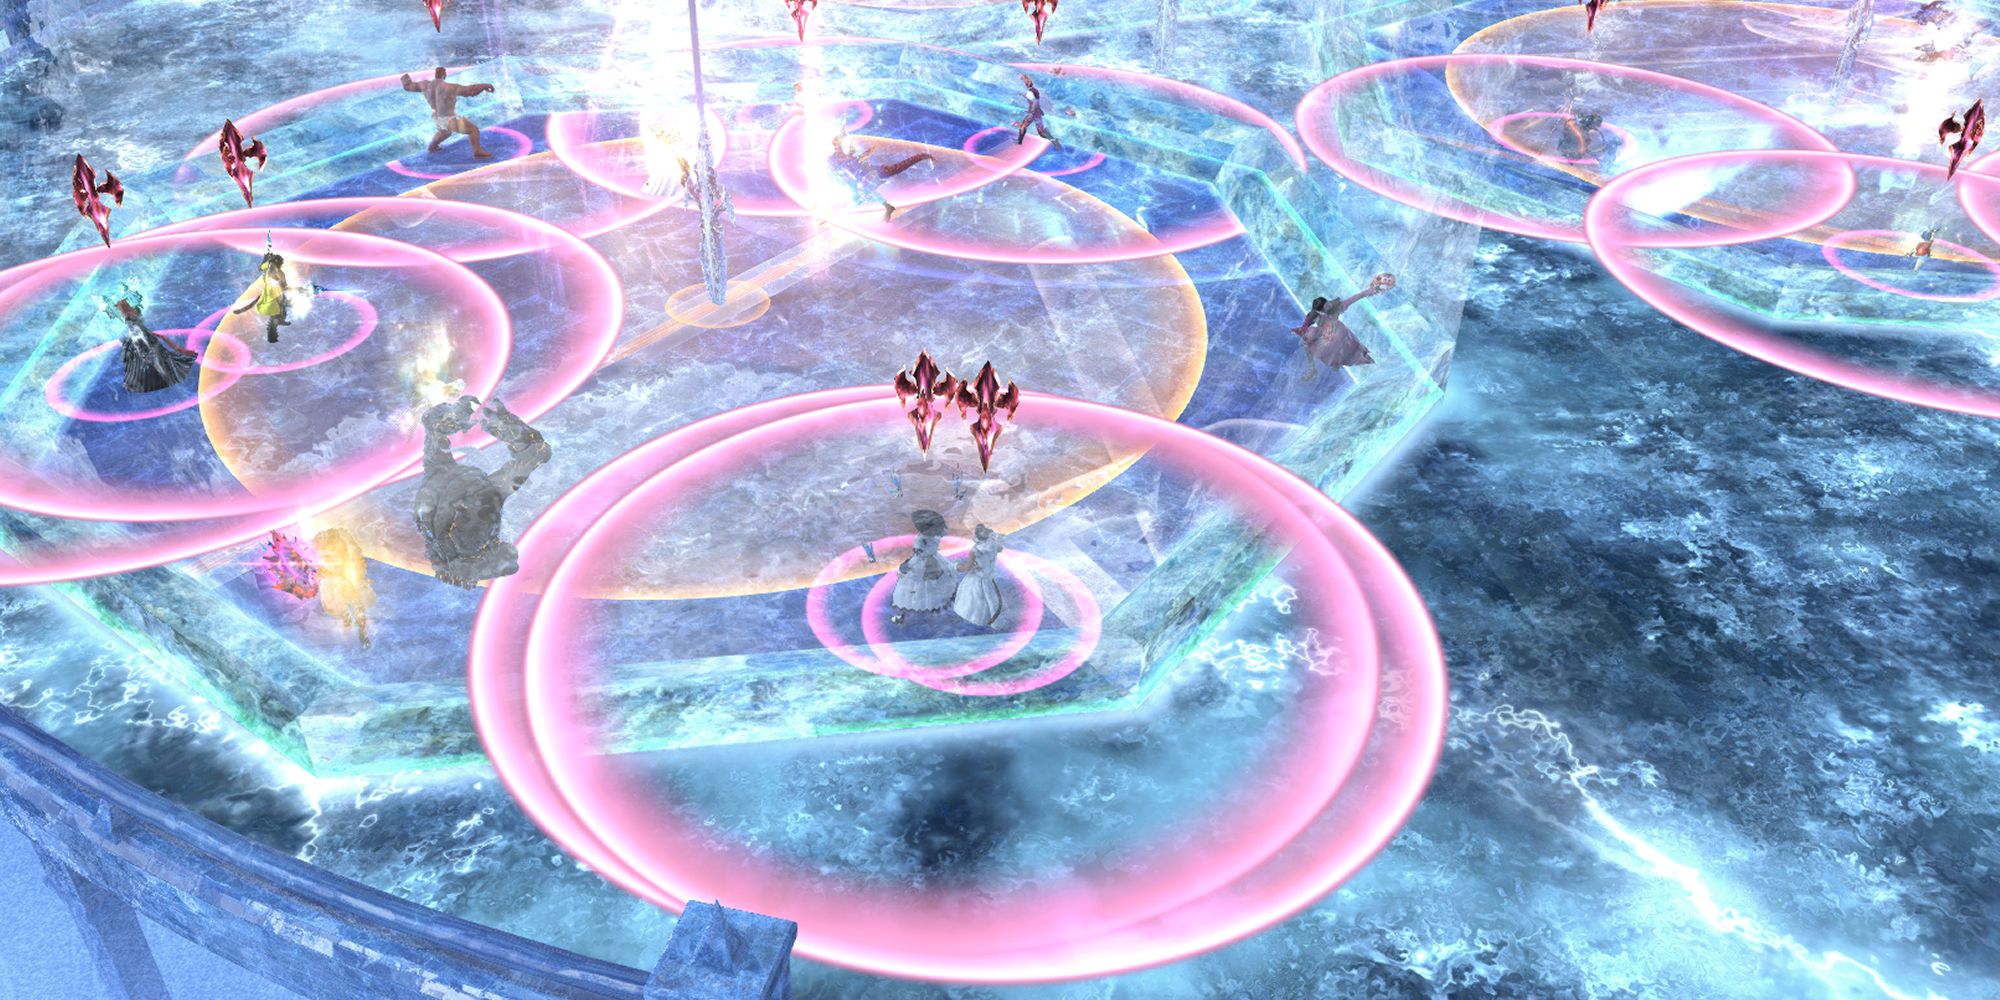
In addition, Halone will use Chalaza, which will create spread markers on some raid members while also designating one character with a stack marker, so spread if you have a spread marker, and stack if you don’t.
Final Boss: Menphina, The Lover Battle Strategy
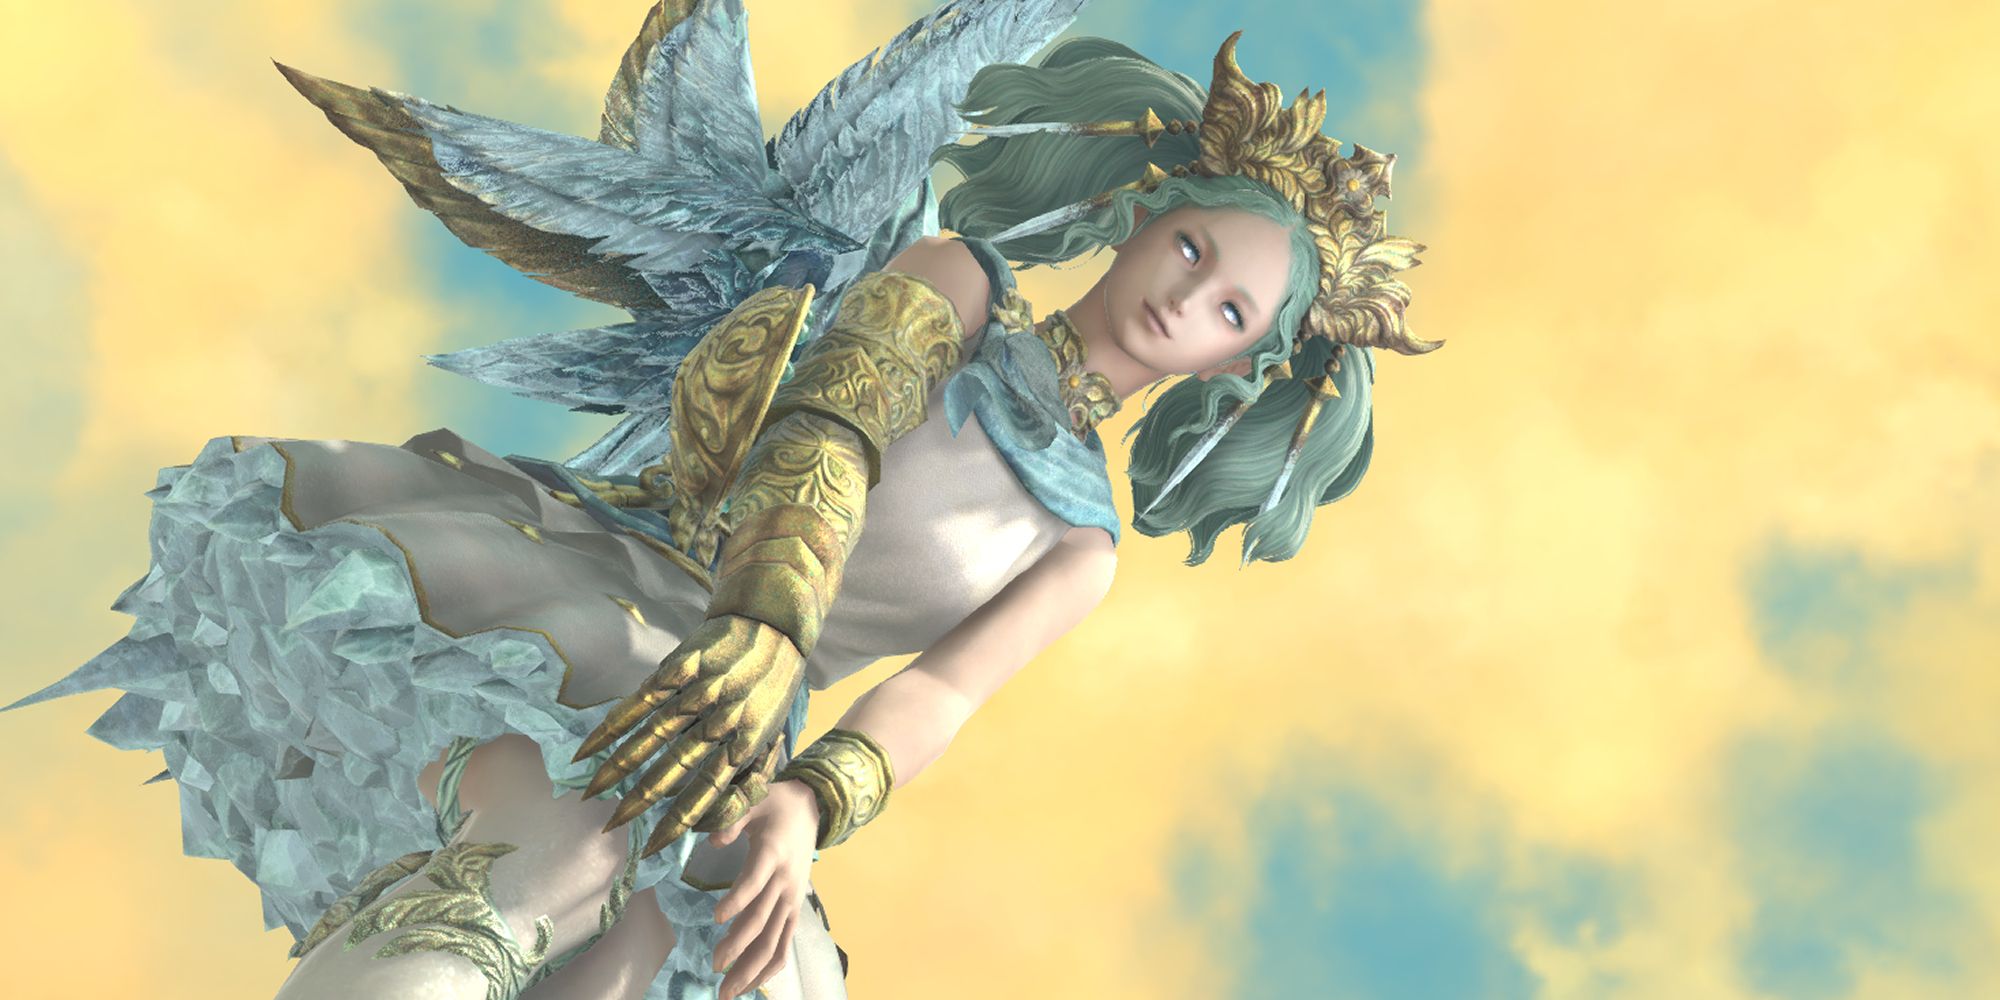
Menphina is the final boss of Euphrosyne, and she very quickly proves to be a lover as well as a fighter. In her third phase, Menphina summons her loyal hound Dalamud, adding extra danger zones to dodge.
Phase One: Moon And Frost
Menphina will start the fight by casting Blue Moon, a raid-wide Area of Effect attack which will also spawn a deadly ring around the edge of the arena. Her other mechanics during this phase are as follows:
Love’s Light | An enormous moon will slowly fill with waxing light at the edge of the arena. Once the moon is filled with light, a beam will cut through the middle of the battlefield, originating from the moon. |
|---|---|
Midnight Frost | Menphina casts an Area of Effect attack behind her, indicated by the frost growing at her heels. Move in front of her to dodge. |
Lunar Kiss | Three tank-buster icons will appear before Menphina fires beams of moonlight and frost at each tank. Tanks need to spread out and mitigate as needed, while DPS should avoid standing near them. |
Silver Mirror | Players are targeted with Area of Effect attacks that drop under their feet. Move away as needed. |
Moonset | Three large Area of Effect attacks that appear one after the other. Menphina then leaps to them in the order they appear, detonating them. |
Winter Halo | Menphina leaps to the edge of the arena and creates a “donut” Area of Effect attack, and you must move toward the boss to reach the safe zone. |
For many “baited” attacks like Silver Mirror, it’s best to move only exactly as far as you need to dodge each danger zone.
This keeps them close together, making it easier for your allies to dodge further blasts.
Phase Two: Love’s Light Plus And Selenian Mysteria
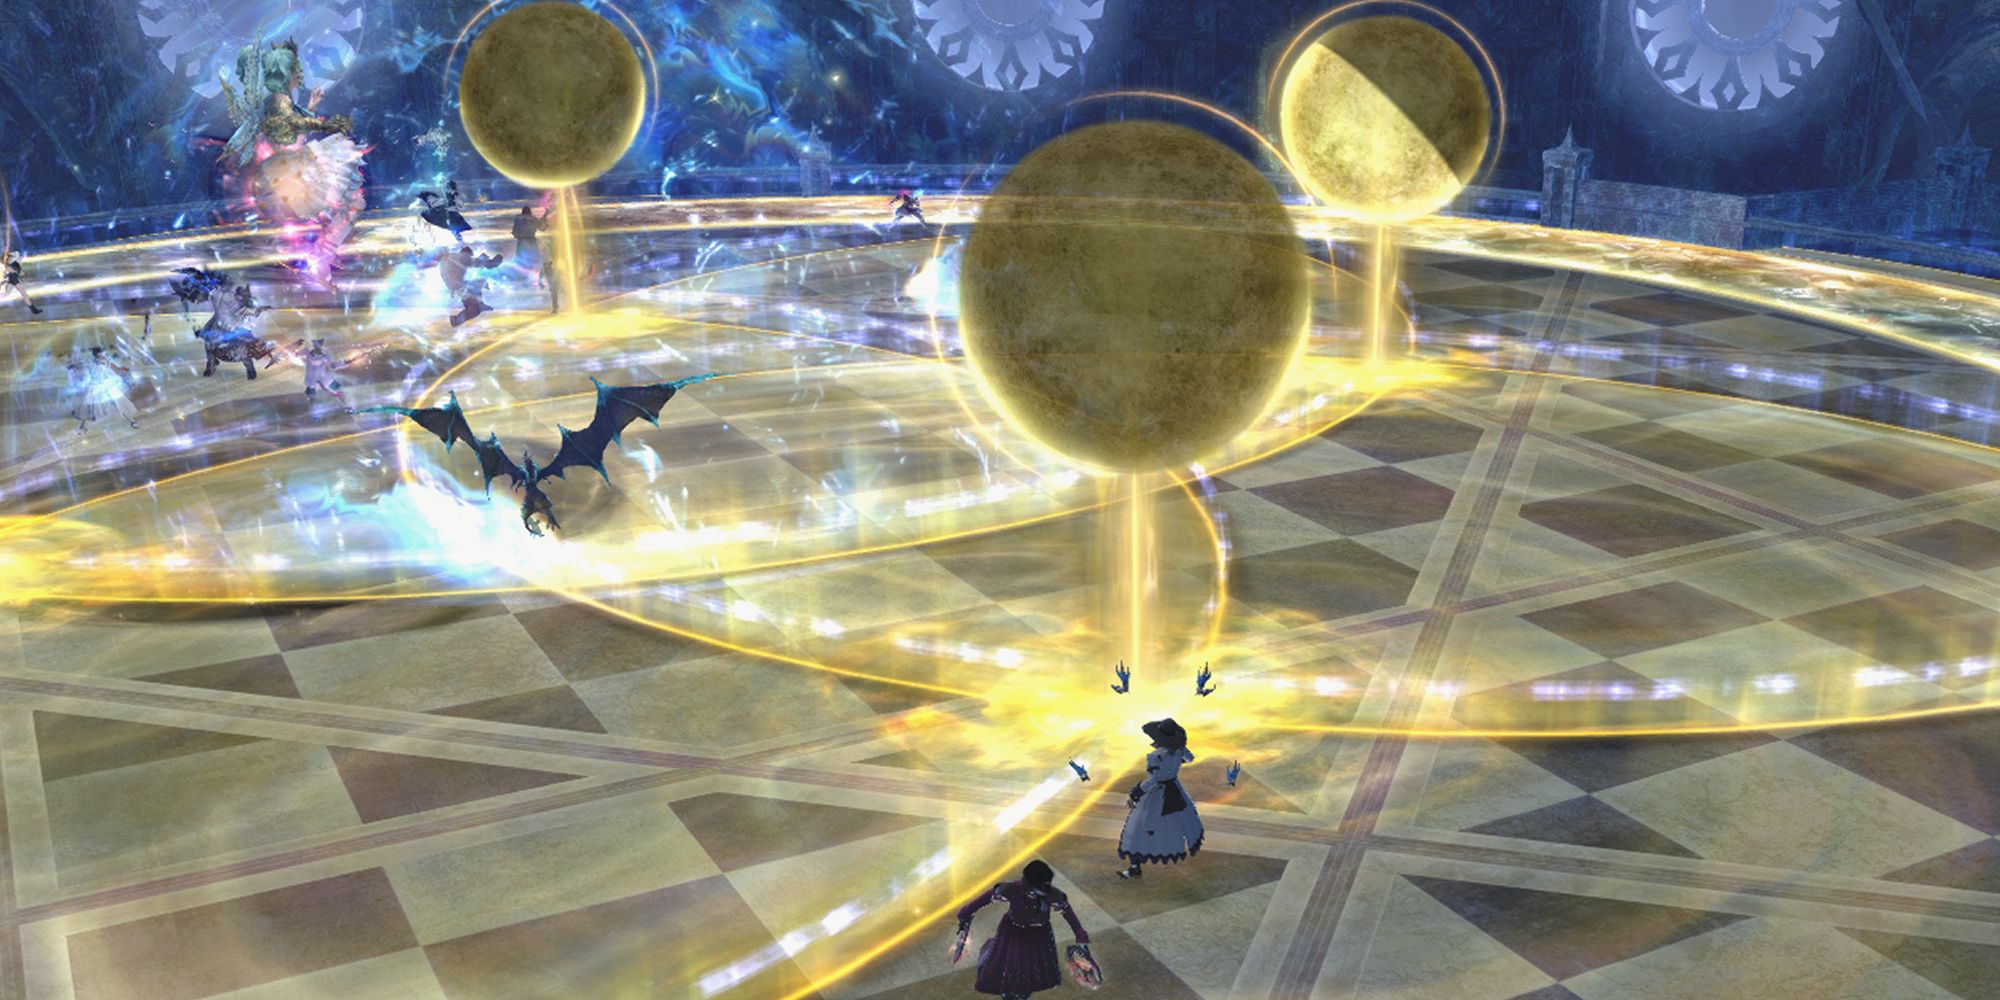
Menphina will cast Love’s Light again; however, instead of one moon appearing at the edge of the arena, several moons will appear on the arena floor. They will show either as half-full or empty (third quarter and new moon, in proper lunar terms). Move to the “empty” or new moon areas first, as they will explode last.
Menphina will then teleport to the middle of the battlefield and cast Selenian Mysteria. Similarly to Halone’s Glacial Spears, Menphina will summon four ceremonial pillars that need to be destroyed before her “The Lover’s Power” gauge fills.
Sprites will also spawn, firing large Area of Effect cones at the raid, and players will also be marked with spread markers. Stay out of the fire and heal up as needed, and you should topple the pillars in no time.
Phase Three: Rise Of The Twin Moons
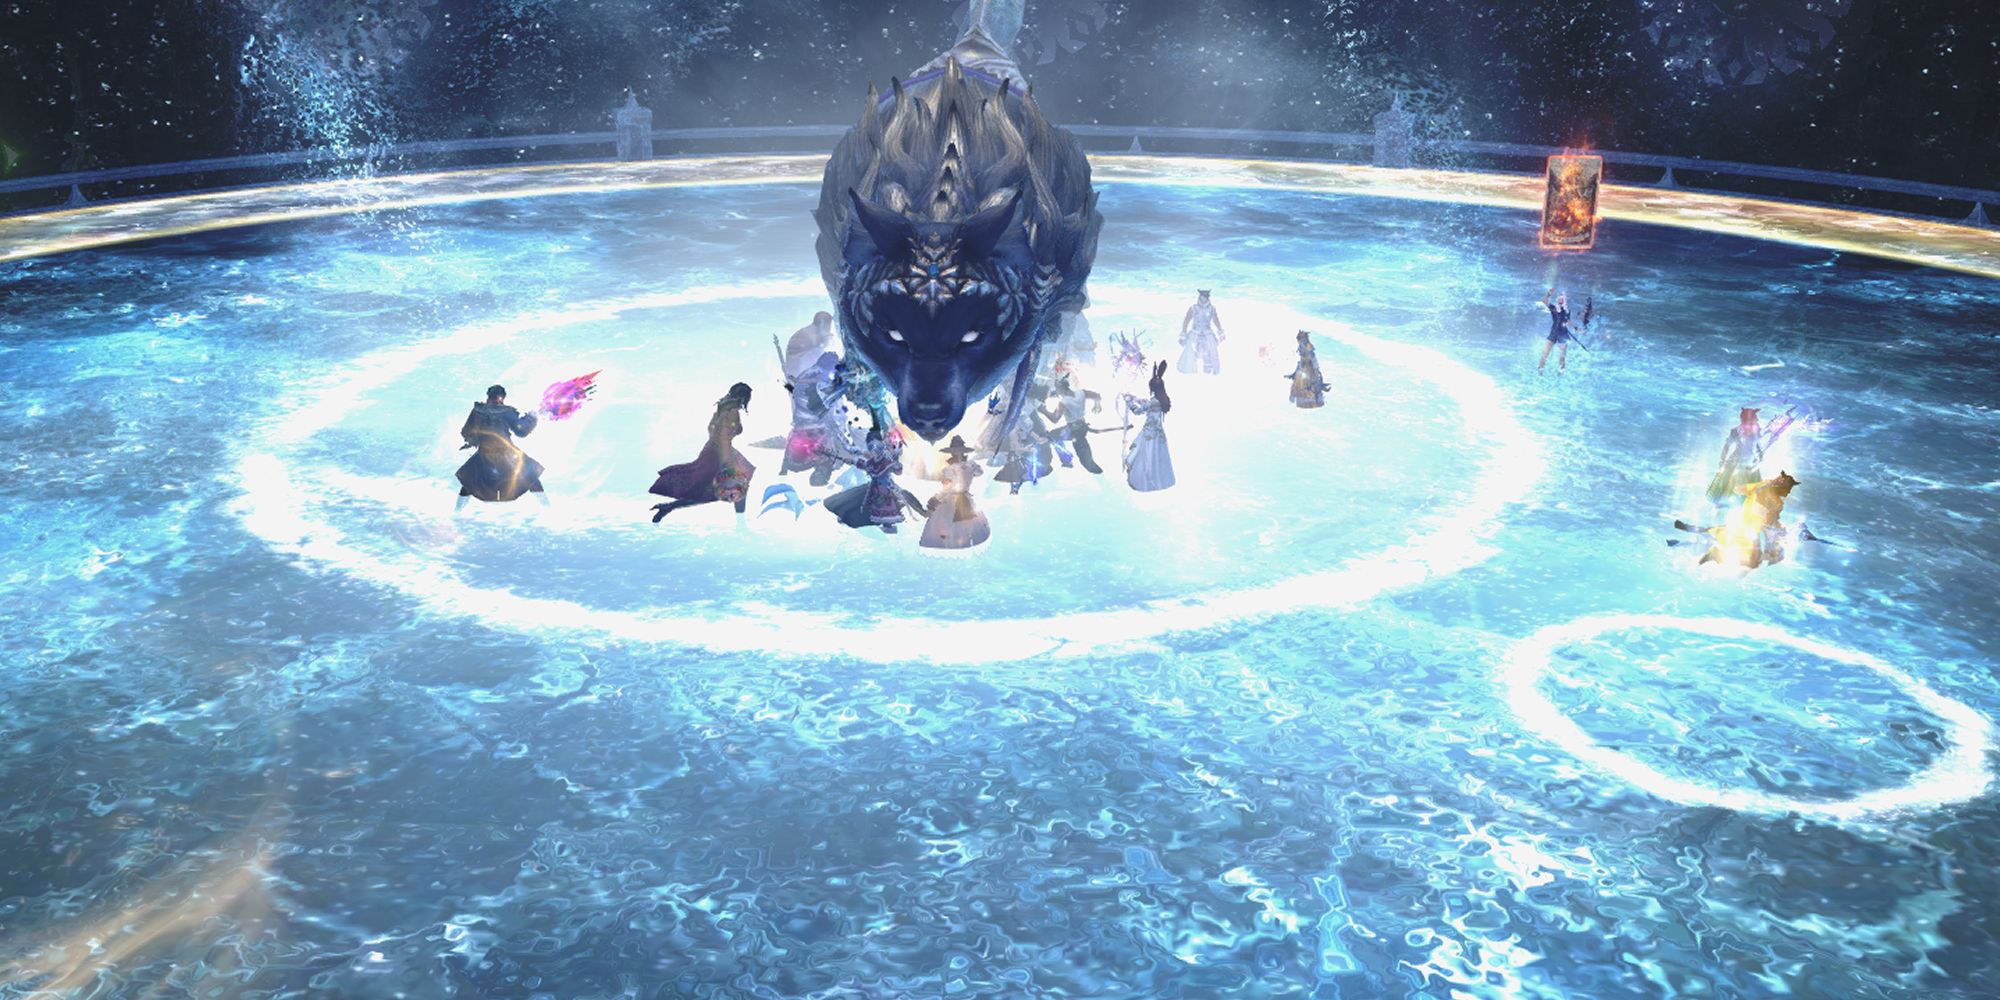
Menphina will begin phase three by summoning her loyal hound Dalamud as she casts Rise of The Twin Moons, dealing enormous raid-wide damage that will need to be healed and shielded through.
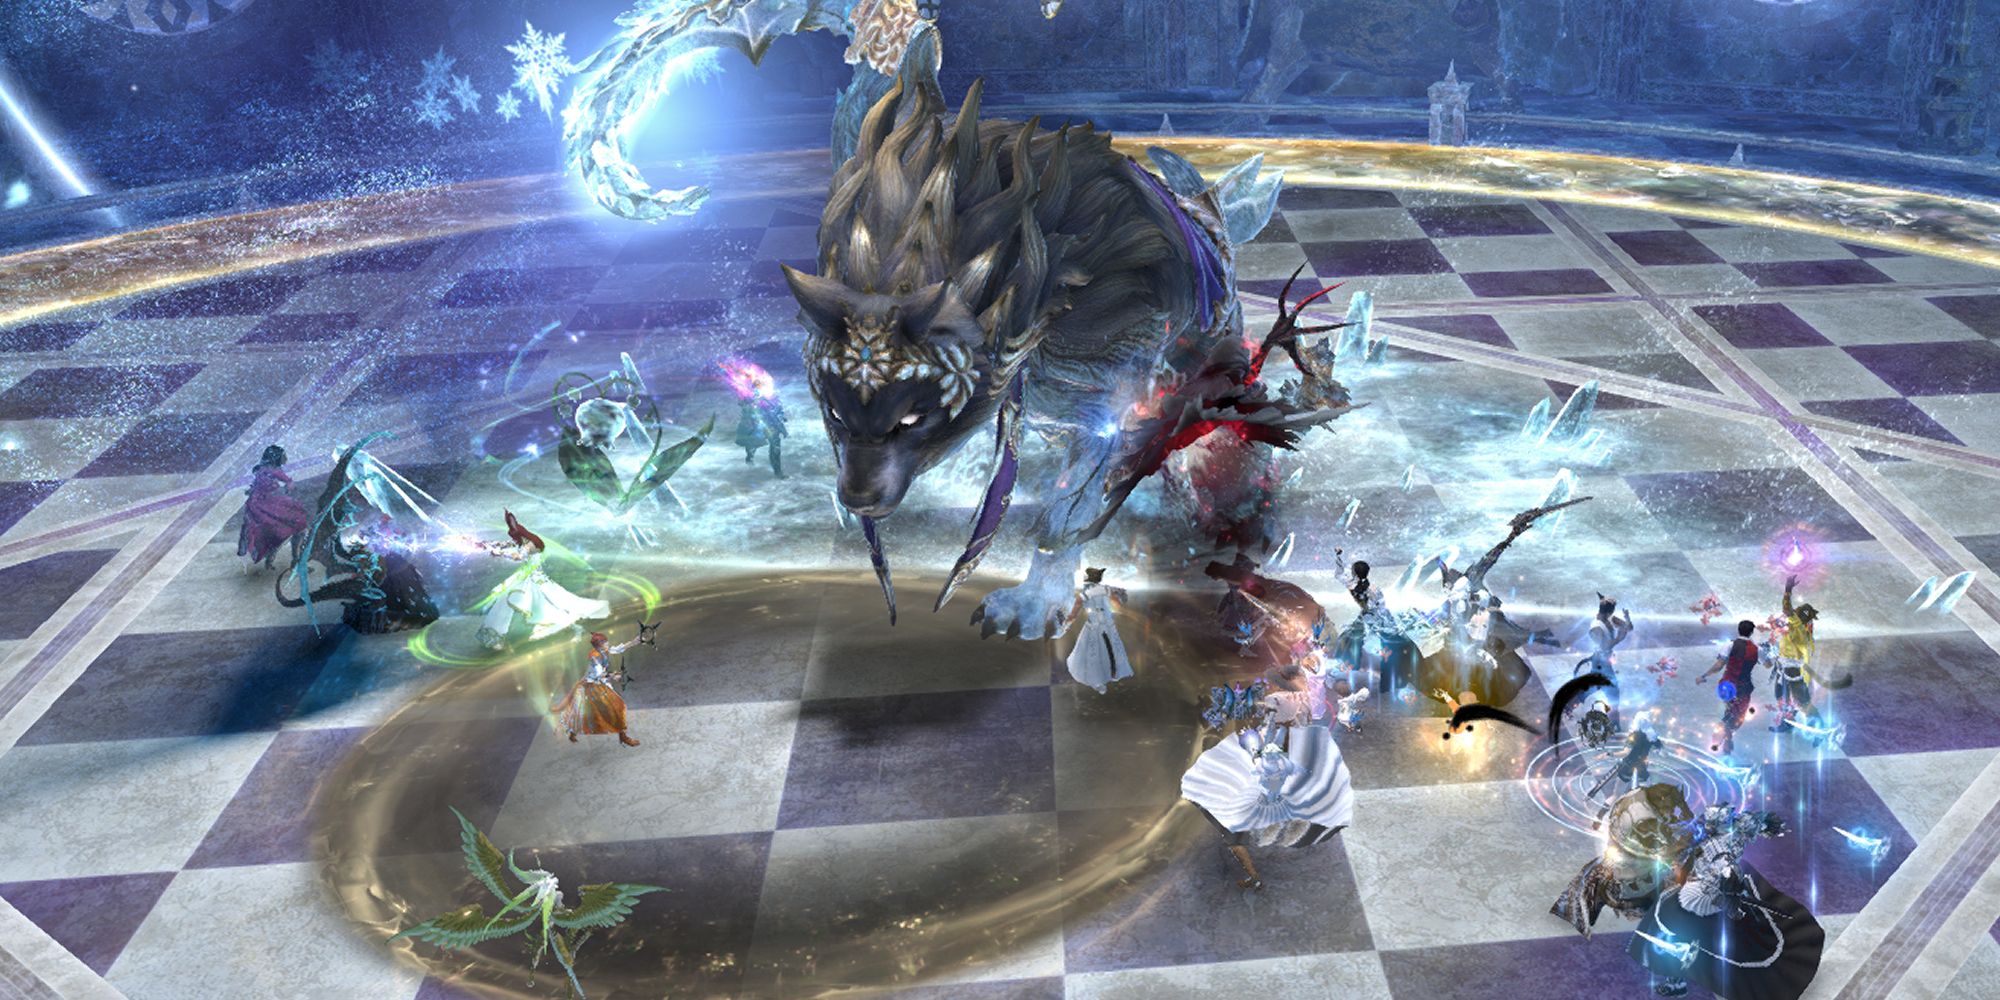
Whenever Menphina uses one of her attacks, such as Midnight Frost, Dalamud will hold an icy sickle to either his left or his right. Stand on the side without the sickle while paying attention to Menphina’s mechanics, and you’ll be safe.
Menphina can also cast Playful Orbit, which sends the wolf to a different area of the arena to perform its attack. In addition, she also gains the following abilities:
Keen Moonbeam | Targets players with Area of Effect markers: spread out to avoid damaging your allies. |
|---|---|
Crating Chill | Menphina creates two proximity Area of Effect attacks, then covers the arena floor in ice. This will cause your character to slide a set distance whenever they move. Menphina will combine this with Winter Halo and another sickle from Dalamu, so slide into the safe spot to avoid damage. |
Moonset Rays | A stack marker will appear over one character in the raid. Group up to spread out the damage. |
One particularly deadly combo of attacks that might give you trouble is a concert of Love’s Light, Midnight Frost, and Dalamud’s sickle. This will leave a very small area of the arena free, and we recommend using Sprint to get into the proper position.
During the entire phase, Menphina will combine her mechanics. Keep an eye out for slippery ice beneath your feet, dodge the Area of Effects slung your way, and you’ll finish your second bout of combat with the Twelve.

