Quick Links
Diablo 4's Apex of Misery Quest continues after the Harrowed Lament, where Arlo and his daughter Maisie are escorted back to the hamlet of Braestaig by Yorin. You set off, hot on the trail of Airidiah, to discover new information about Lilith's plans and whereabouts.
Lilith may have failed to coerce Donan into helping her, but that has not stopped her from carrying out her evil plans. Ultimately Airidiah failed to see through Lilith's lies, having monumental consequences. So, fortify your Shock resistance and prepare to fight an electrifying boss battle.
Apex Of Misery Quest Walkthrough
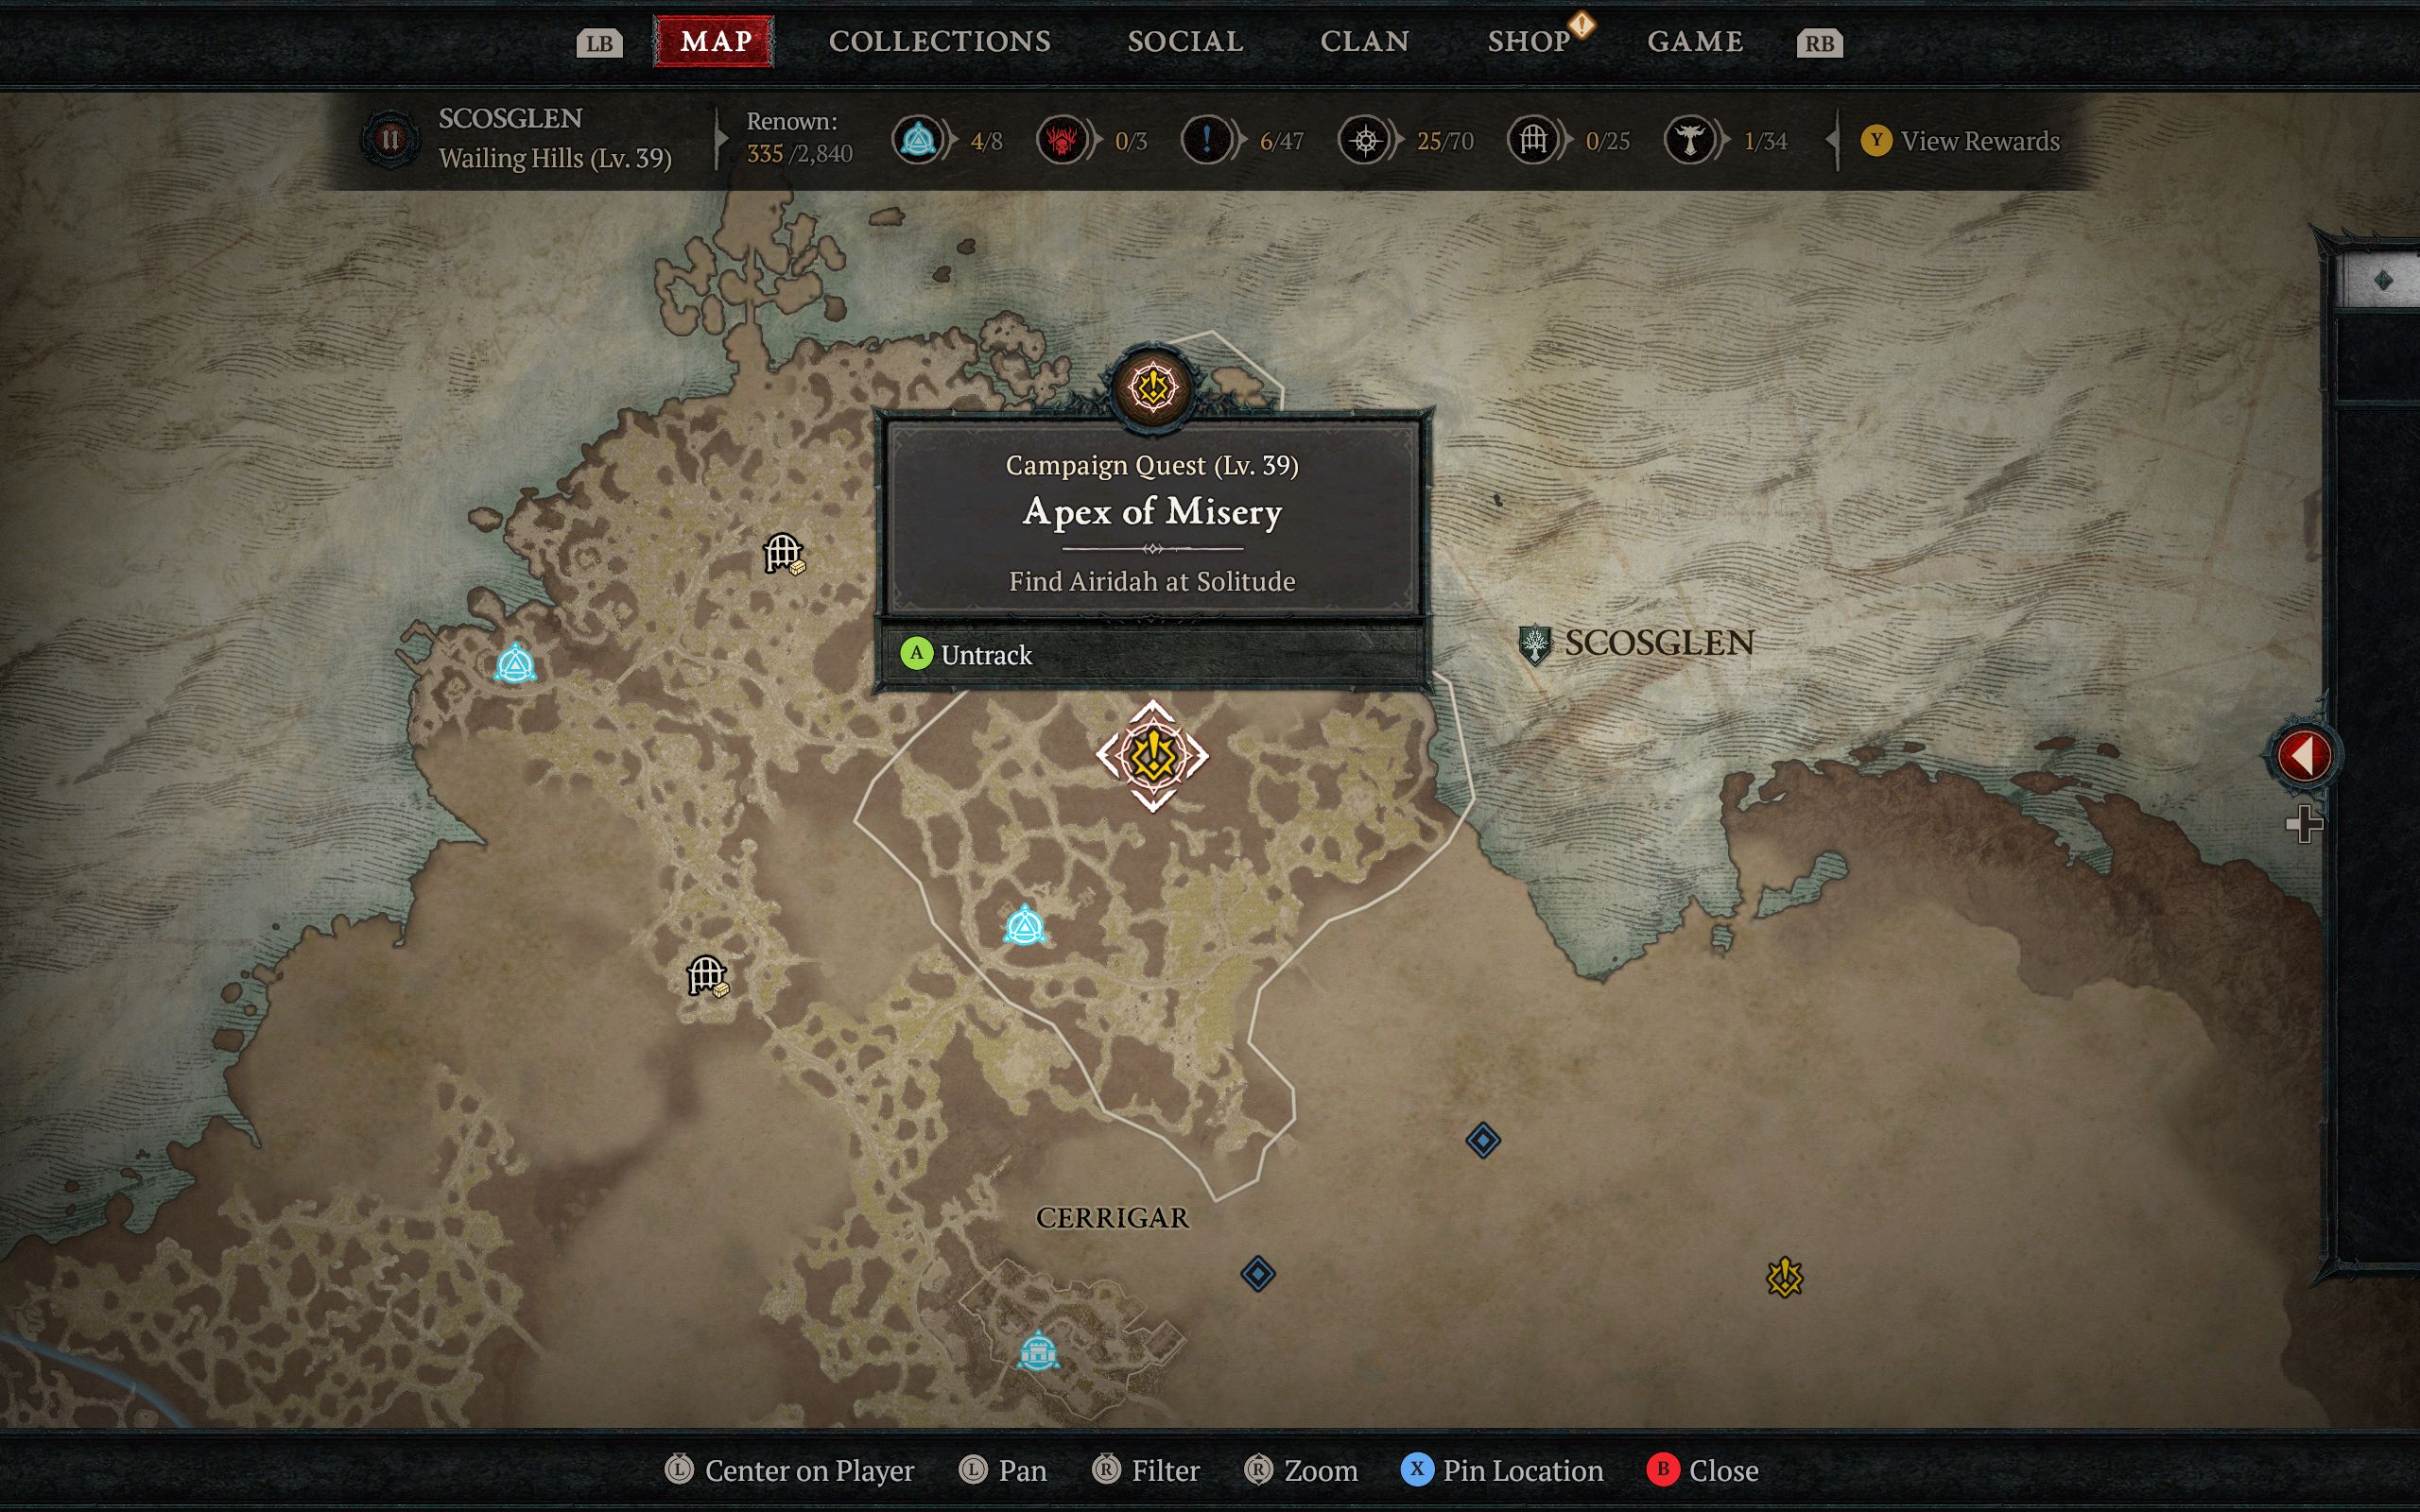
The Apex of Misery Quest takes place in the Ancestor Heights and Solitude area of the Scosglen region. Braestaig is the closest settlement and Waypoint to this quest.
Traveling north from Braestaig, you will encounter phantoms, giant Wildwoods, and large groups of Stinging Swarms.
Although Stinging Swarms are small, they significantly decrease your movement speed, making it hard to dodge the attacks of Wildwoods, so take them out immediately.
Prior to completing Harrowed Lament, access to the Solitude area was blocked by roots. But destroying the Rise Remains has cleared the path to this area. You will again have to kill these creatures to reach Airidiah; however, they are shielded this time.
How To Destroy The Rise Remains
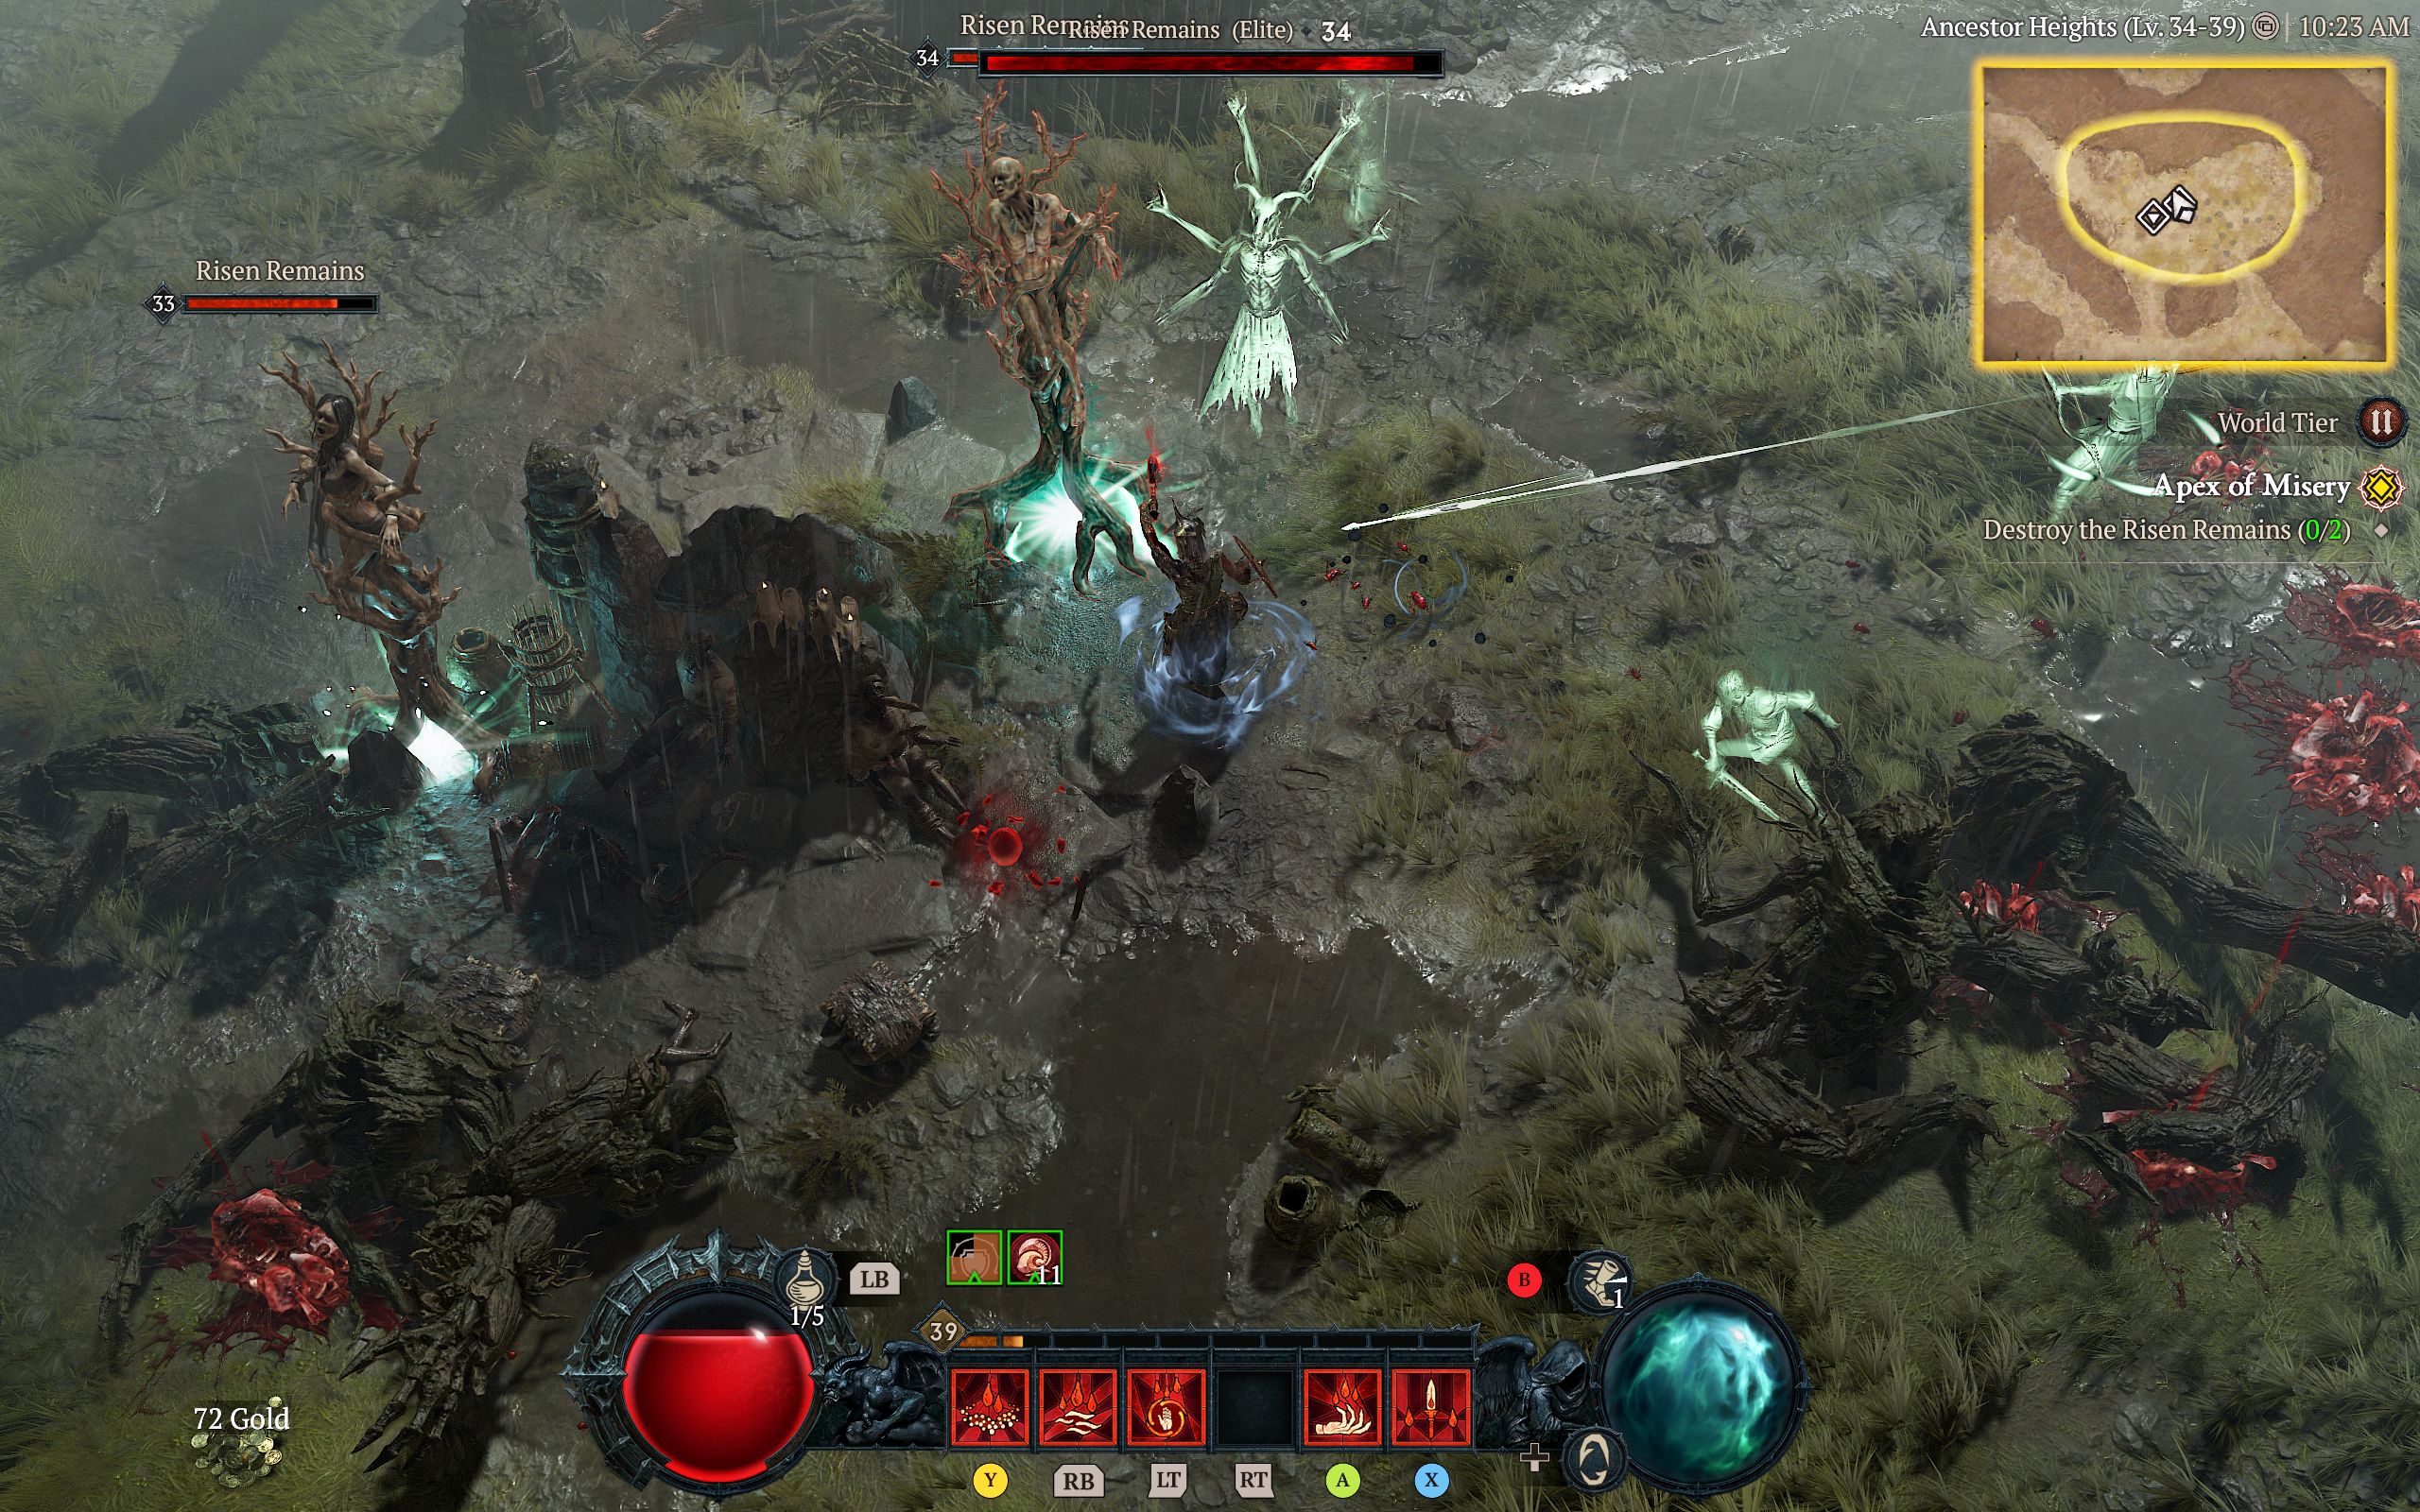
To remove the barrier protecting the two Rise Remains, you must find the source of the spell and kill the mob channeling the spell in order to damage the Rise Remains.
Enemies will continue to spawn until you kill the Rise Remains, so seek out the mobs channeling the barriers.
The Rise Remains cannot attack, but the Wraiths accompanying the phantoms are a big threat, especially if they are Elite variants.
Once you kill both Rise Remains, you can continue walking up the path to Solitude. However, there are still lots of enemies between you and Airidiah.
How To Beat Airidiah Keeper Of The Dead
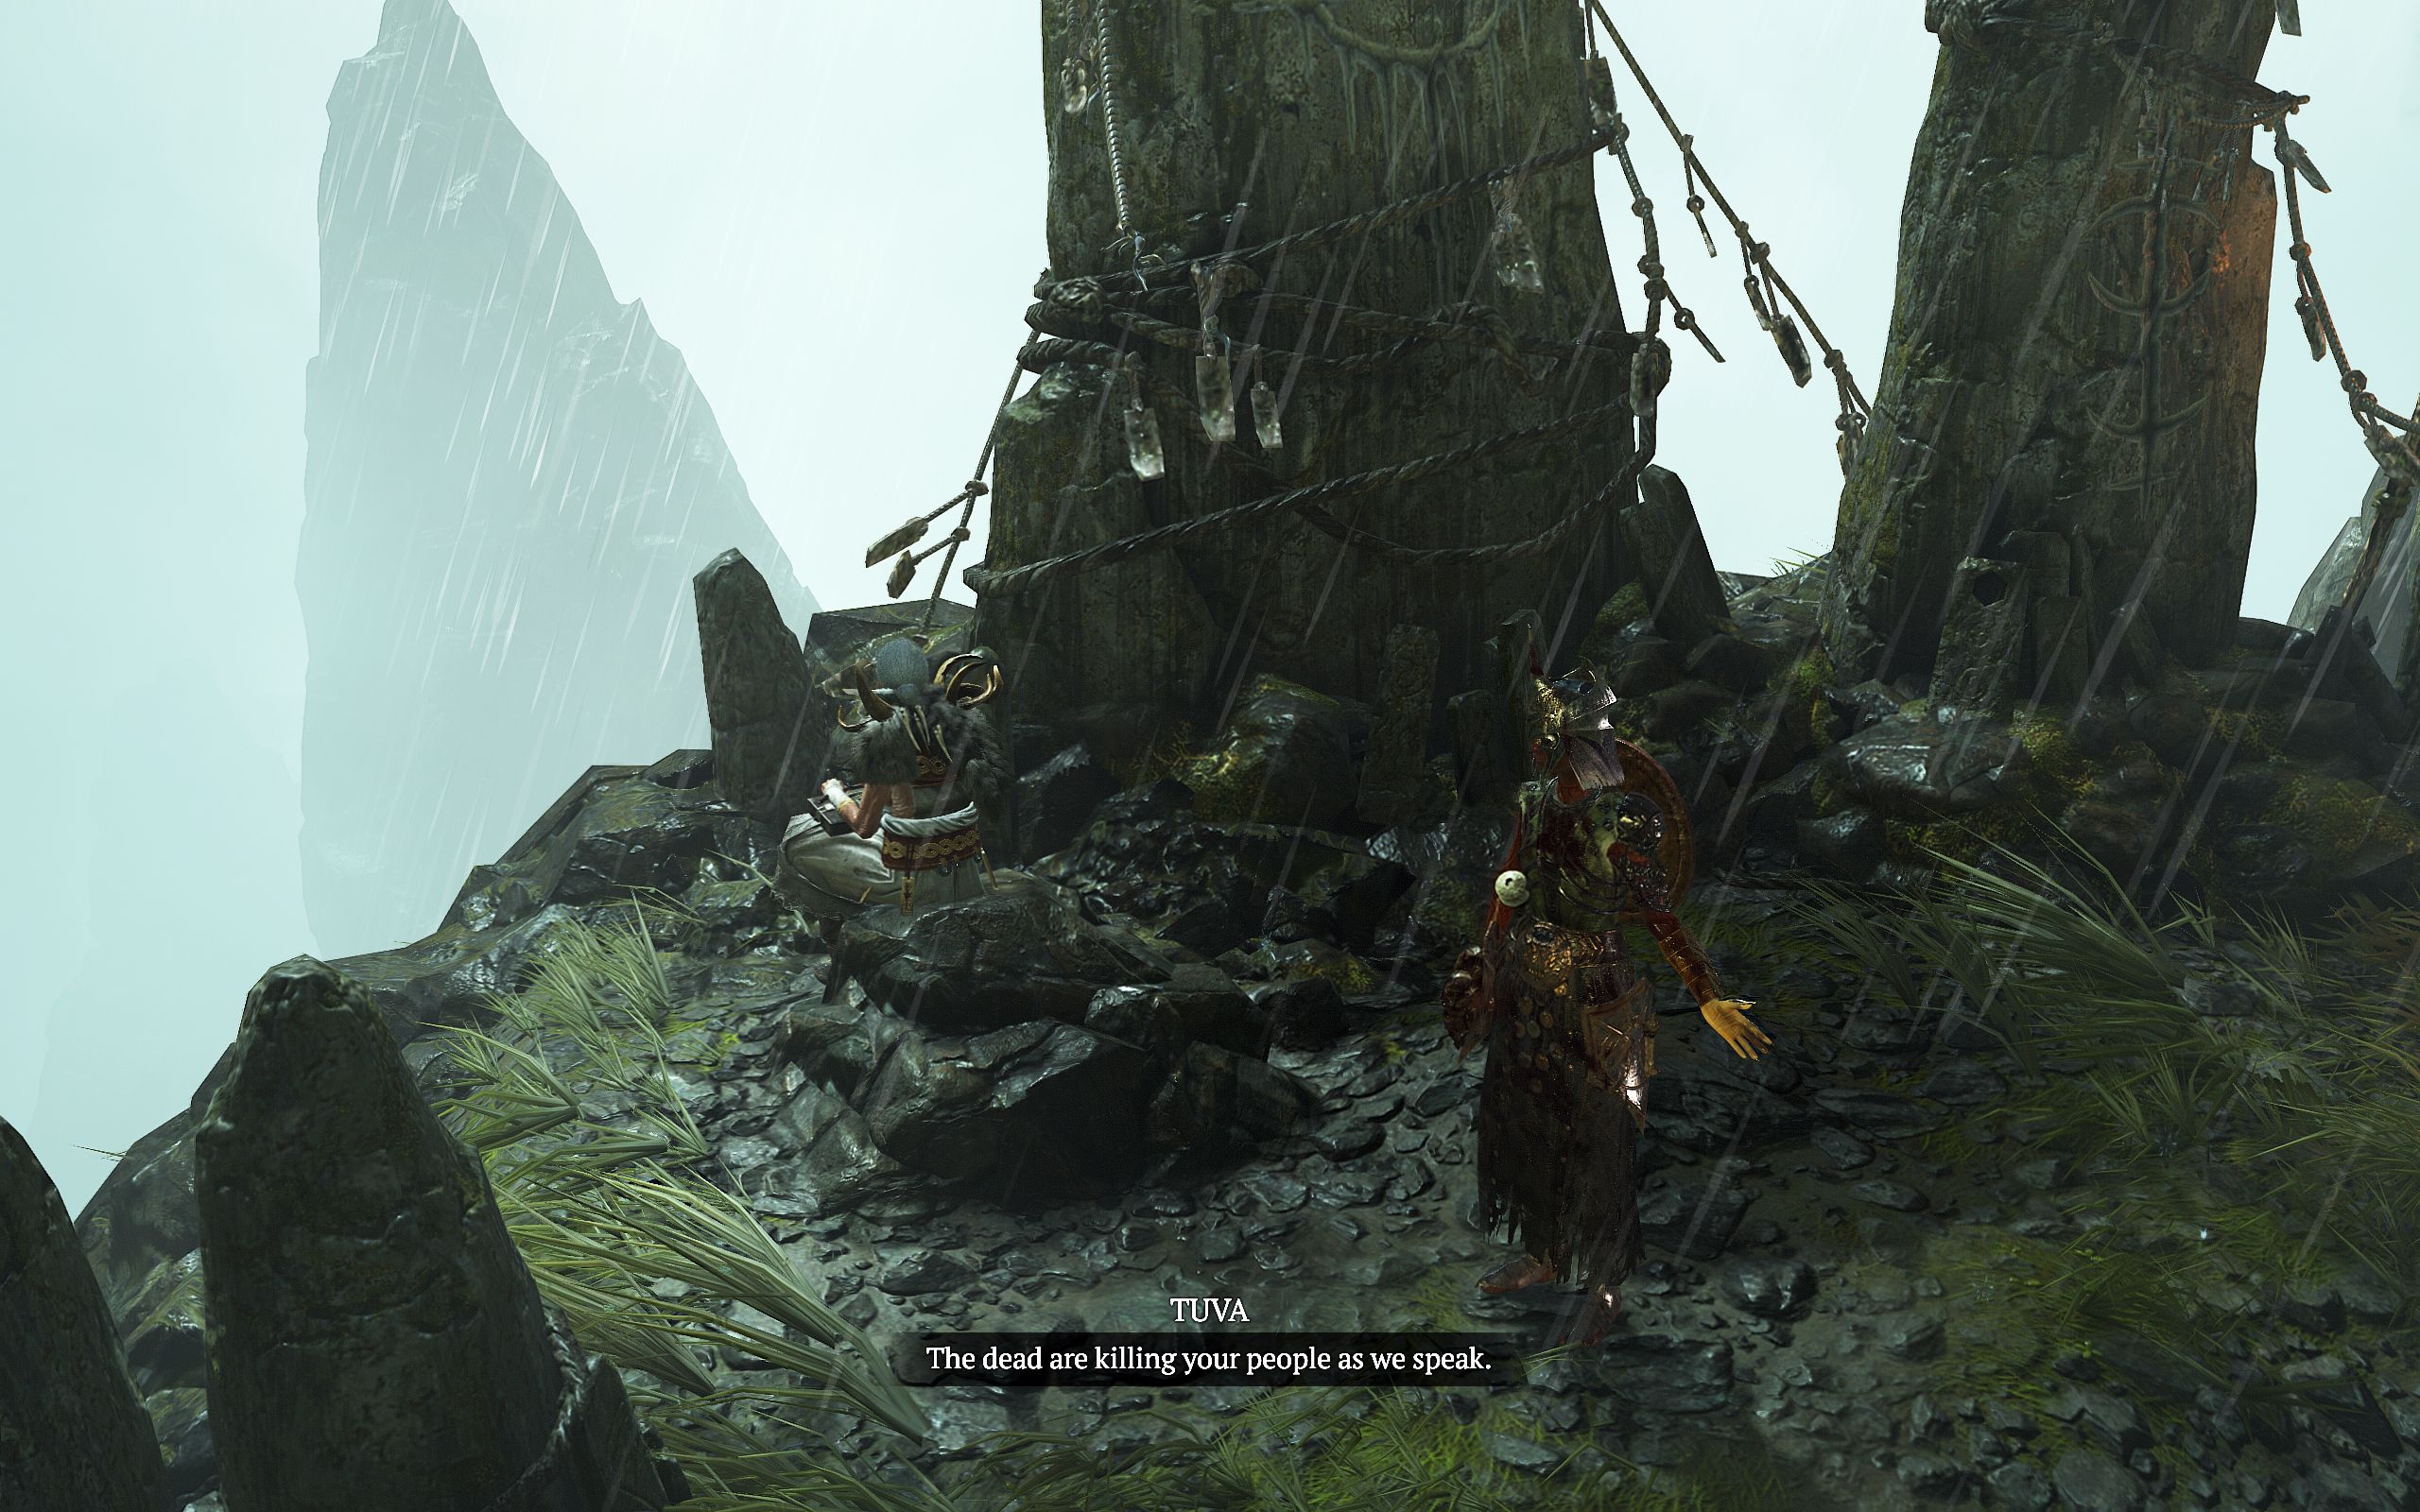
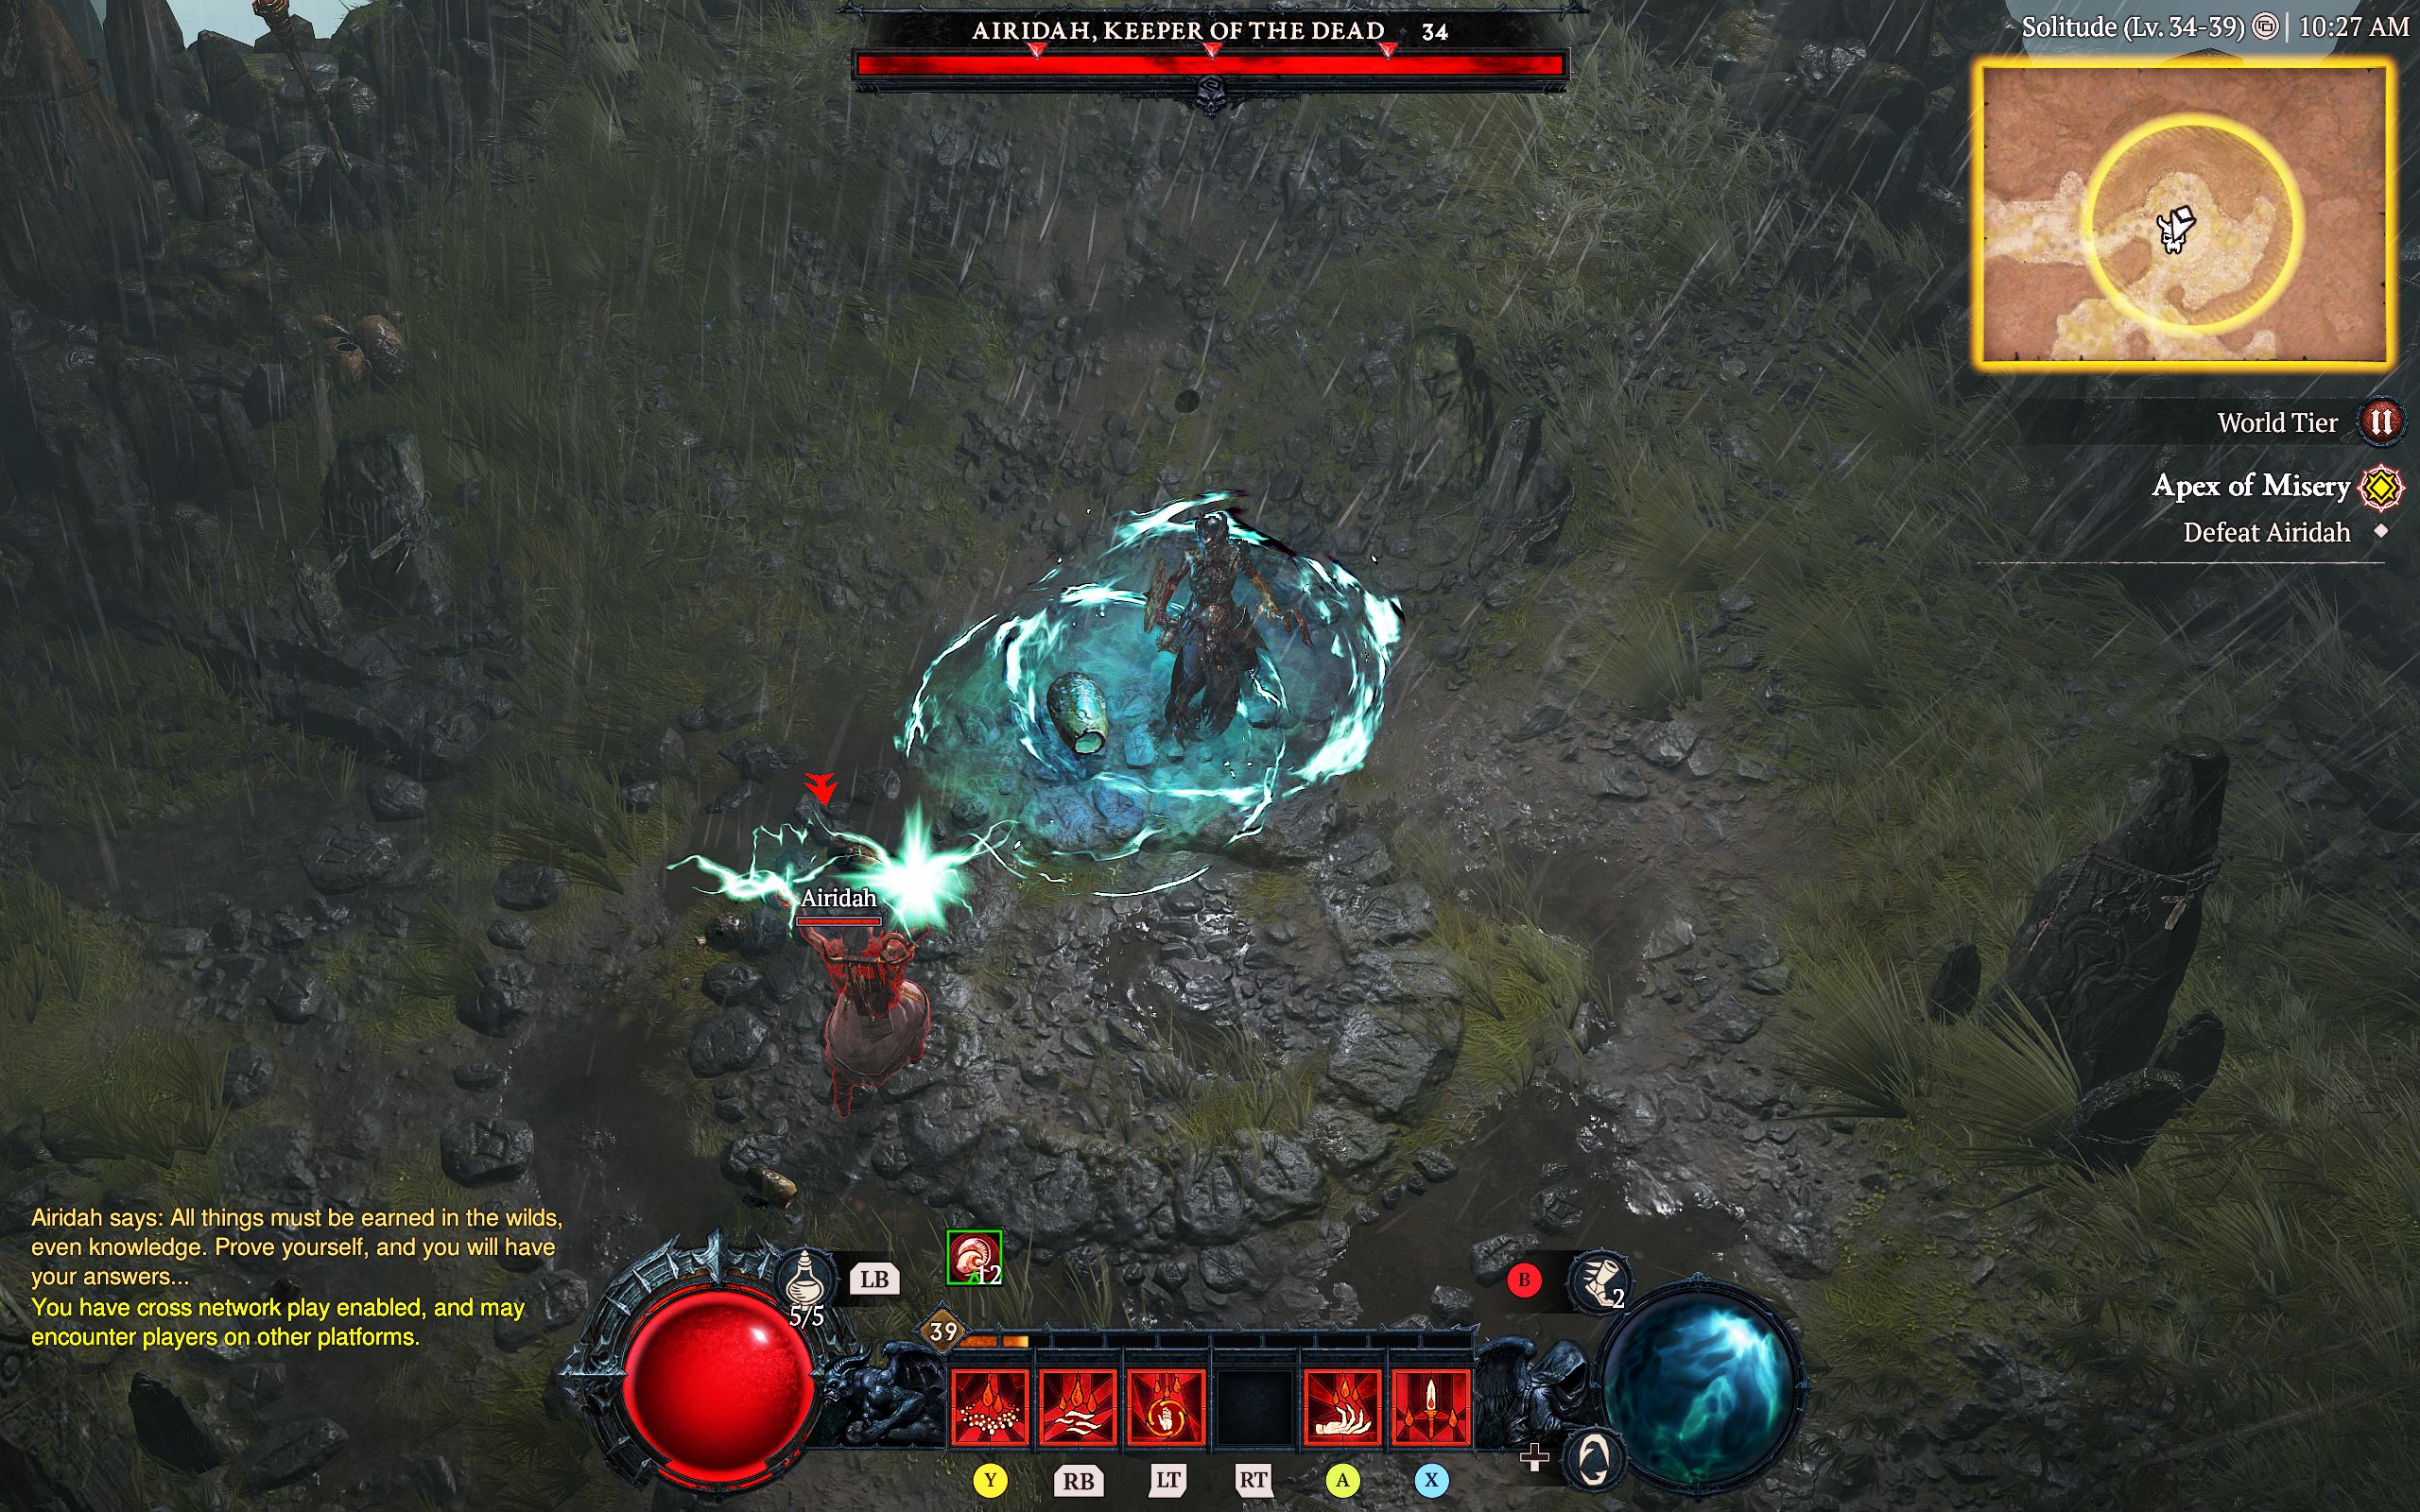
First, speak to Airidiah atop Solitude and Ancestor's Heights.
Airidiah Keeper of the Dead has three phases in combat. However, she only has a few attacks and very few differences between them. Instead, she uses the same spells but more frequently.
You won't have to worry about any melee attacks during this fight, as all of Airidiah's attacks are spells.
Moreover, circles will appear on the ground marking a Lightning Strike before Airidiah attacks, giving you more than enough time to dodge the attack.
Airidiah's lightning strikes are her main attack, so you will want to equip gear that boosts your Lightning Resistance and drink an Elixir of Lightning Resistance, making the fight much easier.
Once you deal damage to Airidiah, she will teleport away from you to another part of the arena, making it difficult to land hits on her.
Health Potions will drop from bosses each time you lower their health to the next stage of the boss fight. There are markers on the boss's health bar highlighting each battle phase.
Airidiah Fight Phase 1: Shields And Tornados
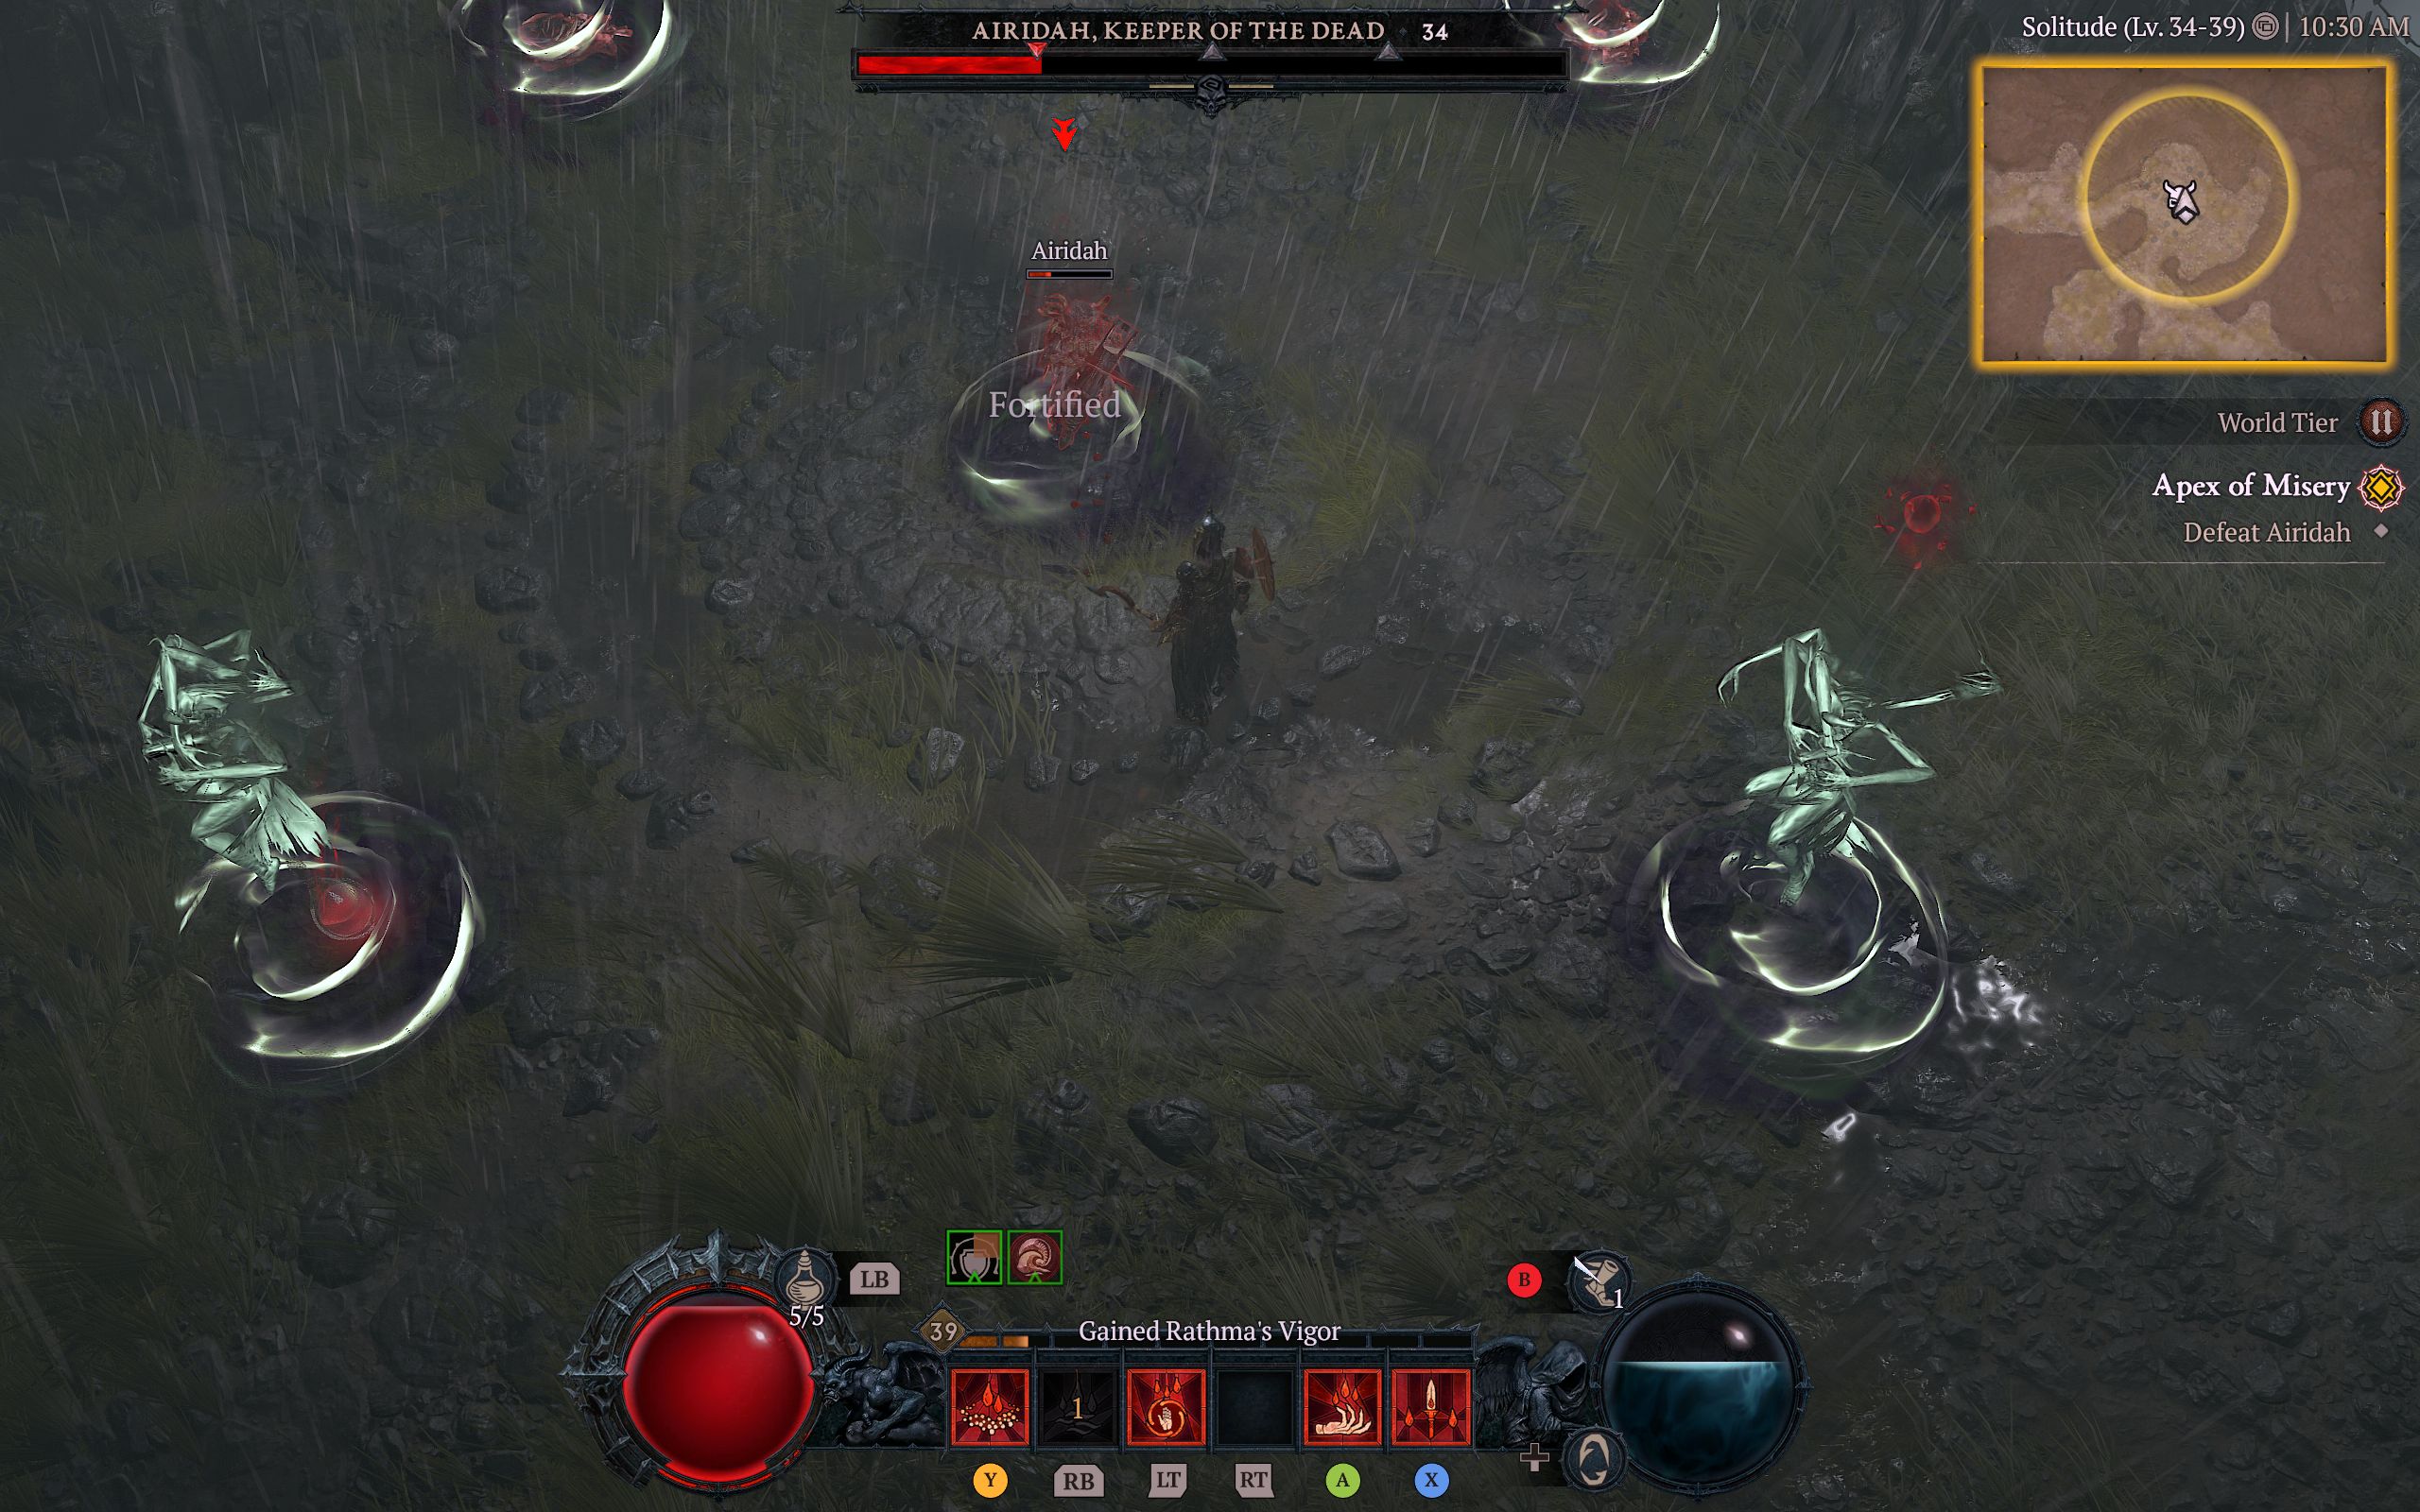
Whittling her health down enough will have her summon two banshees that will protect her with a barrier. You will need to kill each Banshee before you can resume fighting her.
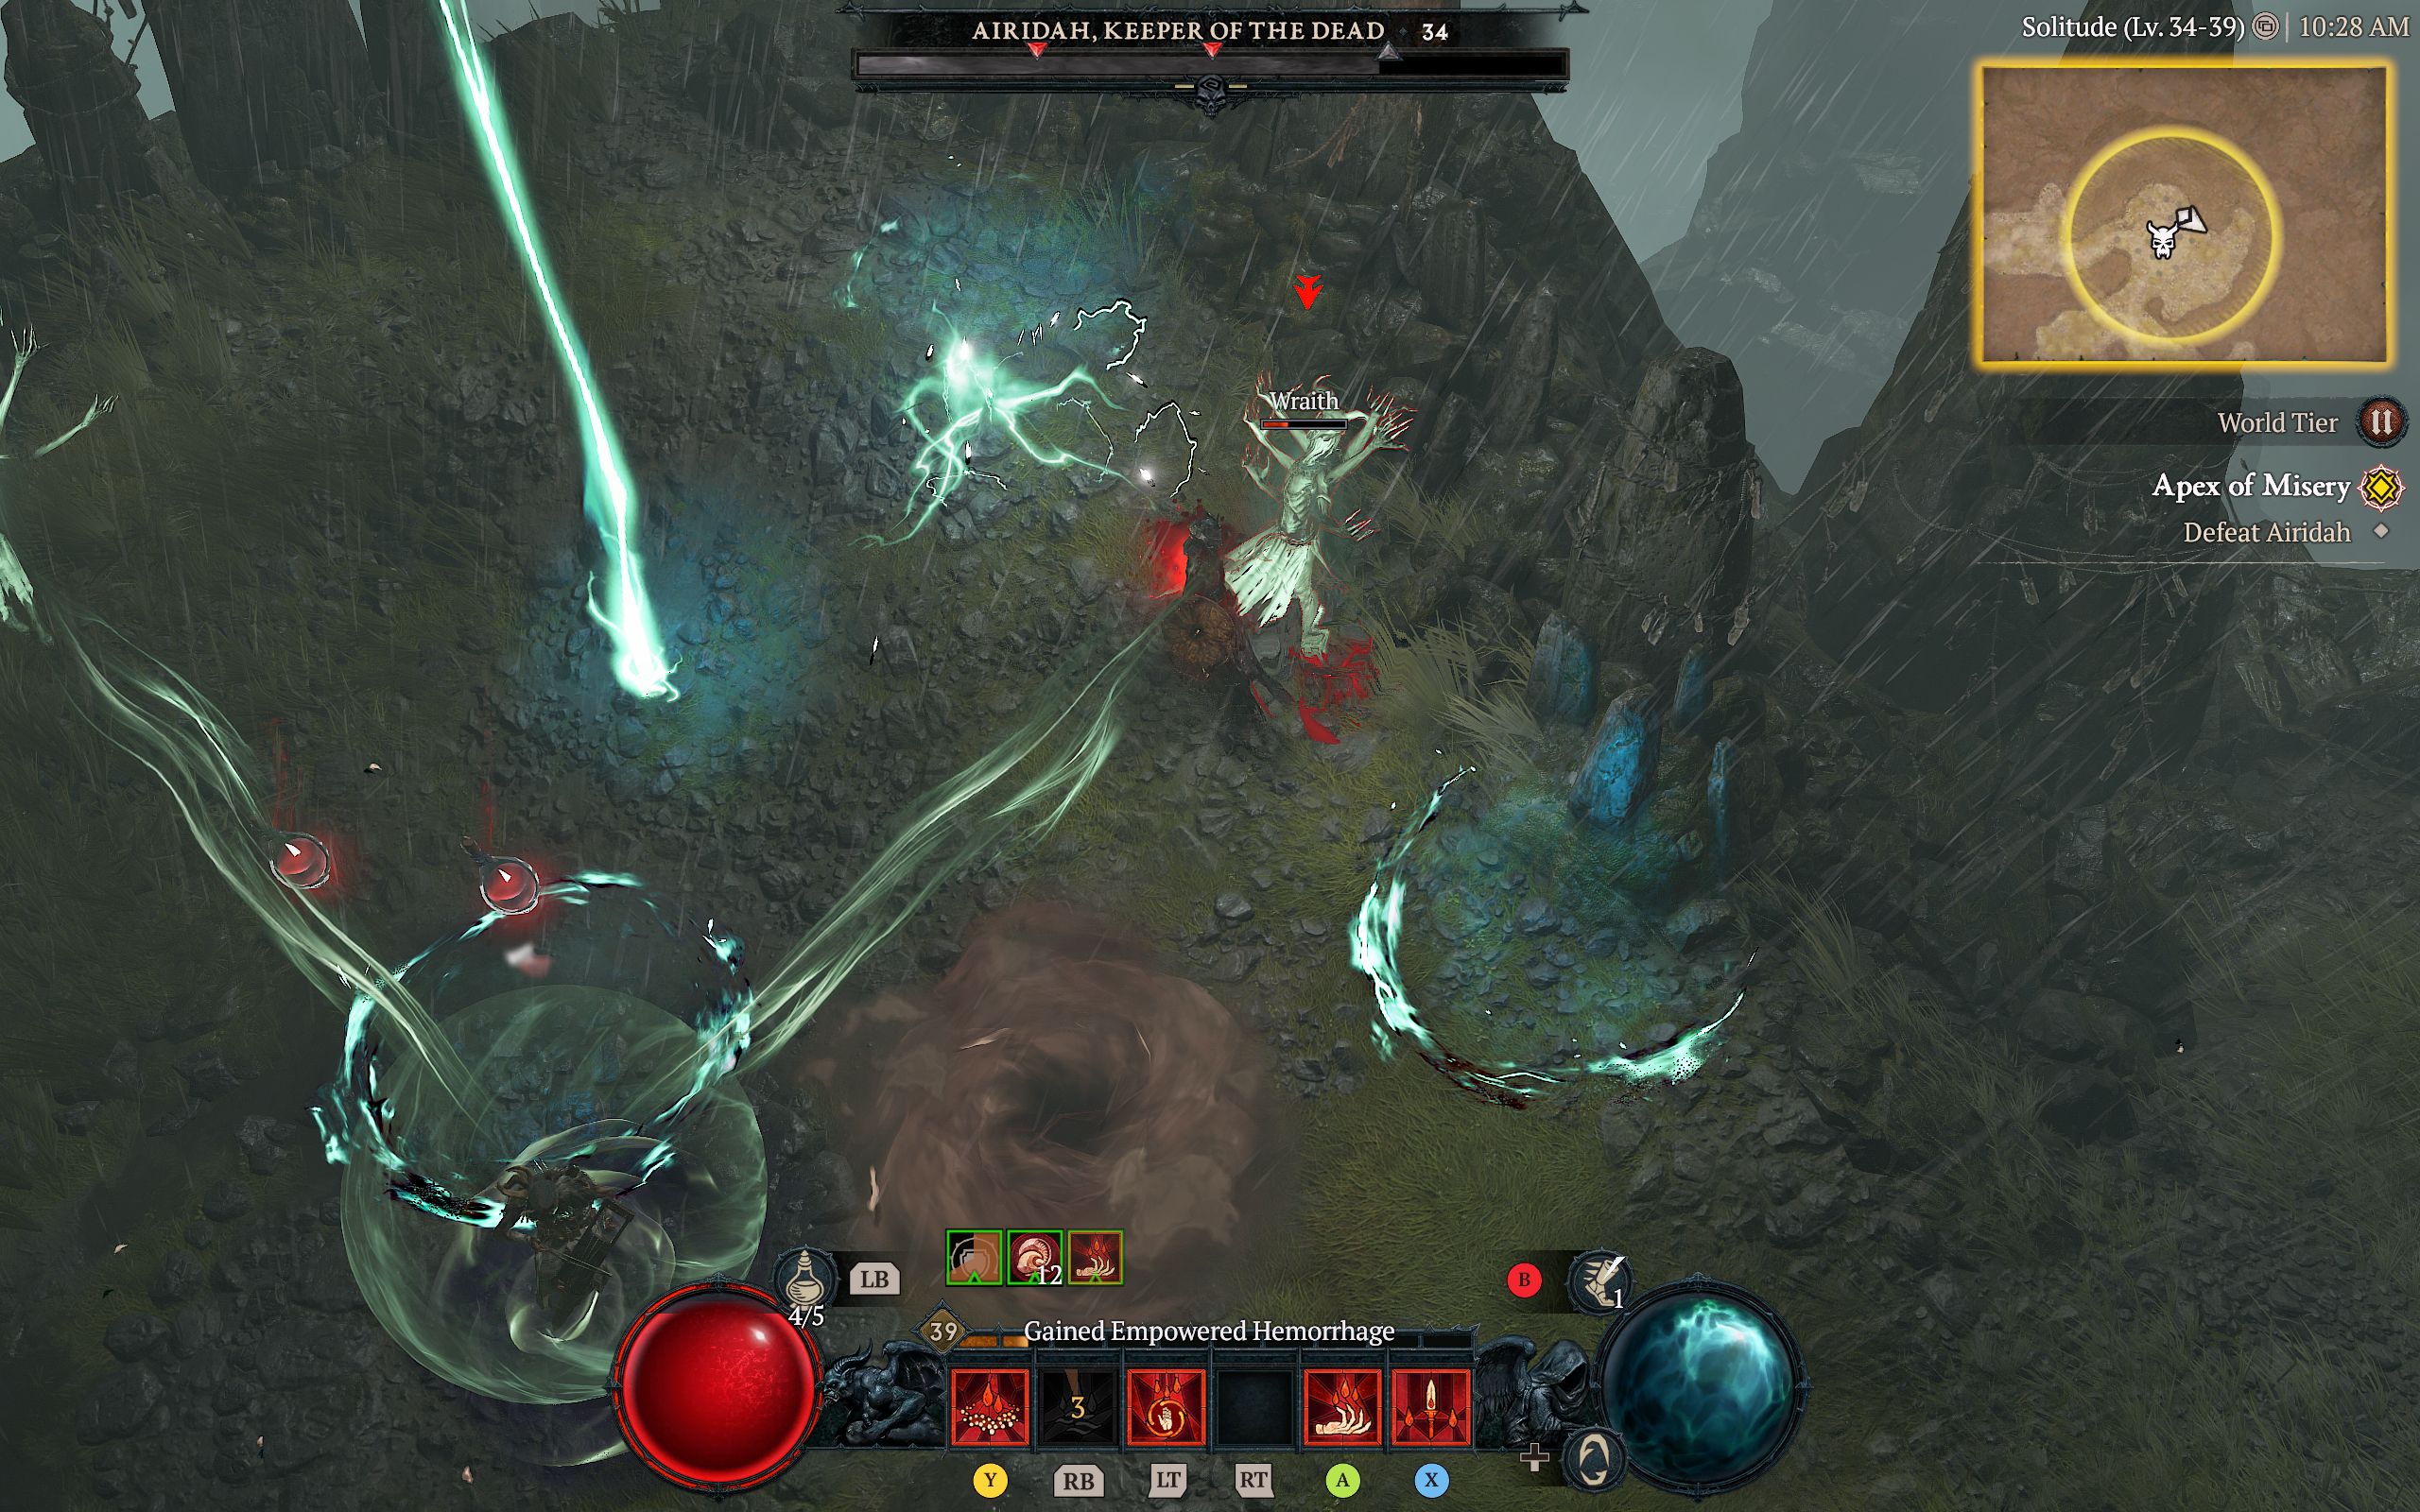
Airidiah's lightning strikes will become more frequent, and she will begin to conjure tornados with large areas of effect that will push you to the corners of the arena and damage you.
As a result, landing hits on Airidiah becomes much harder, especially when she teleports into the line of fire of her tornados and lightning strikes.
Phase 2 of the fight follows the same pattern as the previous phase, but the frequency of attacks increases this time.
Airidiah Fight Phase 3: More Banshees And Lightning Strikes
In phase three, Airidiah will summon four Banshees to protect her. Like before, you will need to kill all four banshees before you can resume damaging Airidiah.
However, during this phase, Airidiah's attacks come in thick and fast. You will have little room to evade her lightning strikes and tornados.
You will want to avoid tornados at all costs, as they can push you into lightning strikes. Since you will have less space to evade Airidiah's attacks, it can be difficult to focus down the Banshees one at a time.
Vigo's Protecting Amulet, a Legendary Amulet picked up during the Act 1 Quest Descent, creates a protective bubble every 90 seconds after being struck when not healthy making you immune to all damage.
Using the amulet, you can focus damage on a banshee.

