Quick Links
Breath of the Wild was a great adventure and a bold new step for the Legend of Zelda series. Tears of the Kingdom reuses much of that same world, twisting and changing it unexpectedly.
One of the most unusual features was the Lomei Labyrinths dotted across the world in the first game. They return in TOTK, though greatly expanded with a sky and depths section as well. The mazes themselves can be hard to follow; we'll help you through every section to get to the reward at the end.
How To Complete The Surface Section Of The Lomei Labyrinth Island

Unlike the other surface entrances of the Lomei Labyrinths, the Lomei Labyrinth Island is out in the sea in the northeast corner of the map, with the entrance far up the walls.
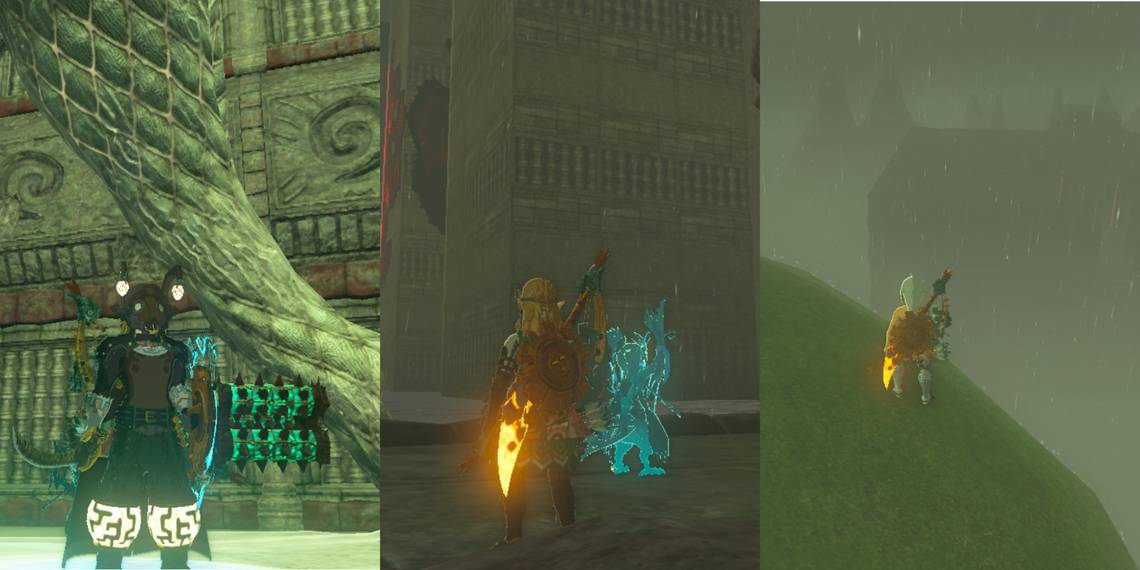
You could access it through some deft climbing or a flying machine, though it's easier to glide towards it from the Akkala Tech Lab.
At the entrance, you'll find a Zonai slab with undecipherable writing and a researcher's journal. Read the journal for a bit of context and a clue on how to navigate the maze itself.
Like the other Lomei Labyrinths, the key here is to follow the trail of various nuts and acorns throughout the labyrinth.
It can be easy to get turned around or even pick up some of the nuts and acorns without thinking, so we've included a map with the optimal route and instructions for you to follow in case you get lost.

A great tip here is to use Ultrahand to highlight any acorns and nuts you come across since the small items can be quite hard to see otherwise.
The Lomei Labyrinth Island is lightly submerged in water, with some sections deeper than others. Lots of logs are spread across the maze, though you're better off not building any machines since you'll be going through lots of tight corridors.
You'll know you're on the right path as you'll come across another journal about halfway along.
The surface section is thankfully easy enough to follow if you keep on track with the acorns, but we will also provide a detailed walkthrough for fear of missed acorns and extra precision.
- After entering the labyrinth, head straight for the platform in the middle of the water, where the first acorn is found. You should see the next set guiding you toward the bottom left entrance to the maze.
- Keep following the path and then take the first left turn, followed by another step to the south.
- Follow this path until you reach the next intersection, and follow it north until you hit a wall. Take the next right, and then you're southwards bound.
- At the next intersection, turn right, and then you're going north again, taking a left at the intersection.
- Here, you'll find an open section in the wall you can walk through. Follow this path and then take the next south turn.
- From here, you should find yourself at a set of stairs. Head up them until you finally reach the central chamber, your nut hunt complete.
The Hero's Path mode is a great tool to use if you end up losing your way. Refer to it on your map to retrace your steps.
By the end, you'll climb a ladder and ascend some steps until you find yourself in the very centre of the Labyrinth, alongside another journal, the Igashuk Shine, and a Zonai Touchstone.
Activating the Touchstone will give you the Lomei Labyrinth Island Prophecy side quest and open the gates enclosing the central chamber.
Now you're ready for the sky.
How To Complete The Sky Section Of The Lomei Labyrinth Island

Getting to the sky section of the Lomei Labyrinth Island is a tad complicated. There are no islands close to it or high enough to just glide over.
Instead, you should use the Ulri Mountain Skyview Tower and glide to the sky island directly above Bloodleaf Lake and the Malanya Spring at the approximate coordinates 4274,3118,0784.
It takes a lot of stamina, and there are Aerocudas patrolling the sky, too, so make sure to bring plenty of stamina restoratives.
From here, there are plenty of pre-built machines to fly you directly to the sky section of the Lomei Labyrinth Island.
The Zonaite armour -Zonaite Helm, Zonaite Waistguard, and Zonaite Shin Guards- is a great help here as it increases the efficiency of batteries when using Zonai devices.
Once there, activate the Mogisari Shrine to give yourself an easy way back to the entrance in case you lose your way, and then activate the Zonai Touchstone.
A voice will announce that Four Terminals are hidden in the Labyrinth and must be activated to proceed.
The entire sky section is in low gravity with updrafts, so the Glide Suit –Glide Mask, Glide Shirt, and Glide Tights– can be a great help here for navigation.
Unlike the surface section, there is much less guidance this time around.
The sky area is all about gliding, so the biggest thing is to conserve your stamina and take breaks on the various platforms when needed.
There's no strict order or path to take to complete all the terminals, so plan out your route whichever way works best, or follow our own path below.

The sky section is considerably more confusing, so we've also included a step-by-step guide of our own route to make sure you can keep on track. We followed the terminals in a counter-clockwise order.
- On the right, immediately take the first open wall, and keep going to the left until you find another open section.
- From here, you're following the path to the north until you can turn right. From there, you're going south until you reach a platform with the first terminal.
- Backtrack to where you were at the previous step, follow the path to the northeast this time, and stick to the wall until you have no option but to turn left.
- Once you're out of this corridor, take the next left, go forward over a platform and grates, and then to the left again, where you'll find the second platform.
- Head back south from here to the platform and grate, and then take the next left.
- From there, immediately head north and then stick to the wall until you reach the third platform off to the east.
- Turn back now to the centre of the northern wall, and turn into the central chamber, taking the bottom left exit out.
- Follow the path to the north until you reach the second opportunity to go left, and then follow this path south and to the right at every intersection. Activate the terminal at the end.
If you at any point get frustrated or lost, find a border wall. The low gravity makes it exceptionally easy to climb, and from on top, you can walk until you're above the terminals.
After activating all the terminals, a sharp updraft will take you right to the top of the labyrinth.
There's no chest or shrines here, but activate the touchstone, and you'll be guided to the final section. A platform is here that allows you to dive right into the Depths.
How To Complete The Depths Section Of The Lomei Labyrinth Island

Where the surface tests your navigational abilities and the sky your stamina conservation, the Depths section of the Lomei Labyrinth tests your combat prowess.
After completing your dive into darkness, you're met with some poes and a set of stairs. Due to the sheer lack of light, wearing the Miner's Suit –the Miner's Mask, Miner's Top, and Miner's Trousers– is recommended for extra help.
At the bottom of the stairs, you'll encounter a Flux Construct 3. Like any other Flux Construct, simply deconstruct them and tear them apart.
After this, you can activate the Zonai Touchstone, revealing a treasure chest containing the Evil Spirit armor, which increases your stealth.
With that, the Lomei Labyrinth Island Prophecy side quest is complete. Step outside and activate the Kuhsagi Lightroot for extra completionism.