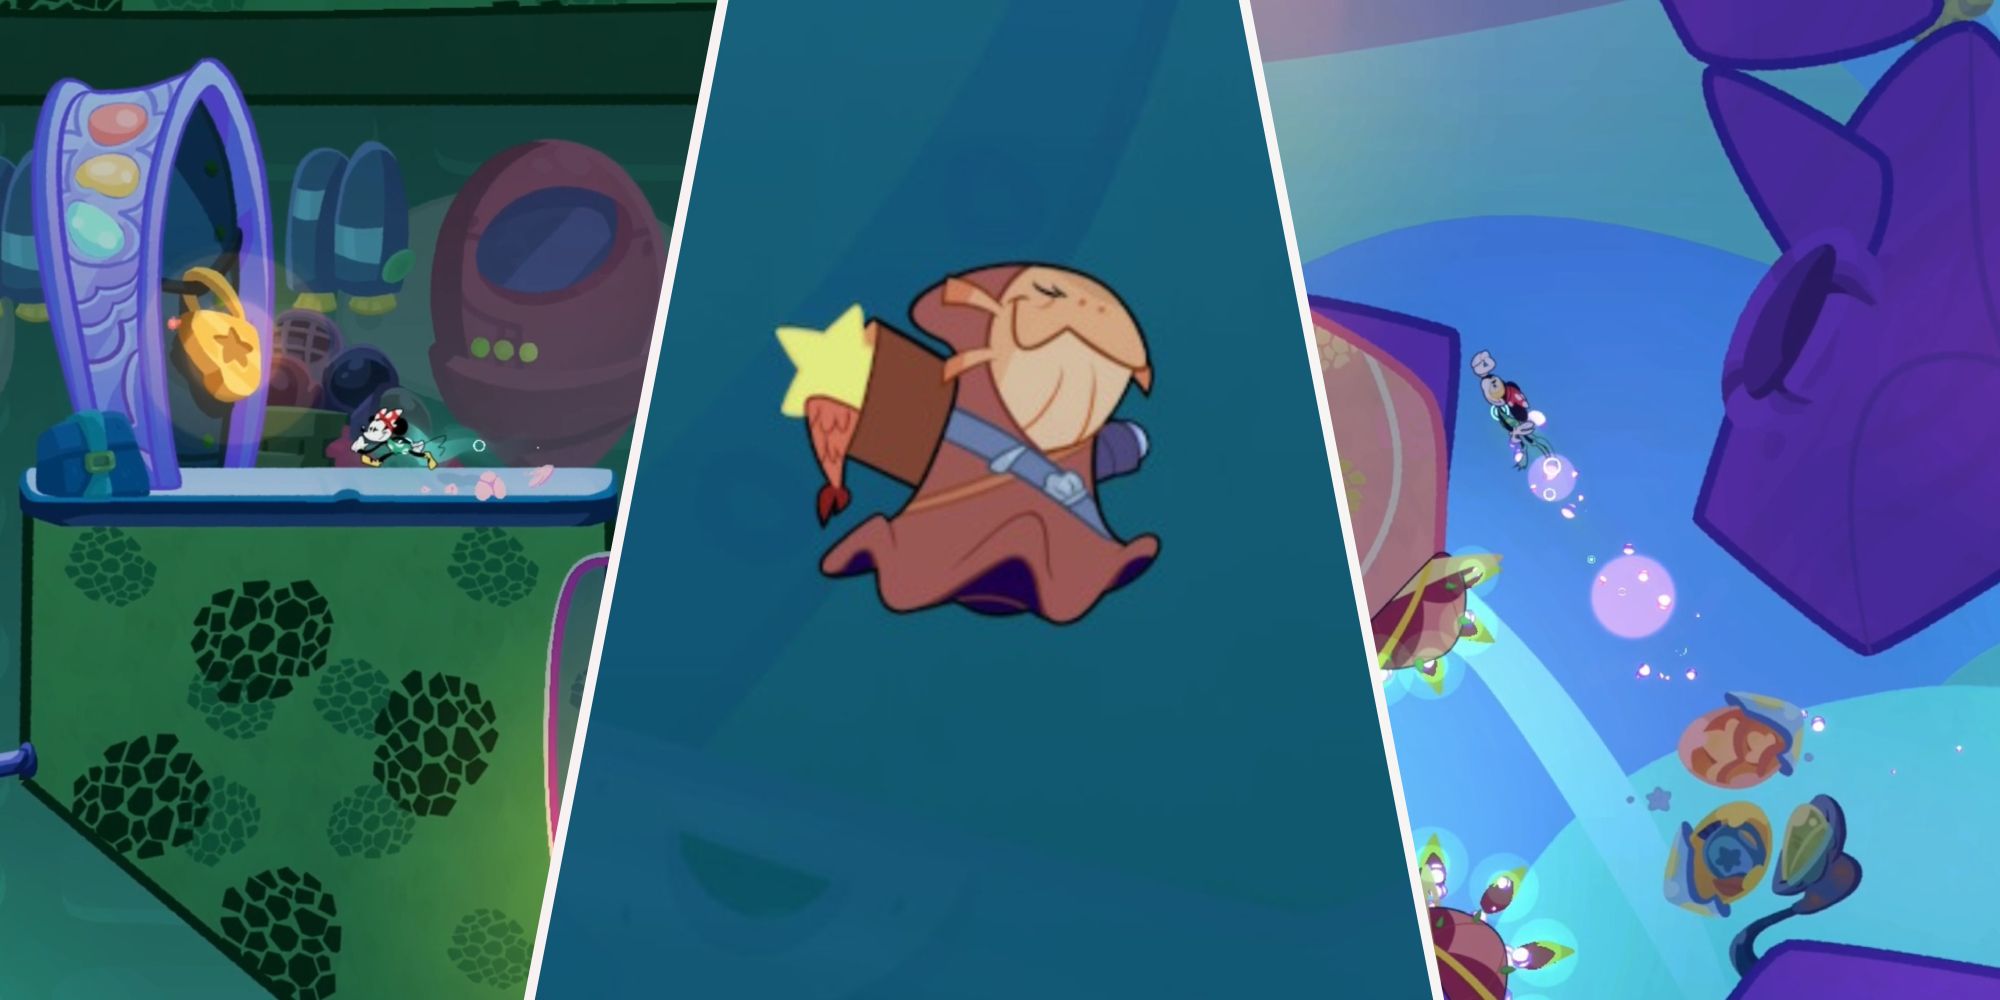
Disney Illusion Island has many Quests, with the vast majority of them putting your platforming skills to the test with well-placed hazards, mini-puzzles involving you finding Keys to open Locked Doors, and even challenging boss encounters, giving you a blend of various objectives to keep things fresh. Quests will also give you new Abilities, only adding to the variety of platforming goodness in the game.
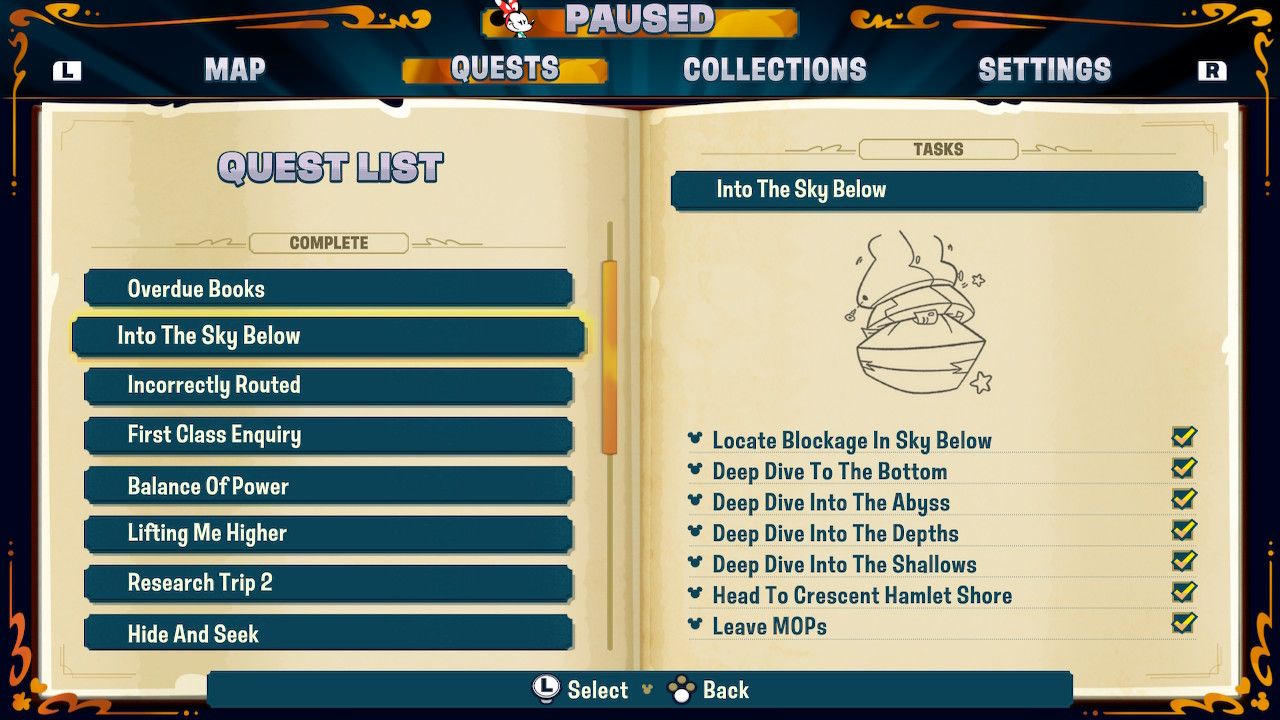
But what happens when everything outlined above is jampacked into one Quest? Well, you get the Into The Sky Below Quest, the longest one in Disney Illusion Island by a mile, bringing every aspect of the game under one roof and pushing you to your limit.
Into The Sky Below Quest Overview
Into The Sky Below is easily the longest Quest in Disney Illusion Island and has a whopping seven Tasks for you to carry out to complete it. This Quest has everything from a new Ability to Locked Doors to a boss encounter, making this also the most challenging Quest in the game.
Into The Sky Below Tasks
- Leave MOPs
- Head To Crescent Hamlet Shore
- Deep Dive Into The Shallows
- Deep Dive Into The Depths
- Deep Dive Into The Abyss
- Deep Dive To The Bottom
- Locate The Blockage In Sky Below
Leave MOPs Guide
Our first Task of the Quest is to simply leave MOPs. After speaking to Uncle Steve from the previous Quest, head out of the west exit of the room and follow the corridor until you bump into Mazzy for the final time.
Mazzy will give you the Deep Dive and Deep Dive Ram Abilities, enabling you to submerge yourself and swim through Moon Juice. Deep Dive Ram allows you to dash underwater and smash through specific objects and walls, which will be helpful later.
After speaking to Mazzy, continue following the corridor out until you reach the central hub of MOPs. A cutscene will play out, having you talk to the Info Automatron one more time. After this conversation concludes, drop down to the exit and return toward the teleporter.
Head To Crescent Hamlet Shore Guide
Your next Task will be returning to Hamlet Shore, which can quickly be done by taking the UFO-like teleporter back to Crescent Hamlet. After exiting MOPs, head west, then northwest, back to the area you warped to when first visiting MOPs.
From here, head south and go underneath the Mail Rail, by where the region's Map Piece is, and begin swimming underneath the Moon Juice to complete the Task and start the following one!
Deep Dive Into The Shallows Guide
Once you're submerged in the Moon Juice, the following section is more of a tutorial on how to swim through it and use the Deep Dive Ram to smash through specific objects.
There is only one path here, and you must progress downward until you reach the Depth. Smash through the glowing objects and avoid the hazards placed along the way to successfully complete the Task, leading you to a Locked Door Task next!
Deep Dive Into The Depth Guide
Now it's time for what seems like the obligatory Locked Door section of the Quest, having you swim through the Moon Juice to find and obtain three Keys to unlock it and progress to the next area and Task. You can find the location of all three Keys in the sections below!
Locked Door: First Key
As soon as you trigger this Task, swim east, and follow the pathway to a Checkpoint on a small patch of land. From there, make your way upward, then head west until you reach a point with branching paths to the left and right.
Follow the right path, take it past another Checkpoint, and enter the room with the first Key. You will see two Red Buttons, one in the top left and the other in the bottom right of the area.
Take care of the top left one first by swimming through the Moon Juice, jumping onto the Button, and using your Ground Pound Ability to access and hit the second one in the bottom right. This will remove the barriers blocking the Key, allowing you to Swing up to it and acquire it!
Locked Door: Second Key
From the first Key, backtrack until you reach the room with the Checkpoint on the small patch of land but continue heading downward. There will be another Checkpoint here at the very bottom of the area, just before the room with the second Key.
To obtain this Key, you will first have to take the bounce pad near the wall all the way to the left to the platform above it, then use your Ground Pound Ability to smash through the breakable floor.
Next, jump onto the Mail Rail and jump off at its peak, chaining it into a Wall Jump to activate the first Star Bridge in the top right. Quickly drop down, then take the air current up to the right via your Glide Ability to continue building the Star Bridge.
Drop down yet again and take the air current up once more via your Glide Ability, but this time to the left to build the Star Bridge on this side of the room. Jump to the ground, take the bounce pad up through the platform above it, then Wall Jump to complete the Star Bridge.
Now that you have a platform underneath the Key, you can jump into it to acquire it, giving you two of the three Keys needed to open the Locked Door!
Locked Door: Third Key
After obtaining the second Key, head back up to the Checkpoint on the small patch of land, then head west, back out into the Space Juice. From here, travel downward until you reach another Checkpoint, then go to the northwest.
You will eventually reach a room with a Swing point, a Heart Container, and a Frog enemy. Once in this room, head north and follow this pathway up to the room with the third and final Key.
The Key will be in the top right corner, gated off by a wall, and there will also be a series of Mail Railz nearby. Take the first Mail Rail up, then Wall Jump onto the second one, leading you directly to the breakable floor on the left.
Use your Ground Pound Ability to smash through the breakable floor, then go to the bounce pad at the bottom of the room. Use the bounce pad to Wall Jump up to the Red Button in the top left corner of the room. Jump onto it to lift the wall blocking the Key.
From here, use the first Mail Rail to Wall Jump onto the second one, then take the second Mail Rail directly to the third and final Key. With all three Keys in your possession, head to the southwest of this room to find the Locked Door. Crack it open, follow the path to the southeast, and complete the Task!
Remaining Tasks Guide
Now that the obligatory Locked Door portion of the Quest is over, you will have three Tasks left, the first two having you travel further down into the Sky Below before ultimately culminating with a boss encounter—a rather challenging one at that.
Deep Dive Into The Abyss Guide
The following two Tasks will have you travel further down into the Sky Below through the Moon Juice. While there will be a great deal of environmental hazards and enemies on your way down, you won't run into many branching paths until you reach the next Task.
So, for this Task, continue heading downward until you reach the Abyss, as that's when things can get a bit more interesting in terms of the additional areas you can explore before facing off against the region's boss.
Deep Dive To The Bottom Guide
Upon reaching the Abyss, you must go to 'The Bottom' of the Sky Below, which has you keep heading further and further south. However, if you want to, you can head to the northeast portion of this area to obtain the region's Map Piece, which will outline the direct path to the next Task!
Regardless of what you do here, this Task has several platforming sections, weaving you in and out of Moon Juice, so be prepared to put all your Abilities to use here. Like the previous Task, there are many environmental hazards and enemies here, but nothing new or out of the ordinary.
Continue your descent to 'The Bottom,' and you will eventually complete the Task, leading you the the seventh and final one, which is the boss encounter.
Locate The Blockage In Sky Below Guide
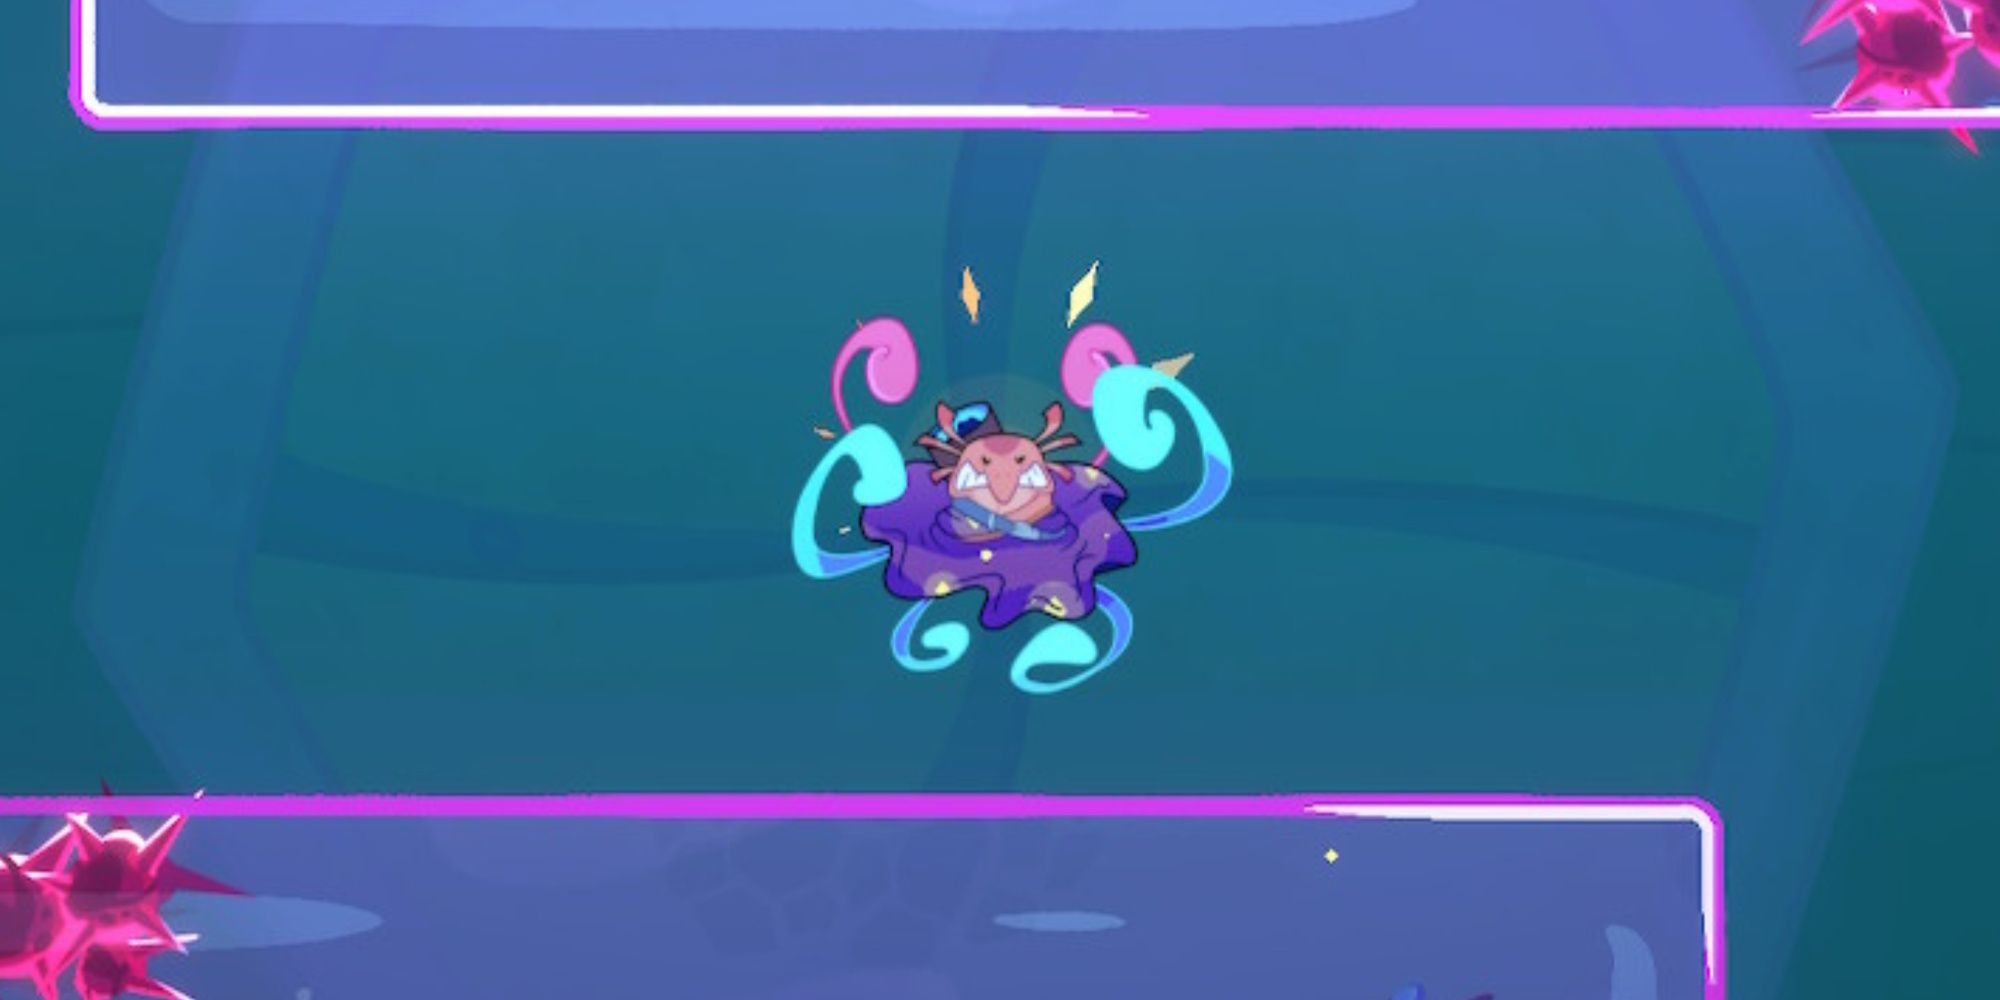
After locating the Blockage, you will be thrust into a boss encounter against Old Timer. This is the most challenging boss encounter thus far, so be prepared for a battle. This fight will test your newly obtained Deep Dive and Deep Dive Ram Abilities, so we suggest having a hang of those before attempting it!
Old Timer Info
- Three Phases
- Phases One and Two have three rounds, and Phase Three only has one
- Defeating Thief #3 will grant you the Tome of Astronomy


