
Quick Links
Several artifacts lay scattered across Baldur's Gate 3, but few are so close to your starting position than the Necromancy of Thay. Available as soon as your first real town encounter, the book is kept well-hidden right under your nose. You'll need to keep a vigilant eye and scour every corner to find its location and unlock its secrets.
Of course, getting the book won't be enough; it never is. Once the book has been found, you'll also need to find a way to open it. And once you find the key, reading what lies inside is no minor challenge either. When it comes to the Necromancy of Thay, it'll be one thing after the next.
How To Find The Necromancy Of Thay

Resting in a secret laboratory beneath the Blighted Village, you'll first need to scout out the secret entrance to an apothecary's basement. From the main gate (where the goblins on the roof speak with you on the side facing the beach and the druid's grove), enter the first house on the left.
In the room with the double doors to the outside and closest to the Waypoint, you should find a hatch on the floor leading to the basement. It's behind the counter. Open it to descend into the basement.

The basement contains several helpful herbs, potions, and a few small trinkets of worth. Of the seemingly insignificant items, the one you'll want to pay attention to is a book sitting on a table on the left side of the room called the "Healer's Log." Inside is information that will be the key to answering a riddle later.
After reading (and maybe taking) the book, walk toward the large wooden cabinet where your characters may roll a passive perception to notice scratch marks on the ground.

To move the cabinet, pick up and move or destroy the three boxes stacked to the left. A hidden lever behind it can be found there.
Pull the lever, and then go through the newly opened door to the right of the cabinet.

A yard of dug-up caskets can be found on the other side, and snooping through them will cause several undead skeletons to rise from their coffins. Unless you're looking for the fight, ignore the coffins and instead approach the mirror.
The mirror will ask you a set of questions, and you must answer them all as such in order to proceed:
- My name is [Player name].
- Yes, an ally! I'm an ally of your master's.
- Szass Tam is a foul, wretched creature / A foul lich. May he die a thousand deaths.
- To clean a wound / I found a book...
- 'I'd look for whatever spell will rid me of this worm in my head' / 'I'd see my enemies suffering.'
Alternatively, if you roll high enough, you can Intimidate the mirror into letting you pass. If you fail or answer the questions wrong, however, it will summon an orb that sprays fire at you.

Entering the laboratory, you can find several powerful potions and spell scrolls. Loot what interests you and ignore the iron door between the braziers for now.
Head toward the exit, where a lever can be pulled to open the way back to the Apothecary's Basement section. After the shortcut is open, turn to the side and inspect the nearby shelves for a Rusted Key. Take it.
You can skip finding the Rusted Key and the entire section below if you carry and cast the spell Mage Hand. Use it to reach through the iron door and pull the book through the metal bars without fearing any traps.

Approaching the iron door once you're ready, you may discover a trap on the ground in front of the door. Stepping on it only seems to activate the braziers, so you can choose to Disarm it or not.
Open the door with the Rusted Key and discover the Necromancy of Thay inside. Don't pick it up. Instead, there is a trap beneath the book and a trap in each of the gargoyle statues on either side of the room. Disarm them all.
Once the traps are disarmed, you can finally pick up the book safely. You may receive interest from either Astarion or Gale about taking the book. At this point, you have three options:
- Destroy the book (not recommended; if you intend on destroying it, at least give it to Gale)
- Give the book to Gale for him to consume, losing the item. You must attack it with Radiant damage.
- Keep the book and search for the Amethyst Key to continue the quest.
There is a known bug that if you have both Astarion and Gale in your party, you will not be able to speak to or give the book to Astarion.
How To Find The Dark Amethyst, AKA The Amethyst Key

To find the Amethyst Stone, you'll have to venture into the Whispering Depths. There are two paths into the Whispering Depths in the Blighted Village:
- Taking a rope down the well
- Knocking down a weak wall in the storeroom under the house to the right of the main gate
The Whispering Depths is recommended only for party levels of at least three or higher.

Once inside the Whispering Depths, you'll need to venture further to the bowels of the Depths. This requires defeating at least one horde of spiders and encountering the mini-boss at the end: the Phase Spider Matriarch.
She's, thankfully, a very straightforward fight so long as you stay on solid ground and lure her and her spiderlings to you. Yes, her health is on the tanky side at 125HP, but her AC is manageable, and her bite attacks are not too devastating for a properly-leveled party.
Your only concern for this fight is to avoid being poisoned by her bites and Venomous Discharge. Ensure you have someone with Healing Word prepared to counteract the effects of poison while in combat.
Using "Guardians of Faith" or "Fireball" will be extremely useful here for their ability to one-shot kill the small spider minions. Guardians of Faith is the better option, as worrying about your team's positioning is not necessary.
After defeating the Matriarch, you can climb down a vine wall left of the spider web leading to a broken pillar (north of the entrance you came from) and where the Phase Spider Matriarch likely teleported to. Down here is a Poisoner's Robe, but the real prize lies on the other side of the large hole in the center of the room.
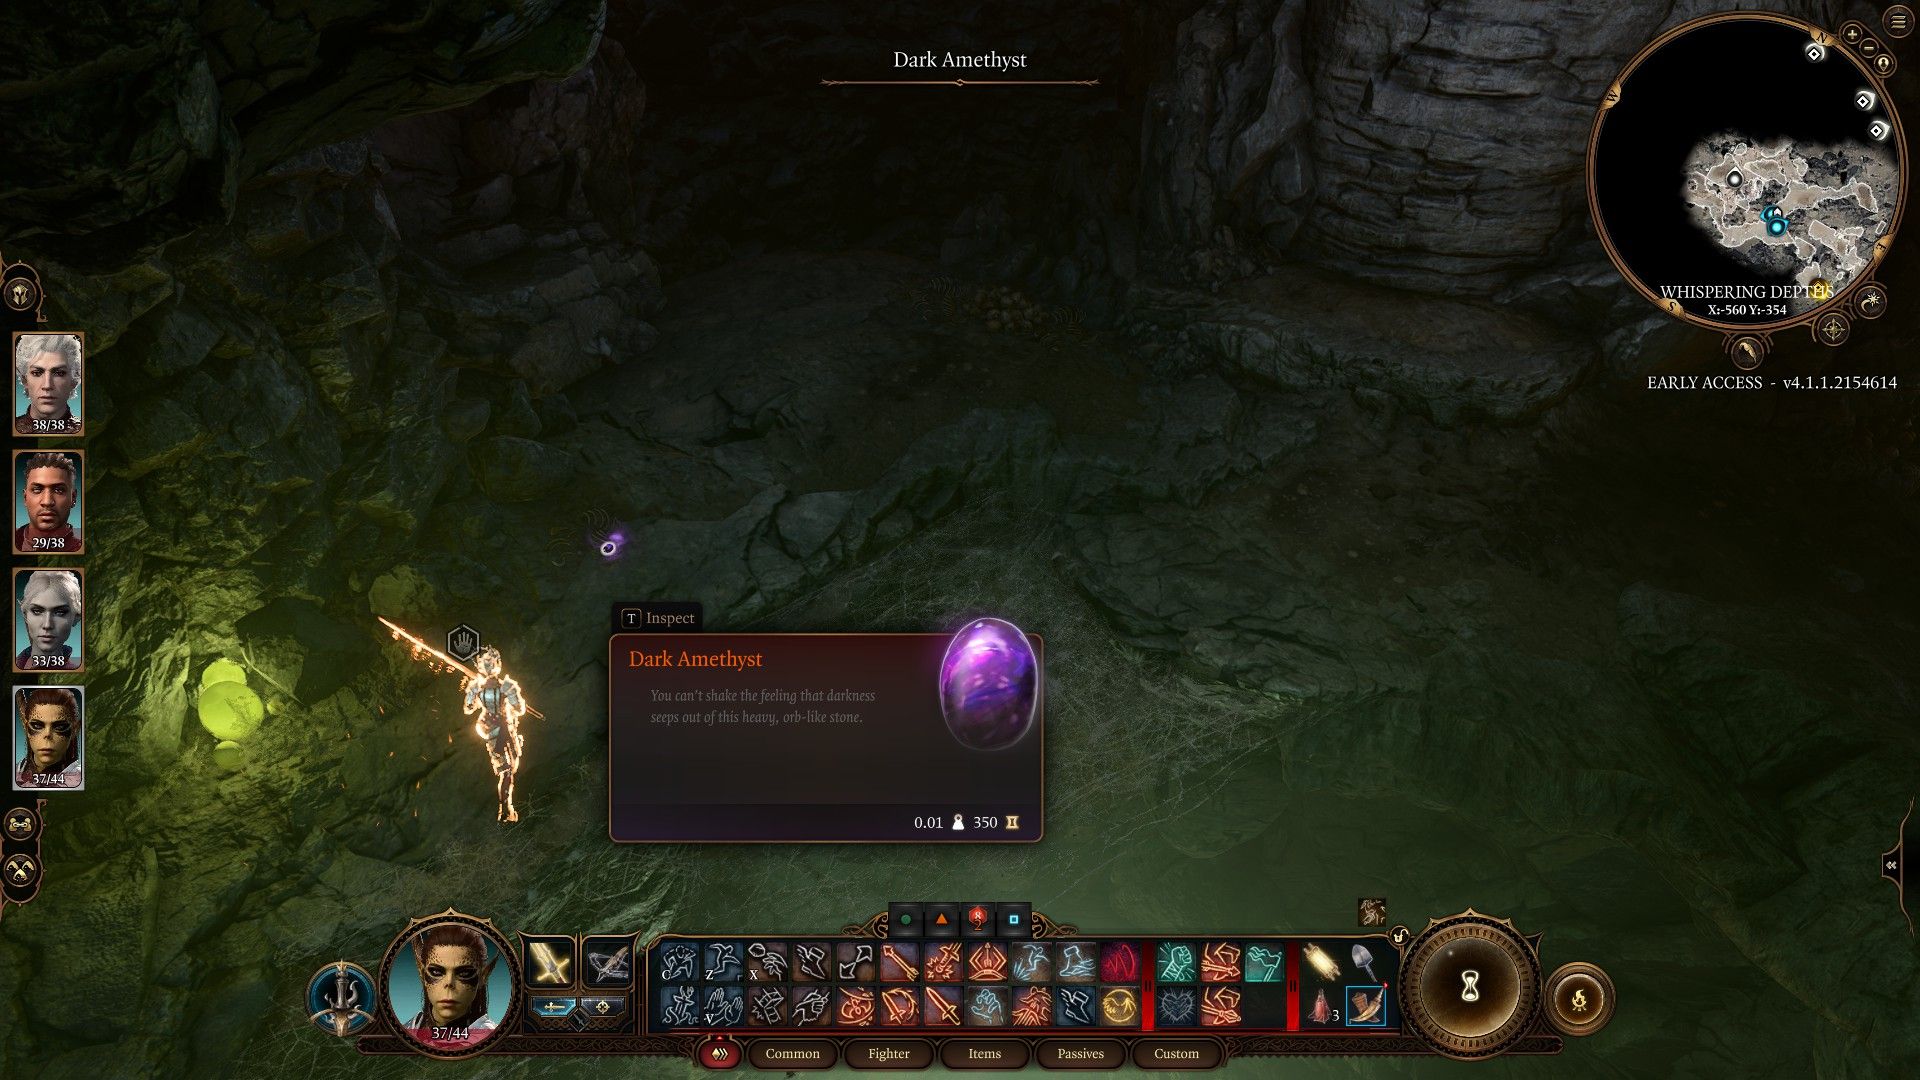
A glowing purple stone on the other side is the Dark Amethyst. Pick it up and take it back to a safe place (like camp).
What To Do With The Necromancy Of Thay

Once you've secured the Dark Amethyst, you can now open the Necromancy of Thay.
In a safe location, select the Necromancy of Thay in your inventory and Read it. This will prompt a dialogue where you can choose what to do. Insert the Amethyst Stone.
When the book opens, you'll be given a few more options:
- Open the book.
- Destroy the book (don't do this; just speak with Gale to give it to him).
- Give the book to Astarion.
- Put the book away (choose later).

Giving the book to Astarion increases his Approval and opens unique dialogues but ends the quest, leaving you unable to retrieve the book for yourself.
Opening the book will prevent you from receiving the option to give the book to Gale. However, you will automatically gain an at-will special casting of "Speak with the Dead" regardless of how you roll the saves required to peruse the book.
If you choose to open the book, you'll need to make three difficult Wisdom saves. First, a 10DC, then a 15DC, and finally a 20DC (or a 10DC to close it). Failing one save will give you 50 turns of "Whisps of Madness" - a debuff that gives you Disadvantage on Wisdom ability checks. Failing two will give you a similar debuff called "Baleful Knowledge," but it's permanent.
Succeeding on the saves of the book will give you some unique insight into your future, but there are no known notable side-effects, either positive or negative.
Warlocks, Wizards, and Clerics of Shar and Lolth (especially Shadowheart) will have lower DCs and special options.